

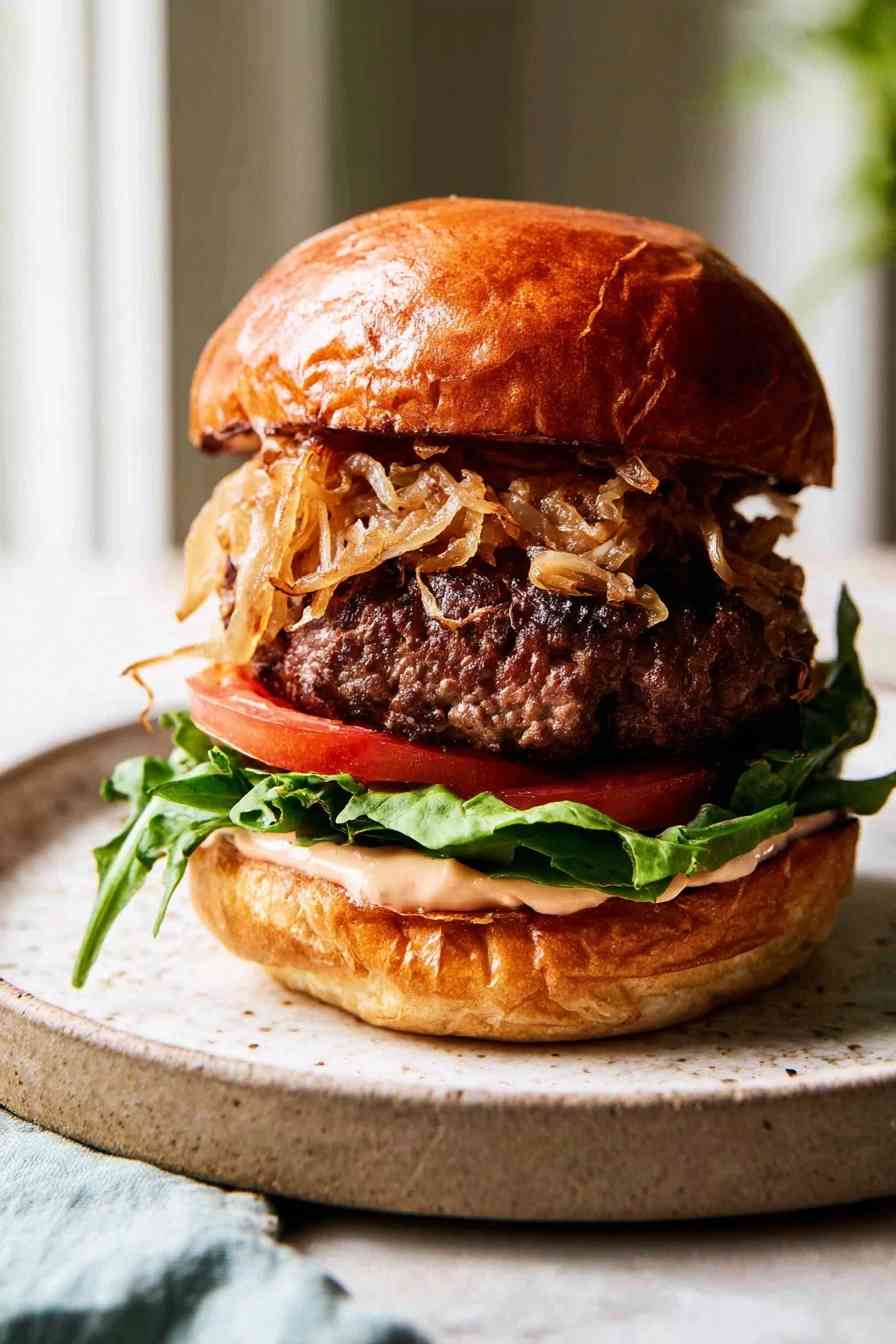
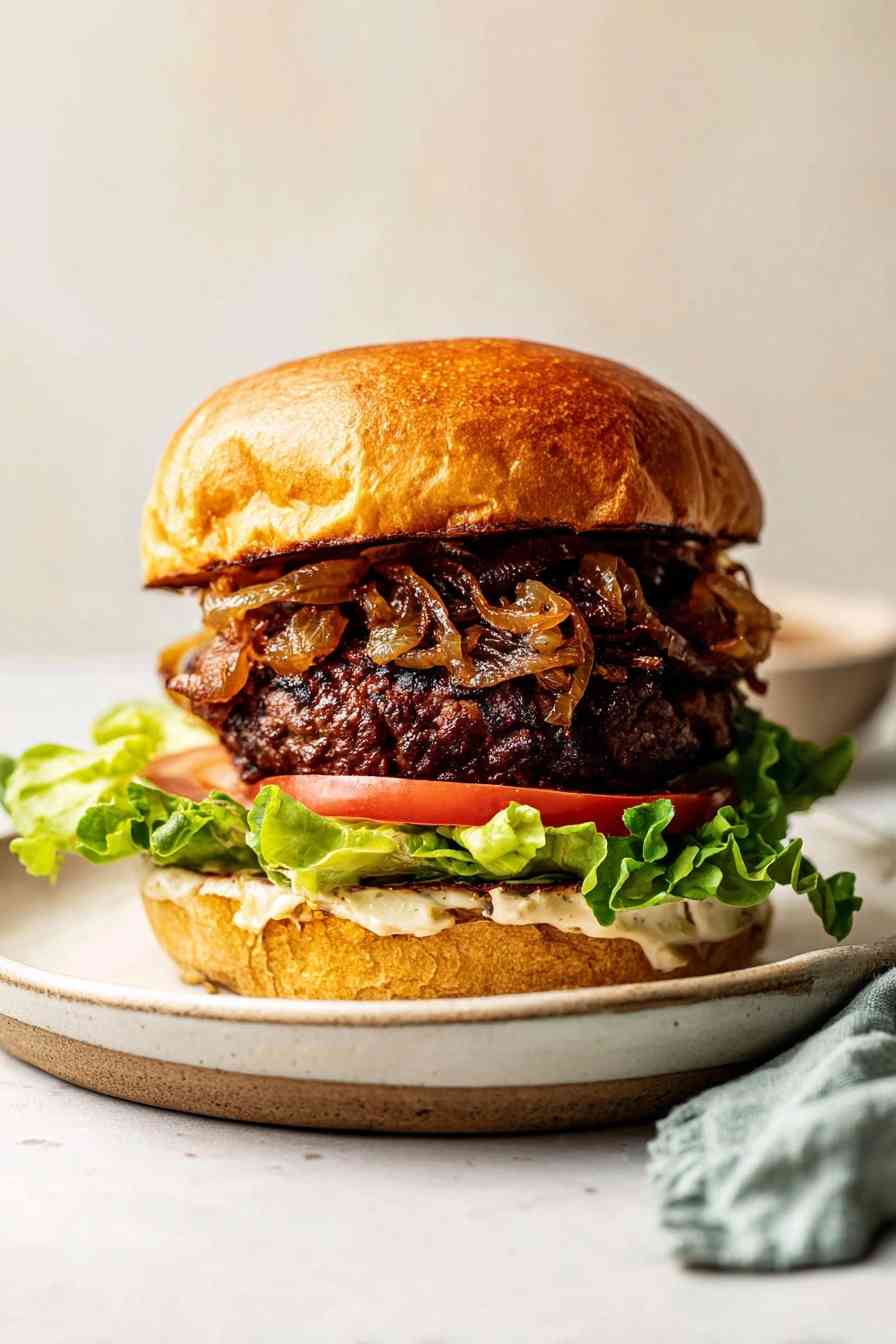
How to make the best burgers starts with 80/20 Halal ground beef, an egg binder, and minimal seasoning.
There’s something deeply satisfying about shaping your own burger patties, knowing exactly what goes into them, and watching them sizzle in a hot pan. These homemade burgers deliver the kind of juicy, tender bite that makes you wonder why you ever settled for takeout. The secret isn’t complicated: choose the right beef, add just enough binder to hold everything together, and give the patties time to chill before they hit the heat.
The 80/20 ratio means enough fat for moisture without turning greasy, while a single egg keeps the patties from crumbling apart. A splash of Halal Worcestershire sauce adds savory depth, and simple salt and pepper let the beef flavor shine. Making the patties slightly larger than your buns accounts for shrinkage, and that little well pressed into the center prevents the dreaded burger puff. With a short rest in the fridge and careful cooking, you’ll have patties that rival any restaurant version.
What You Need for the Best Homemade Burgers
This lineup keeps things simple while delivering maximum flavor and the right texture for burgers that hold together beautifully.
- 80/20 Halal ground beef – provides the ideal fat-to-lean ratio for tender, juicy patties without excess grease.
- Egg – acts as a binder to keep the ground meat from falling apart during cooking.
- Halal Worcestershire sauce – adds savory, umami depth that enhances the natural beef flavor.
- Salt and black pepper – season both the mixture and the outside of each patty for layered flavor.
- American cheese – melts smoothly over the hot patties for classic cheeseburger richness.
- Soft hamburger buns – provide a tender base that won’t compete with the juicy patty.
- Toppings of choice – lettuce, tomato, onion, pickles, ketchup, mustard, or whatever you love on a burger.
Step-by-Step: Making Juicy Halal Burger Patties
STEP 1: Combine the Halal ground beef, egg, Halal Worcestershire sauce, salt, and black pepper in a mixing bowl and mix quickly and thoroughly, just until everything is evenly distributed.
STEP 2: Shape the mixture into patties as quickly as possible, making them slightly larger than your hamburger buns to account for shrinkage, and lay them out on a parchment-lined metal tray.
STEP 3: Season each patty on both sides with additional salt and black pepper, then press a well into the center of each patty about halfway deep using your fingers or the back of a spoon.
STEP 4: Cover the tray tightly with plastic wrap and refrigerate the patties for 2 to 4 hours before cooking to help them hold their shape and develop flavor.
STEP 5: Preheat a cooking pan over medium to medium-high heat, add the chilled patties to the hot surface, and cook for 5 to 8 minutes per side depending on your preferred doneness.
STEP 6: Remove the cooked patties from heat and let them rest on a plate loosely tented with foil for about 5 minutes before assembling your burgers with cheese, buns, and toppings.
Secrets for Burgers That Stay Tender and Flavorful
- Mix the beef mixture quickly and handle it as little as possible, because overmixing develops the proteins and leads to dense, tough patties instead of tender ones.
- Don’t skip the chilling step, those 2 to 4 hours in the fridge allow the patties to firm up and hold together much better during cooking.
- Press that well into the center of each patty before cooking to prevent the burger from puffing up into a dome shape as the edges shrink.
- Let the cooked patties rest for 5 minutes before serving so the juices redistribute throughout the meat instead of running out onto your plate.
Serving Ideas: Sides and Toppings for Burgers
Classic fries or crispy potato wedges pair well with the rich, savory patty and add a satisfying crunch. A simple side salad with tangy vinaigrette cuts through the richness and adds freshness to the plate.
For toppings, go traditional with lettuce, tomato, pickles, and onion, or try sautéed mushrooms, caramelized onions, or a fried egg for something more indulgent. American cheese melts smoothly over the hot patty for classic cheeseburger richness.
Secrets for Burgers That Stay Tender and Flavorful
- Mix the beef mixture quickly and handle it as little as possible, because overmixing develops the proteins and leads to dense, tough patties instead of tender ones.
- Don’t skip the chilling step; those 2 to 4 hours in the fridge allow the patties to firm up and hold together much better during cooking.
- Press a well into the center of each patty before cooking to prevent the burger from puffing up into a dome shape as the edges shrink.
- Let the cooked patties rest for 5 minutes before serving so the juices redistribute throughout the meat instead of running out onto your plate.
How to Store and Reheat Leftover Burger Patties
Store cooked patties in an airtight container in the fridge for up to 3 days. To reheat, warm them gently in a covered skillet over low heat with a splash of water to create steam, or microwave on 50 percent power in 30-second intervals until heated through. Avoid high heat during reheating, which can dry out the meat.
For uncooked patties, keep them tightly wrapped in the fridge for up to 24 hours before cooking. Freezing is not recommended, as the texture may become compromised when thawed.
How To Make The Best Burgers
Ingredients
Equipment
Method
- In a mixing bowl, quickly but thoroughly combine the Halal ground beef, egg, Worcestershire sauce, salt, and black pepper until evenly mixed.
- Shape the mixture into patties that are slightly larger than your buns and place them on a tray lined with parchment paper.
- Sprinkle each patty with extra salt and black pepper on both sides.
- Cover the tray tightly with plastic wrap and chill in the refrigerator for 2 to 4 hours.
- Using your fingers or the back of a spoon, press a shallow well in the center of each patty, about halfway deep.
- Heat a cooking pan over medium to medium-high. Cook the patties for 5 to 8 minutes per side, depending on your preferred doneness.
- Take the patties off the heat and let them rest on a plate, loosely covered with foil, for about 5 minutes before serving.


