

Making homemade Cheez-Its is surprisingly easy and satisfying.
If you’ve ever wondered whether you could actually recreate those iconic orange crackers at home, the answer is yes. The process is quick, the ingredient list is short, and the result tastes remarkably close to the store-bought version, only better because you control the cheese quality and salt level.
The secret to that signature crunch lies in rolling the dough thinner than 1/8 inch and baking until the bottoms turn deep golden brown. Skip either step and you’ll end up with puffy, soft crackers instead of the crispy, salty squares you’re craving. But get it right, and you’ll have 150 to 200 crackers that disappear faster than you’d think.
A food processor does most of the work, and the dough comes together in minutes. Once you taste the difference between homemade and store-bought, it’s hard to go back.
What Goes Into Homemade Cheez-Its
The ingredient lineup is short, but each one plays a critical role in getting that cheesy, crispy texture just right.
- Sharp cheddar cheese – the star ingredient that delivers bold, tangy flavor and rich color. Shred it yourself from a block for the best texture and melt.
- All-purpose flour – provides structure and holds the dough together without making the crackers dense or heavy.
- Salt – seasons the dough and gets sprinkled on top for that classic salty crunch. Use coarse kosher salt for the best control.
- Unsalted butter – adds richness and helps create a tender, flaky texture. Keep it cold so it stays in small pieces during mixing.
- Whole milk – binds the dough just enough to press it together without making it sticky or wet.
Baking Up Cheesy, Crunchy Cheez-Its: The Process
STEP 1: Preheat your oven to 325°F and line two baking sheets with parchment paper.
STEP 2: Add the shredded cheddar, flour, and salt to a food processor. Pulse several times until everything is evenly mixed, then add the cold, cubed butter. Pulse again until the mixture looks crumbly.
STEP 3: Pour in the cold milk and pulse a few more times. The dough won’t form a ball, but it should hold together when you press it between your fingers.
STEP 4: Turn the dough out onto a lightly floured surface and roll it into a large rectangle. Roll as thin as you can manage, aiming for even thinner than 1/8 inch. The dough will puff during baking, so thinner is better for crispy results.
STEP 5: Use a knife, pizza cutter, or fluted pastry wheel to slice the dough into 1-inch squares. Poke a hole through the center of each cracker with the flat end of a skewer, then transfer the squares to your prepared baking sheets. Sprinkle the tops with more salt.
STEP 6: Bake for 17 to 20 minutes, checking the bottoms for a deep golden brown color. If they’re too pale, they won’t crisp up properly. Let the crackers cool completely on the pans before eating.
Tricks for Perfectly Crisp Cheez-Its Every Time
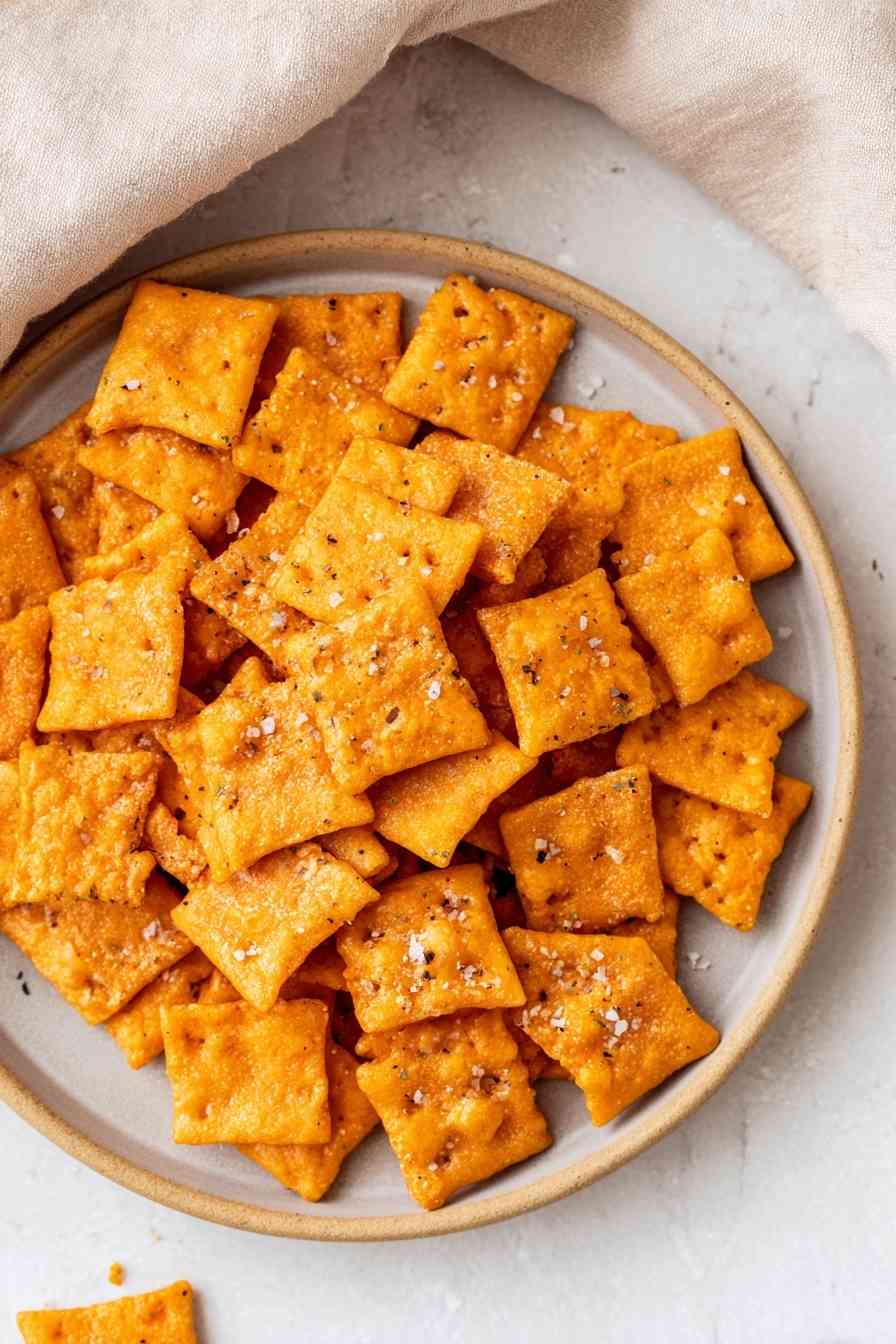
- Roll the dough as thin as possible. If it’s too thick, the crackers puff up into soft, biscuit-like squares instead of staying flat and crispy. Aim for thinner than 1/8 inch.
- Shred your own cheese from a block. Pre-shredded cheese contains anti-caking agents that interfere with texture and melt, so freshly shredded cheddar gives you better flavor and crispiness.
- Adjust salt if you’re using salted butter. If your butter is salted, cut the 1/2 teaspoon of salt in the dough in half to avoid over-salting. And if you’re using table salt instead of kosher, reduce the amount slightly since table salt is finer and saltier by volume.
- Don’t underbake. The bottoms should be deep golden brown, not pale. Light crackers won’t have the crunch you’re after, so let them go the full time if needed.
Snacking Ideas: What to Serve with Your Cheez-Its
Serve them alongside a cheese board with grapes, salami, and a sharp white cheddar dip for a snack spread that feels a little fancy. Pair with tomato soup or a creamy bisque for a nostalgic lunch combo that works just as well with homemade crackers as it does with the boxed kind. Pack them in lunchboxes or snack bags for road trips, hikes, or afternoon pick-me-ups—they travel well and stay crispy for days.
Homemade Cheez-Its: Common Questions & Troubleshooting
Can I use pre-shredded cheese instead of shredding my own?
You can, but the texture won’t be as good. Pre-shredded cheese contains anti-caking agents that prevent it from melting smoothly, which can make the crackers less crispy and slightly grainy. Shredding your own cheddar from a block takes only a minute and makes a noticeable difference in flavor and texture.
How do I know when the Cheez-Its are baked enough for maximum crunch?
Check the bottoms of the crackers. They should be deep golden brown, not pale or lightly tan. If they’re too light, they’ll stay soft instead of crisping up as they cool. Don’t be afraid to let them go the full 20 minutes if needed, especially if your oven runs cool.
Is it possible to make these crackers gluten-free?
The recipe hasn’t been tested with gluten-free flour, and feedback suggests the crackers don’t turn out as crispy when made with gluten-free blends. If you want to try it, use a 1-to-1 baking blend and expect a softer texture. You may need to bake them a bit longer to compensate.
What’s the best way to get even, bite-sized squares?
Use a pizza cutter or a fluted pastry wheel for clean, straight cuts. A ruler helps if you want perfectly uniform squares, but eyeballing it works fine too. The key is rolling the dough evenly so all the crackers bake at the same rate, which matters more than perfect sizing.
Can I freeze homemade Cheez-Its for later?
Freezing isn’t recommended. The crackers lose their crispiness when frozen and thawed, and they don’t reheat as well as fresh ones. Instead, store them in an airtight container at room temperature and re-crisp them in the oven if they soften over time.
Keeping Your Cheez-Its Fresh (and Crispy!)
Store the cooled crackers in an airtight container at room temperature. They’ll stay crispy for up to a week, though they rarely last that long.
If they start to soften, spread them on a baking sheet and reheat in a 300°F oven for 5 to 8 minutes to bring back the crunch. Don’t refrigerate or freeze them—both methods introduce moisture that ruins the texture, and reheating from frozen doesn’t restore the same crispiness you get from fresh crackers.
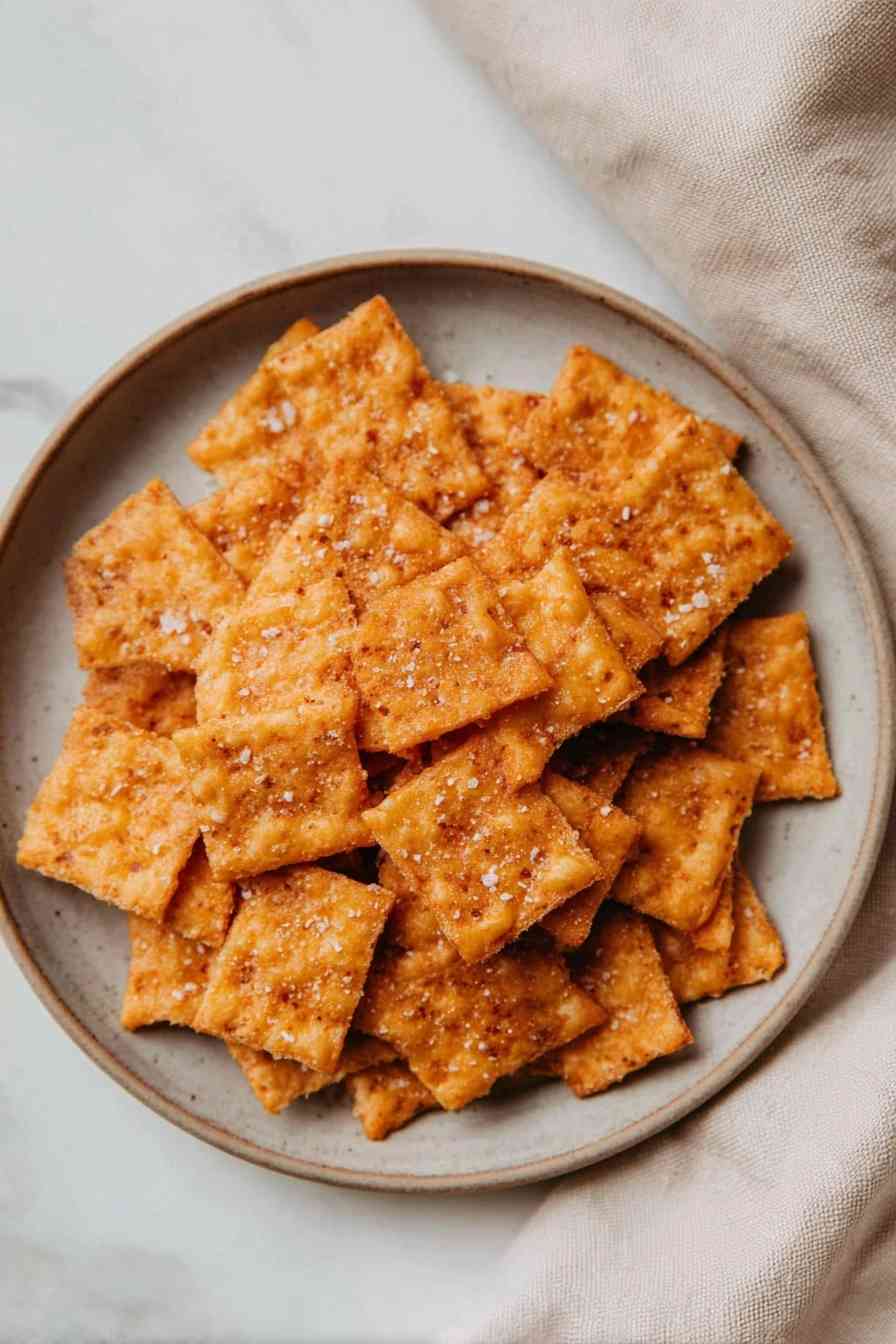
Homemade Cheez-Its
Ingredients
Equipment
Method
- Set your oven to preheat at 325°F (163°C) and line two baking sheets with parchment paper.
- Add shredded cheese, flour, and salt to a food processor, pulsing several times to combine. Scatter in the butter cubes and pulse again until the mixture is crumbly.
- Pour in the cold milk and continue pulsing until the dough is crumbly but will hold together when pressed between your fingers. It will not form a full dough ball.
- Transfer the dough to a floured surface. Roll it into a large rectangle, aiming for thinner than 1/8 inch for crispy crackers.
- Cut the dough into 1-inch squares using a knife, pizza cutter, or pastry wheel. Use the blunt end of a skewer to poke a hole through the center of each cracker. Move the squares to the prepared baking sheets and sprinkle extra salt over the top.
- Bake the crackers for 17–20 minutes, until the bottoms turn a deep golden brown. Let them cool completely on the pans before eating.