

Homemade Eggnog is a rich, creamy holiday classic that beats store-bought versions.
There’s something wonderfully nostalgic about making eggnog from scratch during the holidays. The process feels a little old-fashioned in the best way, and the result is this thick, velvety drink that tastes like Christmas in a glass. The combination of egg yolks and heavy cream creates an incredibly rich base, while nutmeg and vanilla bring that warm, festive spice you expect from the season.
If you’ve been hesitant about tempering eggs, this recipe walks you through it gently. The technique sounds fancier than it actually is, and once you get the rhythm down, you’ll feel confident making eggnog every year. Plus, you can adjust the thickness to your liking, serve it with a cloud of whipped cream and cinnamon, or even add a splash of non-alcoholic rum extract for extra depth.
The whole process takes about an hour and fifteen minutes from start to finish, including chilling time, and you’ll end up with a batch that’s safe, delicious, and impressively homemade.
Step-by-Step: Making Eggnog from Scratch
STEP 1: In a mixing bowl, whisk together the egg yolks and granulated sugar until the mixture is smooth, creamy, and slightly pale. This step helps dissolve the sugar and creates a stable base for tempering.
STEP 2: Combine the heavy whipping cream, milk, nutmeg, and salt in a saucepan over medium heat. Stir frequently as the mixture warms to a soft simmer, making sure it doesn’t boil.
STEP 3: Once the cream mixture is hot, slowly stream one ladle of it over the egg yolks while whisking quickly and continuously. This tempering step warms the eggs gradually without scrambling them. Repeat this process, adding one ladle at a time, until most of the hot liquid has been incorporated and the egg mixture feels warm.
STEP 4: Pour the tempered egg mixture back into the saucepan and whisk generously for about a minute. The eggnog should thicken slightly and become evenly combined.
STEP 5: Remove the saucepan from the heat and stir in the vanilla extract. If you’d like, add a quarter cup of non-alcoholic rum extract or apple juice for a deeper flavor. Let the mixture cool slightly at room temperature.
STEP 6: Pour the eggnog through a fine mesh strainer into a jar or pitcher. Press any remaining liquid through the strainer to ensure a smooth, lump-free texture. Refrigerate until completely chilled, at least an hour.
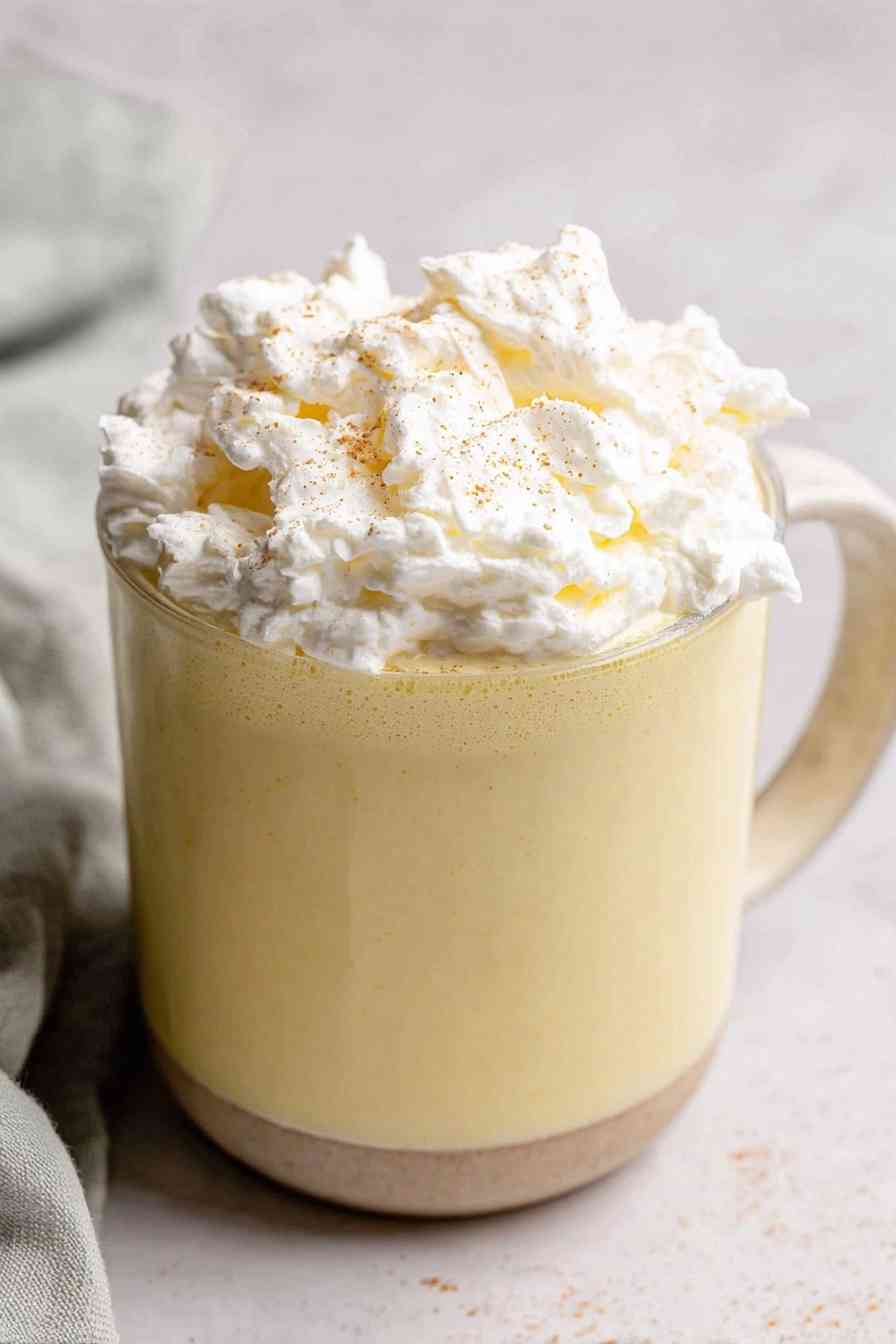
STEP 7: Serve the eggnog thick with whipped cream and a sprinkle of cinnamon, or blend it with a tablespoon or two of milk to thin it out if you prefer a lighter consistency.
What You’ll Need for Classic Homemade Eggnog
This recipe relies on a short list of ingredients that come together to create that signature holiday richness and spice.
- Egg yolks – provide the creamy, custard-like base and give eggnog its signature thick texture.
- Granulated sugar – sweetens the drink and helps create a smooth, stable mixture when whisked with the yolks.
- Heavy whipping cream – adds luxurious richness and body to the eggnog.
- Milk – balances the heaviness of the cream and makes the drink more pourable.
- Ground nutmeg – delivers the warm, spiced flavor that defines classic eggnog.
- Salt – enhances the overall flavor and balances the sweetness.
- Vanilla extract – rounds out the flavor with subtle warmth and depth.
- Ground cinnamon – used as a garnish for a festive finishing touch.
- Non-alcoholic rum extract or apple juice – optional additions that deepen the flavor without adding alcohol.
What Goes Well with Homemade Eggnog?
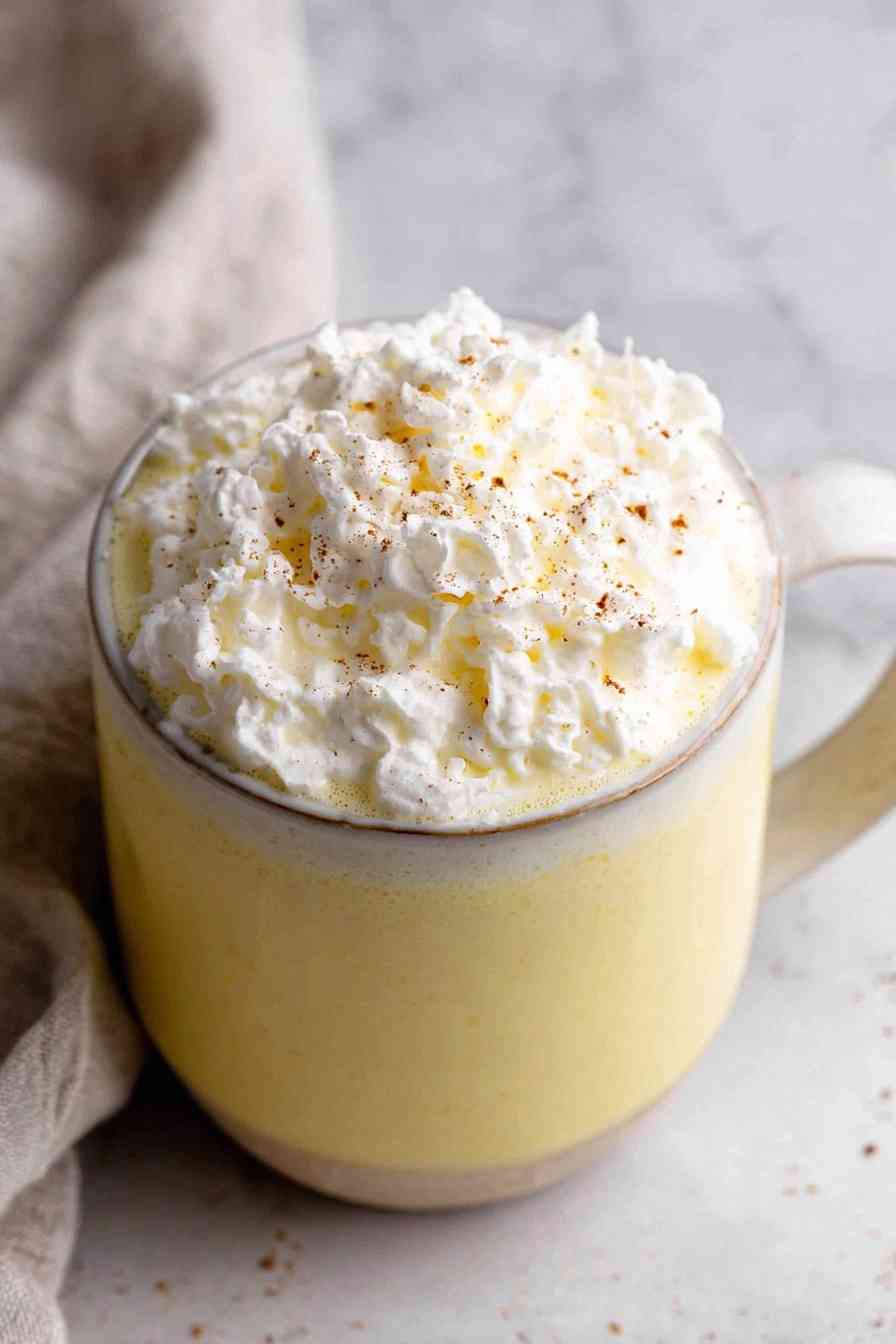
Eggnog pairs beautifully with holiday cookies like gingerbread, snickerdoodles, or shortbread. The rich, spiced drink complements the sweetness and texture of baked goods without overwhelming them.
You can also serve it alongside a cheese and fruit platter at holiday gatherings. The creamy, sweet profile balances nicely with sharp cheeses and fresh or dried fruit.
For a cozy evening, enjoy a glass with a slice of spiced cake, pumpkin bread, or pecan pie. The nutmeg and vanilla in the eggnog echo the warm spices in most holiday desserts.
Eggnog Tips for Creaminess and Flavor
- Whisk constantly during tempering. Add the hot liquid one ladle at a time and keep your whisk moving. If you rush or slow down, the eggs can scramble and ruin the texture.
- Don’t skip the straining step. Even with careful tempering, tiny bits of cooked egg can form. Straining through a fine mesh ensures a smooth, lump-free drink every time.
- Chill completely before serving. The flavor deepens and the texture improves significantly once refrigerated for at least an hour. Warm or lukewarm eggnog doesn’t deliver the same experience.
- Adjust thickness to your preference. If the eggnog is too thick after chilling, blend in a tablespoon or two of milk until it reaches your desired consistency. Some prefer it dense and custard-like, others more pourable.
Homemade Eggnog: Your Questions Answered
How do I avoid scrambled eggs while tempering?
Add the hot liquid one ladle at a time and whisk quickly and continuously. The key is raising the egg temperature gradually so they warm without cooking into solid bits. Patience and constant whisking are your best tools here.
Can I make this homemade eggnog ahead of time?
Yes, eggnog actually benefits from sitting in the fridge for a day or two. The flavors meld and the texture becomes even creamier. You can make it up to a week in advance and store it in an airtight container.
Is it safe for kids to drink this eggnog?
Yes, the eggs are gently heated during the tempering process, which makes the eggnog safe to drink. The mixture reaches a temperature that reduces any risk associated with raw eggs, so it’s appropriate for all ages.
What can I use to make it dairy-free?
Substitute coconut cream for the heavy cream and a non-dairy milk like almond or oat milk for the regular milk. The texture will be slightly different, but you’ll still get a rich, creamy drink with the same spiced flavor.
How do I thin out eggnog if it’s too thick?
Blend or whisk in a tablespoon or two of milk until it reaches your desired consistency. Start with a small amount and add more as needed, since it’s easier to thin than to thicken it back up.
Storing and Freezing Your Eggnog
Store leftover eggnog in a pitcher or jar with an airtight lid in the fridge for up to a week. The thick texture holds up well, though you may need to give it a quick stir or shake before serving if it settles.
To freeze eggnog, pour it into a freezer-safe container and leave about an inch of space at the top to allow for expansion. It will keep in the freezer for up to three months. Thaw it overnight in the fridge, then shake or blend it before drinking, as the mixture may separate slightly during freezing.
If you notice any separation after thawing, a quick blend or vigorous shake will bring it back together. The flavor and richness remain intact even after freezing.
Homemade Eggnog
Ingredients
Equipment
Method
- Whisk together the egg yolks and sugar in a mixing bowl until the mixture is smooth and creamy.
- In a saucepan, combine the heavy whipping cream, milk, ground nutmeg, and a pinch of salt. Heat over medium, stirring often, until the mixture just begins to simmer but does not boil.
- Gradually ladle some of the hot cream mixture into the egg yolks while whisking constantly to gently warm (temper) the eggs. Repeat, adding more of the hot liquid in batches, until most of it is incorporated and the mixture feels warm.
- Return the egg and cream mixture to the saucepan. Continue whisking over medium heat for about a minute until it thickens slightly and is well blended.
- Remove the saucepan from the heat. Stir in the vanilla extract and, if desired, the non-alcoholic rum extract or apple juice. Let the mixture cool for a few minutes.
- Pour the eggnog through a fine mesh strainer into a jar or pitcher, pressing to extract as much liquid as possible. Refrigerate until completely cooled.
- Serve the thick eggnog as is with a dollop of whipped cream and a sprinkle of cinnamon, or blend in a tablespoon or two of milk if you prefer it thinner. Enjoy!