

Split Pea Soup made from scratch rewards patience with a thick, savory broth built on beef bone and smoked meat.
The aroma alone is worth the wait. As split peas break down over a couple of hours, they release their starch and meld with the smoky richness from a beef or ham bone, creating a broth that clings to your spoon. This is the kind of soup that improves as it sits, thickens as it cools, and tastes even better the next day.
The beauty of this approach lies in its simplicity. You don’t need to soften vegetables in butter first or fuss with complicated layering. Everything goes into the pot at once, except for the carrots and potatoes, which join the party about 40 minutes before serving. The bone does most of the work, infusing the liquid with deep, meaty flavor while the peas slowly dissolve into a velvety base. At the end, you pull out the bone, shred about 2 cups of smoked beef or lamb from it, and stir that tender meat back into the pot.
If you’re looking for a soup that rewards patience and fills the house with the kind of smell that makes everyone ask when dinner will be ready, this is it.
What Goes Into Homemade Split Pea Soup
This soup builds its flavor from a handful of sturdy ingredients that work together over time.
- Dry split peas – the foundation that thickens the broth and creates body without any cream or flour.
- Beef soup bone – brings smoky depth and richness, plus the meat you’ll shred back in at the end.
- Smoked beef or lamb – cut from the bone after cooking, this adds tender, flavorful bites throughout the soup.
- Onions and onion powder – a double dose of onion flavor that builds savory backbone.
- Butter and olive oil – fat that helps carry flavor and adds richness to the broth.
- Garlic – aromatic warmth that complements the smokiness.
- Bay leaves and thyme – classic herbs that deepen the savory profile without overwhelming the peas.
- Water – the liquid base that transforms into a thick, flavorful broth as the peas break down.
- Carrots and russet potatoes – added late to stay tender without turning mushy, these bring sweetness and heft.
Step-by-Step: Making Split Pea Soup from Scratch
STEP 1: Add the meaty beef soup bone to a large soup pot along with the rinsed split peas, diced onions, onion powder, butter, olive oil, minced garlic, bay leaves, and thyme sprigs.
STEP 2: Pour in the water and bring everything to a boil over high heat, then reduce to a gentle simmer with the lid slightly cracked to allow steam to escape.
STEP 3: Let the soup simmer for 2.5 hours, stirring occasionally to lift any peas that settle on the bottom and prevent sticking. The longer it simmers, the thicker and more flavorful it becomes. If you’re at high altitude, plan for 5 or more hours of simmering time.
STEP 4: About 40 minutes before you plan to serve, add the diced carrots and potatoes so they cook until just fork tender without falling apart.
STEP 5: Once the vegetables are tender, remove the beef soup bone, bay leaves, and thyme stems. Shred or cut about 2 cups of smoked meat from the bone and stir it back into the soup.
STEP 6: Taste and adjust seasoning if needed, then ladle into bowls and serve hot.
Secrets for the Thickest, Richest Split Pea Soup
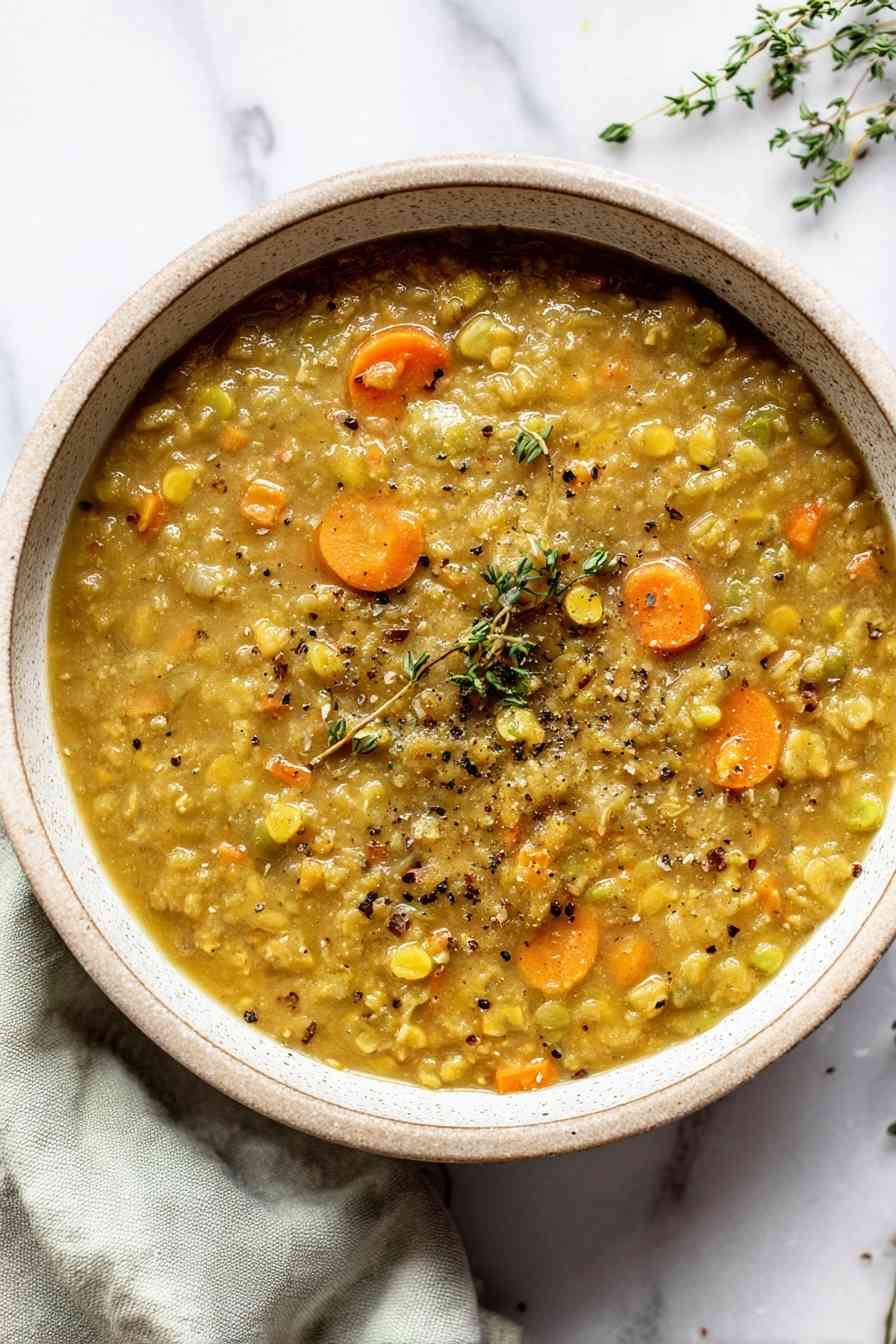
- Stir the pot every 20 to 30 minutes to prevent peas from settling and burning on the bottom. A quick lift with your spoon keeps everything moving and avoids scorching.
- If your bone is small or lacks much meat, add up to 4 chicken bouillon cubes to boost the broth’s savory depth. You can also toss in a diced ham steak at the start for extra meatiness.
- Keep the simmer low and steady if you plan to cook for several hours. Too much heat evaporates liquid faster than the peas can thicken it, leaving you with a thin, watery soup.
- Add carrots and potatoes at the right moment. Tossing them in too early turns them to mush, but waiting until 40 minutes before serving keeps them tender and intact.
What to Serve with Split Pea Soup
Crusty bread or a warm baguette works best for dipping into the thick broth. A simple green salad with a tangy vinaigrette cuts through the richness, while cornbread or buttermilk biscuits add heartier substance if you want more on the side.
Split Pea Soup Questions, Answered
Do I need to soak split peas before cooking?
No. Split peas are already halved and cook relatively quickly compared to whole legumes. Skipping the soak saves time without affecting texture, and the long simmer breaks them down beautifully on its own.
Can I use a ham bone substitute or no bone at all?
A bone-in picnic shoulder or smoked ham shank works well, and a ham hock is the next best option. If you’re going boneless, use chopped salted pork or smoked bacon plus bouillon cubes to build the savory, smoky base the soup needs.
How do I adjust split pea soup for high altitude?
At higher elevations, water boils at a lower temperature, so the soup takes longer to thicken. Plan for 5 or more hours of simmering time, and check the peas periodically to see if they’ve broken down enough to create that thick, creamy texture.
What’s the best way to thicken or thin the soup?
To thicken, simmer uncovered for an additional 20 to 30 minutes, stirring often. To thin, add water or broth a half cup at a time until you reach the consistency you want. The soup naturally thickens as it cools, so keep that in mind when adjusting.
Can I make this soup vegetarian?
Yes, but you’ll lose the smoky depth. Skip the bone and smoked meat, use vegetable broth instead of water, and add smoked paprika or liquid smoke for a hint of that savory, smoky flavor. A tablespoon of miso paste can also add umami richness.
Storing & Freezing Your Split Pea Soup
Store cooled soup in an airtight container in the fridge for up to 3 days. The soup thickens significantly as it chills, so you may need to add a splash of water or broth when reheating.
For freezing, make sure the carrots and potatoes are cooked until just fork tender so they don’t turn mushy after thawing. Freeze in portion-sized containers for up to 3 months. Thaw overnight in the fridge, then reheat gently on the stovetop, stirring occasionally and adding liquid as needed to loosen the texture.
This soup improves after a day or two in the fridge, making it a solid candidate for meal prep or a make-ahead dinner.
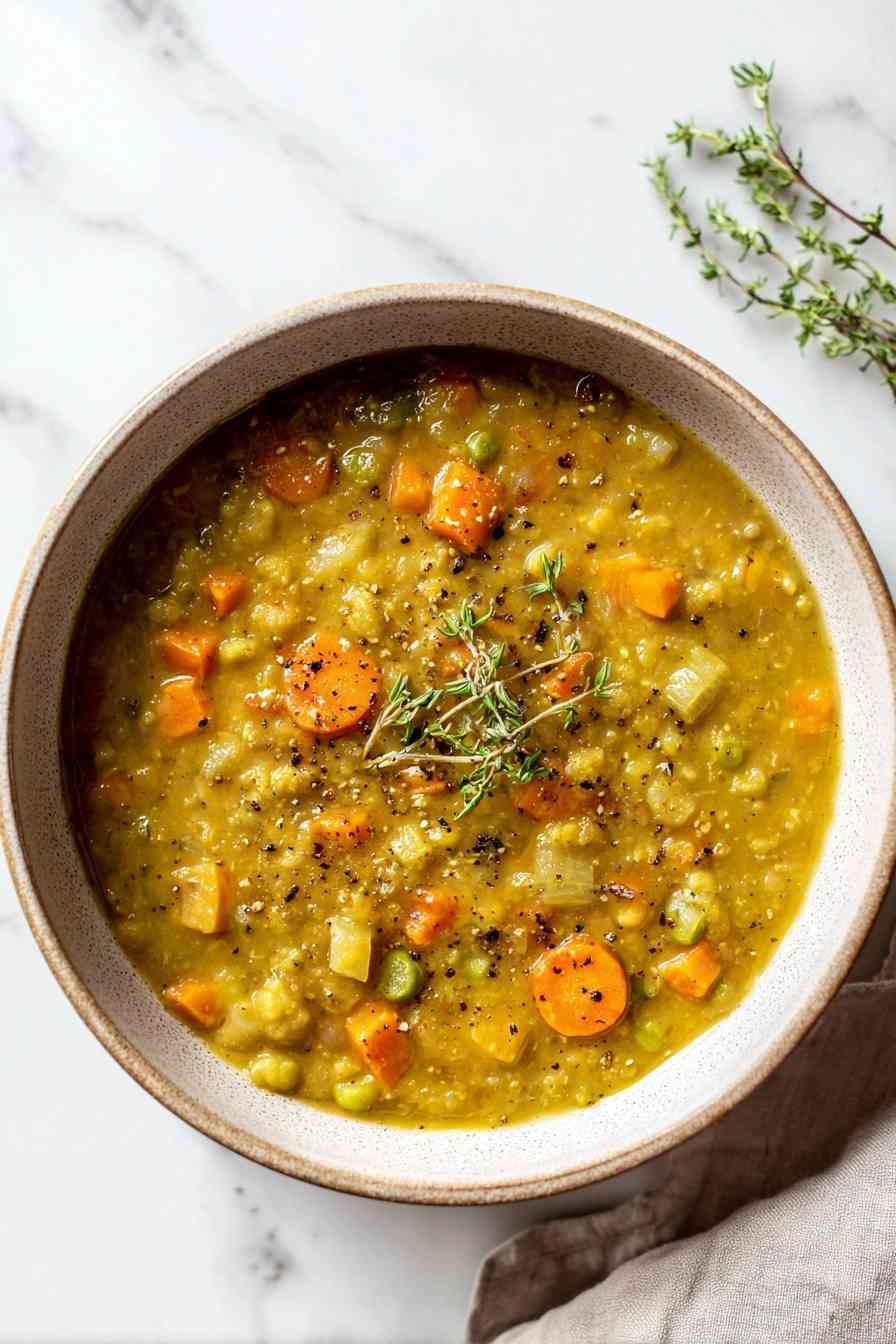
Split Pea Soup
Ingredients
Equipment
Method
- Place the beef soup bone, rinsed split peas, diced onions, onion powder, butter, olive oil, minced garlic, bay leaves, and thyme sprigs in a large soup pot.
- Pour in the water. Bring the mixture to a boil, then lower the heat to maintain a gentle simmer with the lid slightly ajar.
- Simmer the soup for 2 1/2 hours, stirring occasionally to prevent the peas from sticking or settling at the bottom. Adjust simmer time as needed for altitude or for a thicker texture.
- About 40 minutes before serving, stir in the diced carrots and potatoes.
- Once the carrots and potatoes are fork-tender, remove the soup bone, bay leaves, and thyme stems from the pot. Shred or cut 2 cups of smoked beef or lamb from the bone and return the meat to the soup. Stir well and serve hot.