Ingredients
Equipment
Method
- Line 2 sheet pans with parchment paper and unwrap all 24 chocolate kisses.
- Melt the chocolate chips in a microwave-safe bowl at 50% power in 30-second intervals, stirring between each burst until about 90% melted. Stir to finish melting completely. Add optional oil for shinier chocolate if desired.
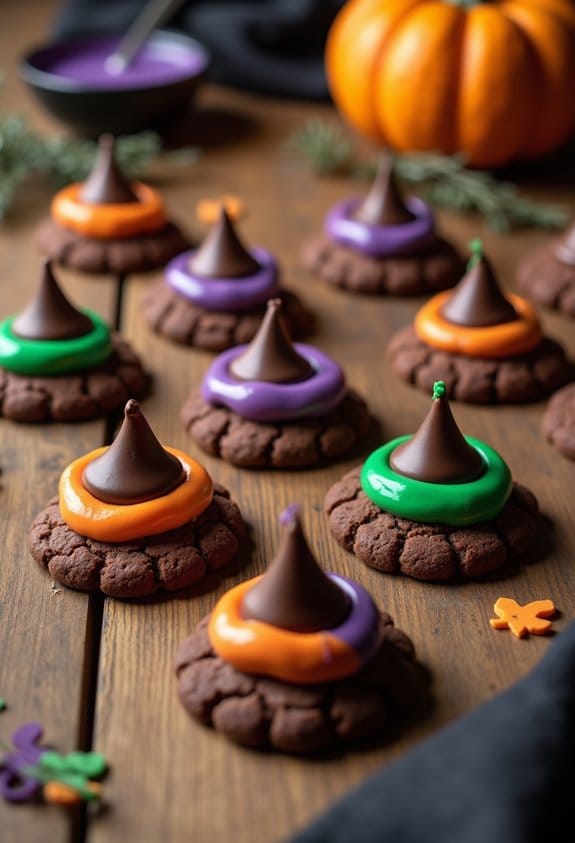
- If using plain cookies, dip the top of each cookie into the melted chocolate, covering the surface and outer edge to create the wide brim of the witch hat. Place chocolate-side-up on the lined pan.
- Refrigerate the chocolate-dipped cookies for about 10 minutes until the chocolate firms up.
- Meanwhile, whisk together the powdered sugar and water to make a thick icing with toothpaste consistency. Divide this mixture between 2-3 small bowls and tint with gel food coloring in orange, green, or purple.
- Transfer the colored icing to piping bags (or zip-top bags with a tiny corner snipped off) and pipe a neat ring about 1 inch across in the center of each cookie to create the decorative band around the witch hat.
- Immediately press a chocolate kiss into the icing ring on each cookie, holding it for 3-5 seconds to secure. For even bands, try gently spinning the cookie as you press down the kiss.
- Allow the cookies to stand at room temperature for 15-20 minutes until the icing firms up before serving.
Nutrition
Notes
For a mint variation, use thin-mint style cookies with dark chocolate for a delightful flavor twist. Add sanding sugar to the icing band while still wet for a sparkly effect that kids love. These cookies can be made 1-2 days ahead and stored in an airtight container at room temperature. For dietary restrictions, use dairy-free chocolate and cookies without milk ingredients.
These witch hat cookies pair wonderfully with warm apple cider, pumpkin cupcakes, or as part of a larger Halloween dessert spread.