Ingredients
Equipment
Method
- Add the blackberries, sugar, and lemon juice to a saucepan over medium heat. Let the mixture simmer for about 10 minutes, stirring occasionally, until the berries have broken down and released their juices. Strain the mixture through a fine-mesh strainer, pressing on the solids to extract all the sauce while leaving the seeds behind. Stir the lemon zest into the strained sauce and set it aside to cool slightly.
- Preheat your oven to 350°F (175°C) and line a 9x13 inch baking dish with parchment paper. Combine the melted butter, cracker crumbs, and powdered sugar, stirring until the mixture resembles wet sand. Press the crumb mixture firmly and evenly into the bottom of the prepared pan — a flat-bottomed measuring cup works well for this. Bake for 10 minutes until lightly golden and set, then remove from the oven and allow to cool while you prepare the filling.
- Reduce the oven temperature to 325°F (165°C). In a large bowl, beat together the cream cheese, sour cream, vanilla, salt, and sugar until the mixture is completely smooth and creamy, about 2–3 minutes. Add the eggs one at a time, beating on low speed after each addition just until incorporated — overmixing after adding the eggs can introduce too much air. The finished filling should be smooth and thick but still pourable.
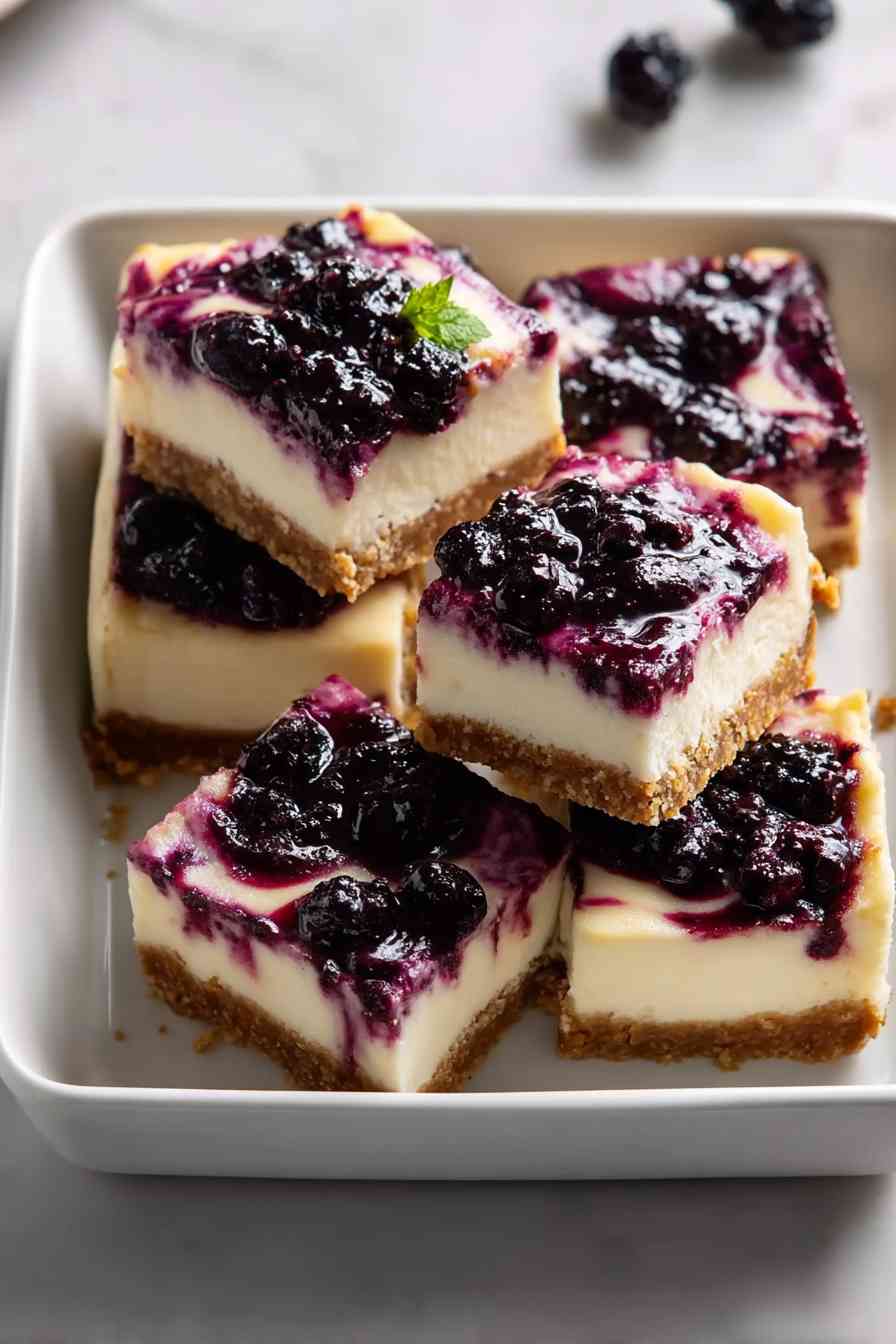
- Pour half of the cheesecake filling evenly over the cooled crust. Drizzle half of the berry sauce over the filling, then use a thin knife or skewer to swirl it through with gentle back-and-forth motions. Spread the remaining cheesecake filling carefully on top, then drizzle the rest of the berry sauce over it and swirl again to create a marbled pattern across the surface.
- Set the baking dish inside a larger roasting pan and pour hot water into the outer pan until it reaches about halfway up the sides of the cheesecake dish. Bake at 325°F (165°C) for 45–60 minutes, until the edges are set and firm but the center still has a slight jiggle of about a 2-inch circle when you gently shake the pan. Slightly underbaked is preferable to overbaked, as the cheesecake continues to set as it cools.
- Turn the oven off and open the door about 4 inches. Allow the cheesecake to rest in the warm oven for 1 hour to cool gradually and prevent cracking. Remove it from the oven and let it cool completely at room temperature for another hour, then transfer to the refrigerator and chill overnight, or for at least 8 hours.
- Once fully chilled, lift the cheesecake out of the pan using the parchment paper overhang and place it on a cutting board. Slice into 12–16 bars using a sharp knife dipped in hot water and wiped clean between each cut for neat, clean edges.
Notes
Frozen blackberries work well in place of fresh — thaw and drain any excess liquid before simmering, as they release more moisture. For a gluten-free version, substitute finely ground gluten-free graham crackers or cookies for the cracker crumbs; the rest of the recipe is naturally gluten-free. The bars can be made 1–2 days ahead and stored in an airtight container in the refrigerator for up to 5 days — the flavor actually improves after a day as the swirl mellows. For longer storage, wrap individual bars tightly in plastic wrap and freeze for up to 2 months, thawing overnight in the refrigerator before serving. Serve with a dollop of whipped cream, a few fresh blackberries, or a light dusting of powdered sugar for a polished presentation.