Ingredients
Equipment
Method
- Preheat your oven to 350°F (175°C).
- Grease two 9-inch round cake pans and line them with parchment paper.
- Prepare one box of vanilla cake mix according to package instructions.
- Divide this batter equally into two bowls.
- Dye one portion of batter red and the other yellow using food colouring.
- Pour each colored batter into its own prepared cake pan. Bake as directed for two 9-inch rounds.
- Repeat with the second cake mix, this time colouring half the batter green and the other half blue. Bake as before.
- Let all cake layers cool completely.
- Meanwhile, make one batch of vanilla buttercream.
- Carefully trim the top of each cake layer to level them. Save some of the cake scraps to use for making ears.
- Place the purple (or your darkest coloured) cake layer on a serving plate and spread a generous layer of buttercream over the top.
- Stack the blue layer on top, frost, then repeat with yellow and then red layers, layering buttercream between each and finishing with more on top.
- Lightly frost the sides of the cake in a thin layer to create a crumb coat, smoothing it out.
- Shape the reserved cake scraps into two ear forms, inserting a toothpick into each base to help anchor them to the cake. Cover the ear shapes with a light coating of frosting.
- Frost the sugar cone lightly and then roll it in sprinkles to create the unicorn horn.
- Chill the assembled cake, prepared ears, and horn in the refrigerator for 15 minutes to allow the icing to set.
- Remove from the fridge and cover the cake and ear shapes with the remaining buttercream, smoothing well.
- Decorate the inner part of each ear with sprinkles to create colorful details.
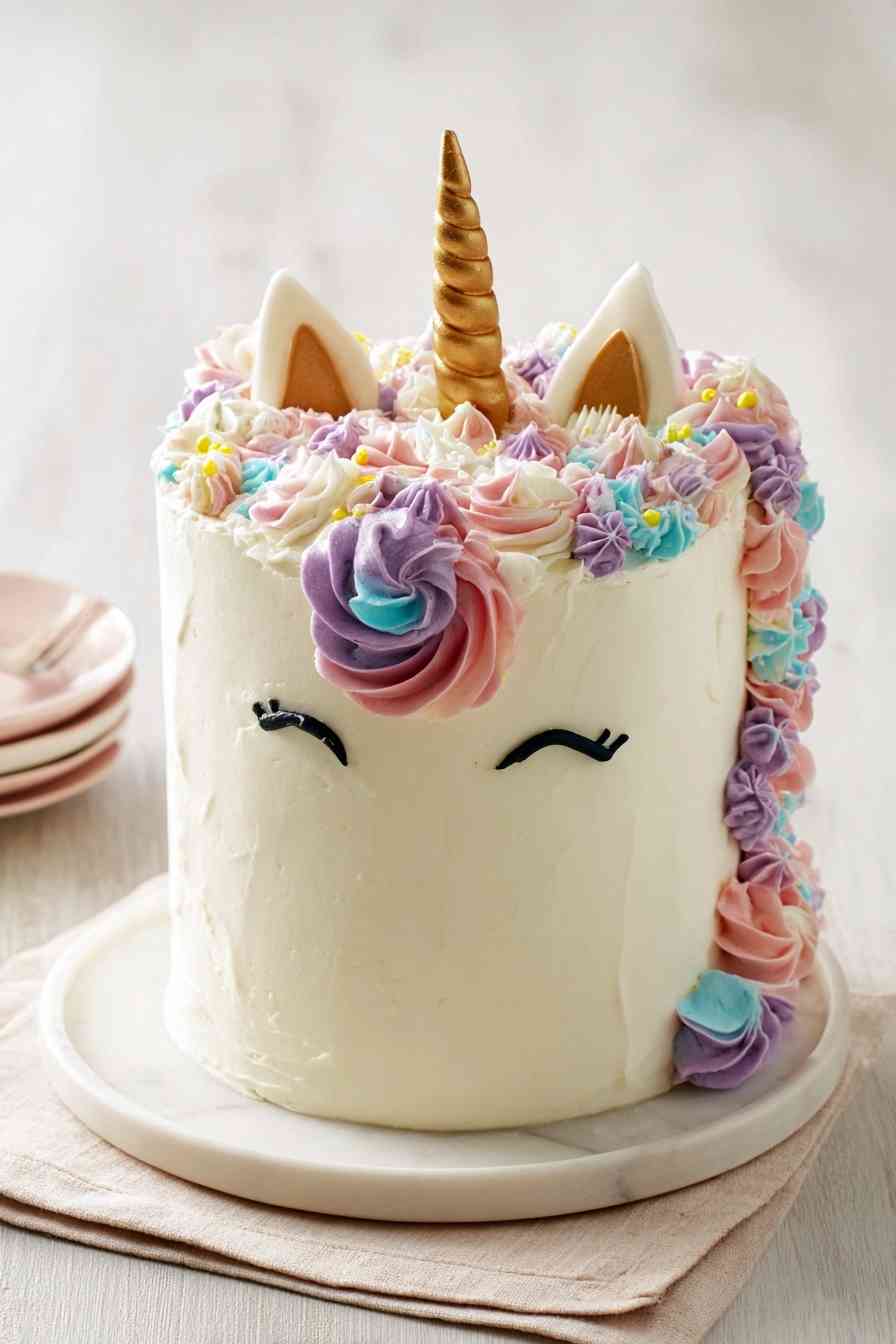
- Carefully position the horn and ears on the top of the cake.
- Mix a second recipe of buttercream and divide it evenly among four small bowls.
- Tint each bowl of buttercream with a different color of your choice for the mane.
- One color at a time, transfer the tinted buttercream into a piping bag fitted with your desired tip.
- Pipe colorful buttercream flowers around the base of the horn and ears to form the unicorn's mane, switching or layering colors for a gradient effect.
- With the black gel icing, pipe closed eyes onto the front of the cake to complete the unicorn look.
- Slice and enjoy your rainbow unicorn cake!
Nutrition
Notes
To save time, the cake layers, ears, and horn can be prepared up to two days ahead, wrapped well and refrigerated until ready to assemble. Use gel food coloring for vivid rainbow colors without affecting flavor or batter texture. Level each layer for stable stacking, and don’t skip chilling before final frosting for a clean finish. Store the finished cake loosely covered in the fridge for up to three days, and let it come to room temperature before serving for the best texture. Leftover slices can be wrapped and refrigerated for up to four days. For a homemade touch, you can substitute your favorite sturdy vanilla cake and buttercream recipe for the boxed mix.