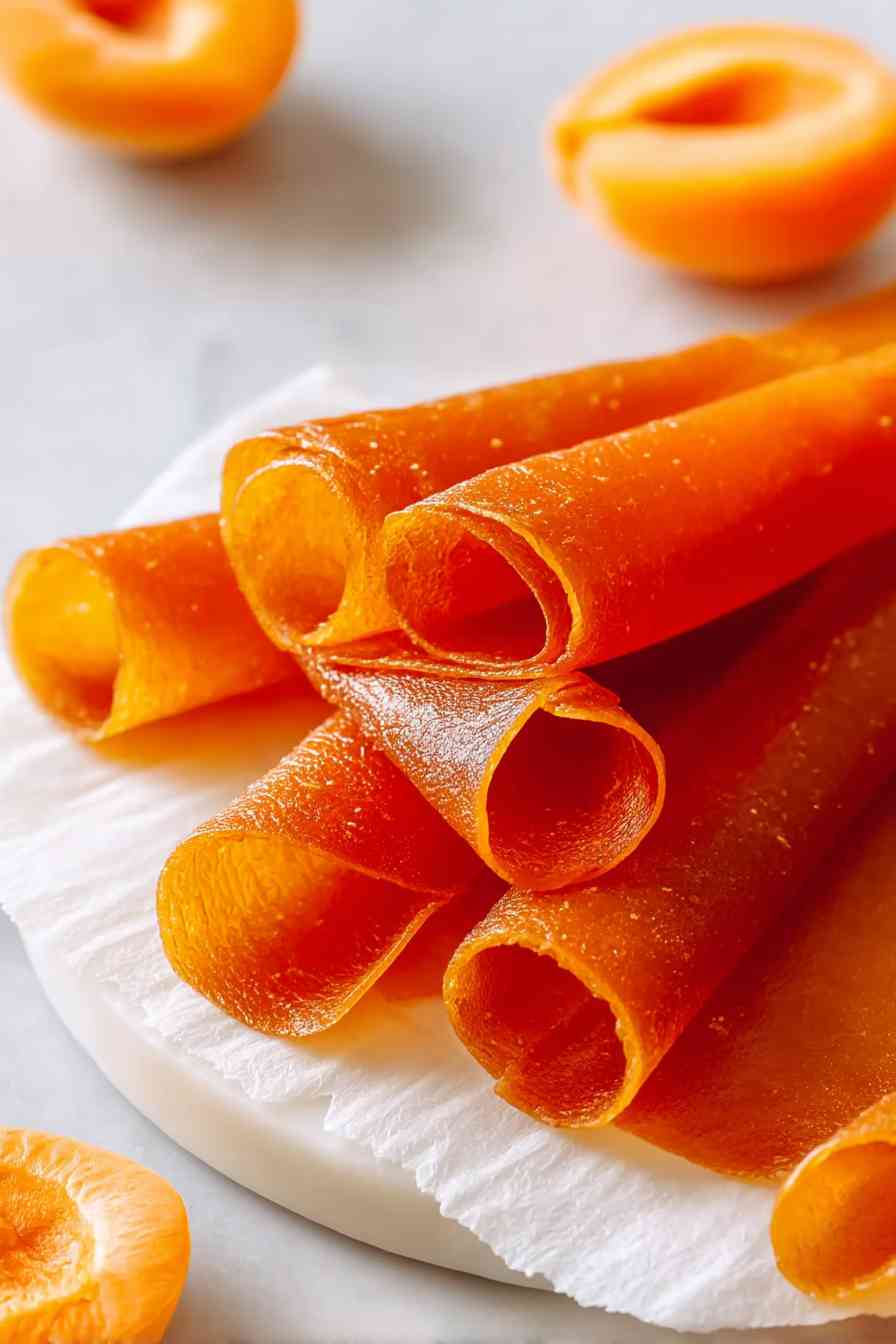

Make a 2 ingredient apricot glaze in just 5 minutes with pantry staples.
You start with apricot jam and orange liqueur, warm them together on the stove, and end up with something that looks almost too professional to have come from your kitchen. The glossy finish catches the light beautifully, whether you’re brushing it over a holiday ham, glazing pastries fresh from the oven, or adding a sweet-savory shine to roasted vegetables.
The quick stovetop method keeps things simple, and the optional straining step means you control the texture completely. Want an ultra-smooth glaze that looks like it came from a bakery case? Strain it. Prefer a slightly thicker finish with visible fruit pieces? Skip that step and move on with your life. Either way, you get bright, tangy flavor from a splash of fresh lemon juice that keeps the sweetness in check.
What You Need for Apricot Glaze
The ingredient list is short enough to memorize, which makes this glaze one of those recipes you can pull together without much planning.
- Apricot jam – provides the base sweetness, fruit flavor, and natural thickness that holds the glaze together.
- Orange liqueur – adds a warm citrus note and helps thin the jam into a brushable consistency while deepening the overall flavor.
- Fresh lemon juice – balances the sweetness with a bright, tangy edge that prevents the glaze from tasting one-dimensional.
Getting the Best Texture and Shine
- Keep the heat at medium-low to prevent scorching, which can turn the jam bitter and dull the bright apricot flavor you’re after.
- Stir frequently during the warming process so the liqueur incorporates evenly and the glaze heats through without developing hot spots.
- If you want a completely smooth finish, strain the glaze through a fine-mesh strainer while it’s still warm and press gently with the back of a spoon to push the liquid through.
- For a thicker, more rustic glaze with texture, skip the straining and let it cool slightly before brushing it on.
How to Make the 2 Ingredient Apricot Glaze
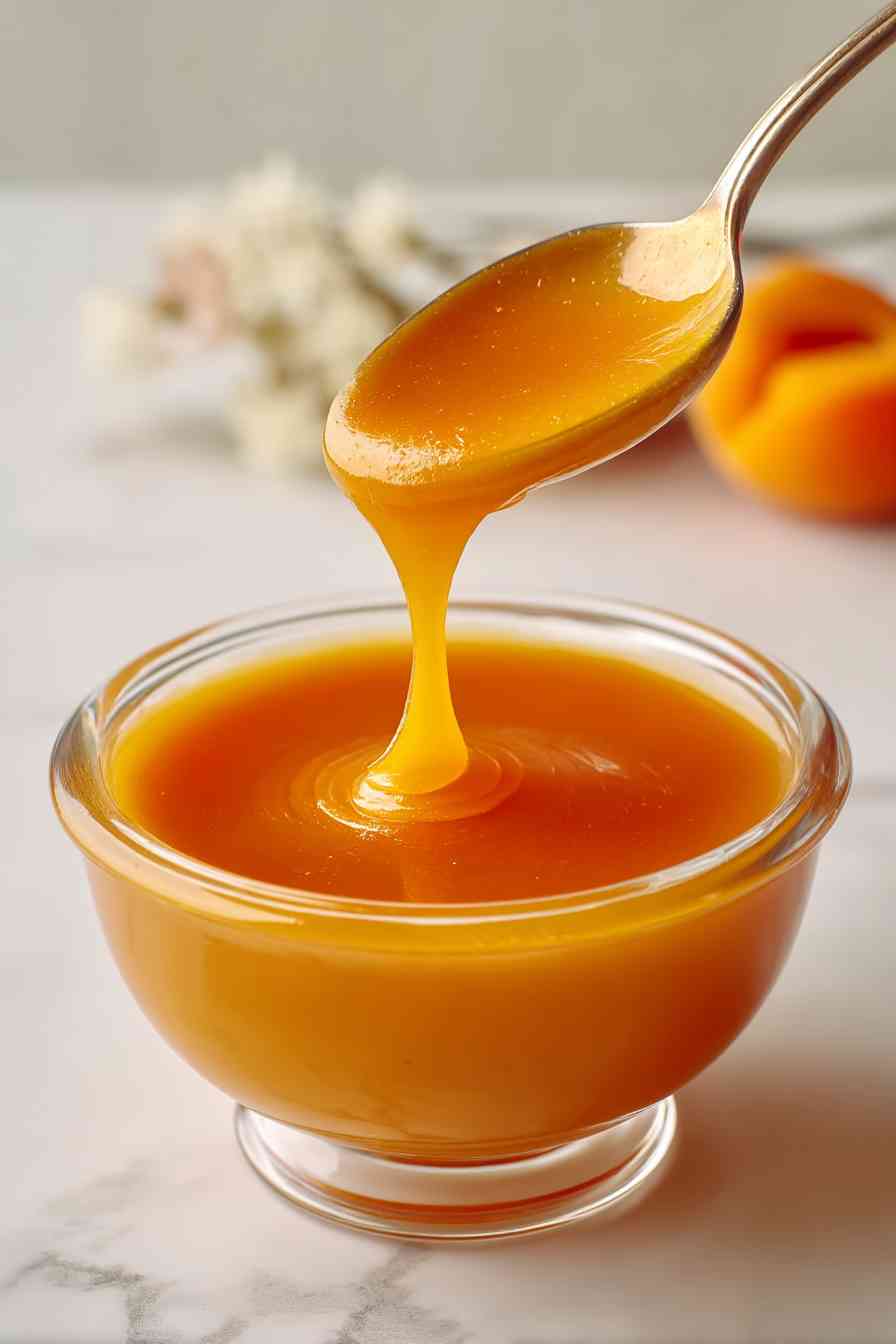
STEP 1: Combine the apricot jam and orange liqueur in a small saucepan over medium-low heat, stirring frequently for about 4 minutes until the mixture warms through and the liqueur incorporates fully.
STEP 2: Remove the pan from heat and stir in the fresh lemon juice, which adds brightness and balances the sweetness.
STEP 3: For a smooth glaze, pour the mixture through a fine-mesh strainer, pressing gently with the back of a spoon to push it through while leaving fruit solids behind.
STEP 4: If you prefer a thicker glaze with visible fruit pieces, skip the straining step and let the mixture cool slightly before using.
STEP 5: Brush the glaze onto baked goods, ham, or roasted vegetables while it’s still warm for the best adhesion and shine.
Where to Use Apricot Glaze: Best Pairings
This glaze works on both sweet and savory applications. Brush it over a holiday ham during the last 20 minutes of roasting for a glossy, caramelized finish. Use it as a glaze for fruit tarts, Danish pastries, or thumbprint cookies to add shine and fruity sweetness. Toss roasted carrots, parsnips, or Brussels sprouts with the glaze right before serving for a sweet-savory side dish. It also pairs beautifully with pork chops, roasted chicken thighs, and grilled salmon—the orange and lemon notes complement savory proteins without overwhelming them.
Apricot Glaze FAQs & Substitutions
Can I use a different jam or preserve instead of apricot?
Yes, peach, plum, or even cherry jam works well with the same method. The flavor profile shifts slightly, but the technique stays the same. Darker jams like cherry will produce a deeper, richer glaze, while lighter jams keep things bright and fruity.
Is there a non-alcoholic substitute for orange liqueur?
Replace the orange liqueur with fresh orange juice or a mix of orange juice and a splash of water. The glaze will be slightly less complex in flavor, but it still works beautifully. You can also add a small strip of orange zest while warming the jam for extra citrus depth.
Do I have to strain the glaze for it to work?
Not at all. Straining gives you an ultra-smooth, bakery-style finish, but the unstrained version works just as well for most applications. If you’re glazing ham or vegetables, the texture from the fruit pieces actually adds visual interest and a slightly more rustic look.
How long does the glaze keep, and does it need refrigeration?
Store the glaze in an airtight container in the fridge for up to two weeks. It will thicken as it cools, so gently rewarm it in a small saucepan or microwave before using. The alcohol content helps preserve it, but refrigeration is still necessary once it’s made.
Storing and Reusing Your Glaze
Transfer any leftover glaze to a small jar or airtight container and refrigerate it for up to two weeks. The glaze will thicken considerably as it cools, which is normal. When you’re ready to use it again, gently rewarm it in a small saucepan over low heat or microwave it in short bursts, stirring between each interval until it reaches a brushable consistency.
If the glaze seems too thick after reheating, thin it with a teaspoon of water or orange juice until it flows easily from a spoon. You can also freeze the glaze in small portions for up to three months, though the texture may be slightly less glossy after thawing. Keep a jar of apricot jam and a bottle of orange liqueur on hand, and you’re always five minutes away from a glossy, flavorful finish.
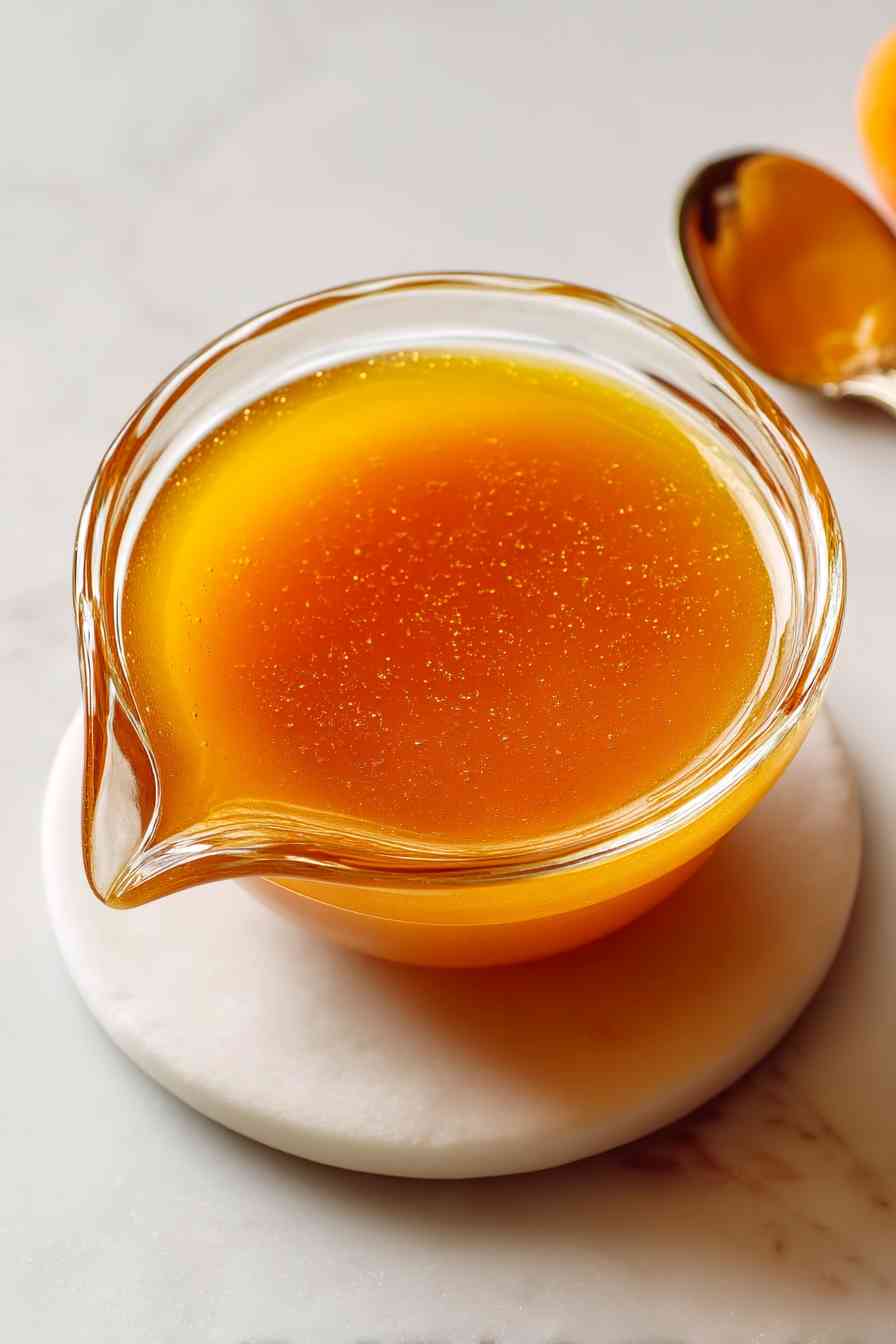
2 Ingredient Apricot Glaze
Ingredients
Equipment
Method
- Place the apricot jam and orange liqueur in a small saucepan and set over medium-low heat. Stir the mixture frequently as it warms, continuing for approximately 4 minutes until the liqueur blends smoothly into the jam and the flavors meld together. Using medium-low heat prevents scorching and maintains the bright apricot taste.
- Take the saucepan off the heat and add the fresh lemon juice, stirring to combine. If you want a perfectly smooth glaze, pass the warm mixture through a fine-mesh strainer, using the back of a spoon to gently press it through while catching any fruit solids. For a thicker glaze with more texture and visible fruit bits, simply skip straining and allow it to cool briefly.
- Use the glaze immediately by brushing it onto baked goods, ham, or roasted vegetables for a glossy, flavorful finish.