
Classic Raspberry Ice Cream combines fresh raspberries with a rich custard base.
There’s something deeply satisfying about churning your own ice cream at home, especially when you start with real raspberries and build a proper custard from scratch. This isn’t the kind of recipe you throw together on a whim, but the payoff is worth the patience. You get bright pink scoops with concentrated berry flavor and a texture that feels luxurious on the tongue, not icy or grainy like some homemade attempts.
The process involves straining fresh raspberries to remove every last seed, heating egg yolks and cream to exactly 165°F for a silky custard, then chilling the whole mixture for at least six to eight hours before you even think about churning. That overnight rest isn’t optional if you want smooth, creamy ice cream instead of a crystallized disappointment. The churning itself takes about twenty to twenty-five minutes, and then you freeze the finished product for another four to six hours until it firms up enough to scoop properly.
This is old-fashioned ice cream in the best sense, the kind that tastes like summer and feels like a small triumph when you pull it from the freezer.
What Goes Into Classic Raspberry Ice Cream
The ingredient list is short, but each component plays a specific role in building flavor and texture.
- Egg yolks – create the custard base and give the ice cream its rich, creamy structure.
- Sugar – sweetens the custard and lowers the freezing point slightly, which helps prevent iciness.
- Salt – balances the sweetness and enhances the raspberry flavor without making the ice cream taste salty.
- Heavy cream – provides fat and body, which is what makes this ice cream feel luxurious instead of thin.
- Vanilla extract – adds warmth and depth without competing with the raspberry.
- Raspberries – deliver the intense fruity flavor and natural pink color that define this ice cream.
- Lemon juice – brightens the raspberry puree and keeps the flavor from tasting flat or overly sweet.
How to Make Raspberry Ice Cream from Scratch
STEP 1: Blend the raspberries until completely smooth, then press the puree through a fine-mesh strainer into a bowl, using a spatula to extract all the liquid while leaving the seeds behind. Set the strained puree aside at room temperature while you prepare the custard.
STEP 2: Combine the egg yolks, sugar, salt, and heavy cream in a heavy-bottomed pot. Heat over medium heat, stirring constantly with a whisk or wooden spoon, until the mixture reaches 165°F on an instant-read thermometer. The custard should look slightly thickened and coat the back of a spoon.
STEP 3: Pour the hot custard into a clean bowl. Gently fold in the vanilla extract, then fold in the raspberry puree until fully incorporated and the mixture turns a beautiful pink. Cover the bowl and refrigerate for at least six to eight hours, or until completely chilled to 40°F or below.
STEP 4: Add the lemon juice to the chilled custard mixture and stir gently to combine. Pour the mixture into your ice cream machine and churn according to the manufacturer’s instructions, typically twenty to twenty-five minutes, until the mixture reaches soft-serve consistency.
STEP 5: Transfer the churned ice cream to a freezer-safe container and freeze for at least four to six hours until firm enough to scoop.
STEP 6: Let the ice cream sit at room temperature for five to ten minutes before scooping if it becomes too hard straight from the freezer.
Getting the Creamiest Raspberry Ice Cream
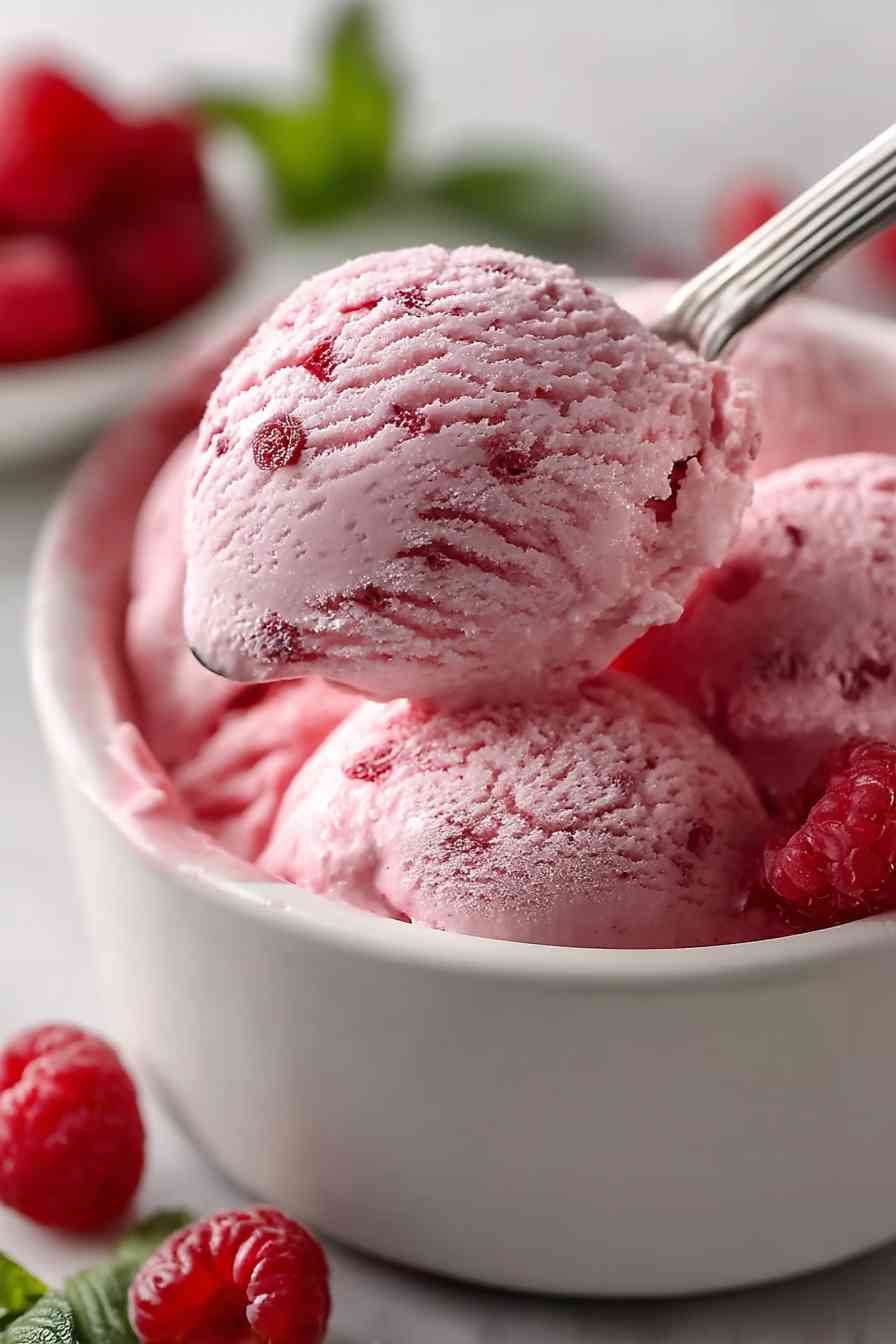
- Use a pot with a light-colored interior when making the custard so you can monitor the color as it heats. If the custard starts to look curdled or grainy, you’ve overheated it and scrambled the eggs.
- Chill the custard base overnight if possible. The longer rest allows the flavors to meld and ensures the mixture is cold enough to churn properly without forming ice crystals.
- Don’t skip the straining step for the raspberries. Seeds in the final ice cream create an unpleasant texture that distracts from the smooth, creamy mouthfeel you’re aiming for.
- Stop churning as soon as the ice cream reaches soft-serve consistency. Over-churning can incorporate too much air and create a grainy texture.
Serving Ideas for Raspberry Ice Cream
This ice cream is rich enough to stand on its own, but it pairs beautifully with a few simple additions. Serve it alongside warm brownies or chocolate cake for a classic contrast between hot and cold. It also works well with fresh berries and a drizzle of balsamic reduction if you want something a little more sophisticated. For a simple summer dessert, scoop it into waffle cones and let the raspberry flavor shine without distraction.
A slice of vanilla cake or pound cake provides a neutral backdrop that lets the intense raspberry flavor take center stage. Shortbread cookies offer a buttery crunch that complements the creamy texture. For a lighter pairing, serve it with fresh mint or a small glass of dessert wine.
Raspberry Ice Cream FAQs
Can I use frozen raspberries instead of fresh?
Yes, frozen raspberries work just as well as fresh in this recipe. Thaw them completely and drain any excess liquid before blending and straining. The flavor will be nearly identical, and frozen berries are often more affordable and available year-round.
Do I need an ice cream maker for this recipe?
An ice cream maker is necessary for achieving the smooth, creamy texture that defines good homemade ice cream. Without one, the custard will freeze solid and icy. If you don’t own a machine, consider borrowing one or investing in a basic model.
How long does homemade raspberry ice cream last in the freezer?
Homemade ice cream stays fresh for about two weeks in the freezer. After that, it can develop freezer burn or ice crystals. Store it in an airtight container and press plastic wrap directly onto the surface before sealing to minimize exposure to air.
Why do I need to strain the raspberry puree?
Straining removes the tiny seeds that would otherwise create a gritty texture in the finished ice cream. The seeds don’t affect flavor, but they do interfere with the smooth, creamy mouthfeel that makes this ice cream feel luxurious.
Is there a way to make this ice cream egg-free?
You can make a Philadelphia-style raspberry ice cream by skipping the custard base entirely and churning sweetened cream with the raspberry puree. The texture will be lighter and less rich, but it’s a simpler approach if you want to avoid eggs altogether.
Keeping Your Homemade Ice Cream Fresh
Store the ice cream in an airtight, freezer-safe container with a piece of plastic wrap pressed directly onto the surface before sealing the lid. This prevents ice crystals from forming on top. Homemade ice cream is best within the first two weeks, though it will remain safe to eat for up to a month. The texture may become slightly icier over time as the water content separates, but the flavor will still be good.
If the ice cream becomes too hard to scoop straight from the freezer, let it sit at room temperature for five to ten minutes before serving. Homemade ice cream freezes harder than store-bought versions because it contains less air and fewer stabilizers, so a brief thaw makes scooping much easier.
For longer storage, wrap the container in an extra layer of plastic wrap or aluminum foil to protect against freezer burn. The ice cream can be frozen for up to one month, though quality is best in the first two weeks. Avoid storing it near the freezer door, where temperature fluctuations are more common.
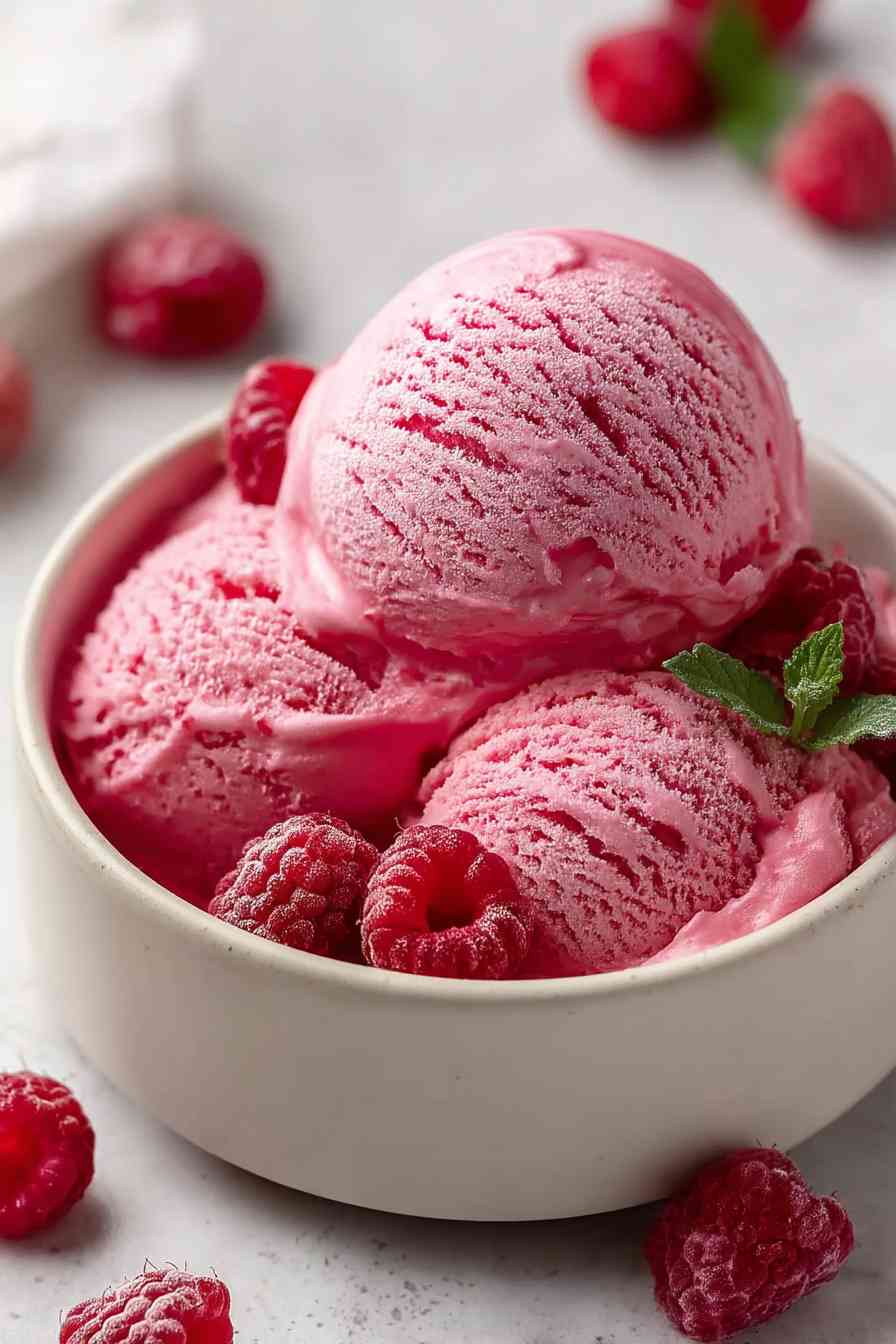
Classic Raspberry Ice Cream
Ingredients
Equipment
Method
- Process the raspberries in a blender until they form a smooth puree, then push the mixture through a fine-mesh strainer into a bowl. Use a spatula to press gently and extract all the puree while keeping the seeds in the strainer. Set the strained puree aside at room temperature while you make the custard base.
- Place the egg yolks, sugar, salt, and heavy cream in a heavy-bottomed pot. Cook over medium heat, whisking or stirring constantly with a wooden spoon, until an instant-read thermometer reads 165°F. The custard should appear slightly thickened and coat the back of your spoon. Using a pot with a light-colored interior helps you watch the custard's color as it cooks.
- Transfer the hot custard to a clean bowl. Stir in the vanilla extract gently, then fold in the raspberry puree from the first step until everything is well combined and the mixture turns a lovely pink shade. Cover the bowl and place in the refrigerator for a minimum of 6-8 hours, or until the custard is thoroughly chilled to 40°F or lower. Chilling overnight produces the best final texture and allows the flavors to develop fully.
- Transfer the chilled custard to your ice cream machine and process following the manufacturer's directions, usually 20-25 minutes, until it reaches a soft-serve texture. Move the churned ice cream into a freezer-safe container and freeze for at least 4-6 hours until it becomes firm enough to scoop properly. The churning process adds air and creates the smooth, creamy consistency that distinguishes homemade ice cream from commercial varieties.