
Easy Fig Bars combine a buttery oat crust with smooth fig filling and a rustic crumbled topping.
There’s something deeply comforting about biting into a homemade fig bar, where the chewy jammy center meets a crumbly, buttery oat layer. These bars capture that nostalgic bakery feel without requiring any special equipment or fancy techniques. The filling simmers down into a smooth, spreadable paste with lemon zest and cinnamon, while the oat crust holds everything together with just the right amount of crunch.
The recipe builds in three straightforward stages: cook the figs into a thick jam, press an oat mixture into the base, then crumble the rest on top. The result is a bar that slices cleanly, travels well, and tastes like you spent far more effort than you actually did. If you’ve been intimidated by homemade fig bars before, this version removes most of the guesswork.
What Goes Into Easy Fig Bars
The ingredient list splits cleanly between the fig filling and the oat crust, with each component playing a specific role in texture and flavor.
- Fresh figs – the star of the filling, simmered until they break down into a thick, jammy paste with natural sweetness and subtle earthiness.
- Brown sugar (for filling) – adds molasses depth and helps the figs caramelize slightly as they cook down.
- Lemon zest – brightens the filling and cuts through the richness, keeping the bars from tasting too heavy.
- Ground cinnamon – brings warmth without overpowering the delicate fig flavor.
- Vanilla essence (for filling) – rounds out the filling with a subtle floral note that complements the figs.
- Butter – creates richness and binds the oat mixture into a crumbly, cohesive crust.
- All-purpose flour – provides structure to the crust and helps it hold together when pressed.
- Old fashioned oats – give the bars their signature texture and rustic appearance, with a hearty chew that contrasts the smooth filling.
- Brown sugar (for crust) – sweetens the oat layers and adds a hint of caramel flavor.
- Baking powder – creates a slightly tender crumb in the crust without making it cakey.
- Vanilla essence (for crust) – ties the crust and filling together with a unified flavor thread.
- Salt – balances sweetness in both the filling and crust, preventing the bars from tasting one-dimensional.
How to Make Fig Bars from Scratch
STEP 1: Combine the halved figs, 1/3 cup brown sugar, lemon zest, 1/4 teaspoon salt, 1 1/2 teaspoons vanilla essence, and ground cinnamon in a medium pot. Bring to a boil over medium heat, then reduce to a simmer and cook for about 45 minutes, stirring occasionally and mashing the figs against the side of the pot until they form a chunky paste. Once the mixture is thick and deeply jammy, remove from heat and let cool for 10 minutes.
STEP 2: Blend the cooled fig mixture until completely smooth using an immersion blender or food processor. A smooth filling spreads more evenly and creates better texture contrast with the crumbly oat crust. Set aside to cool completely while you prepare the base.
STEP 3: Preheat your oven to 350°F and line a baking pan with foil, then lightly grease it. In a large bowl, combine the melted butter with the flour, old fashioned oats, 1 cup brown sugar, 3/4 teaspoon salt, baking powder, and 1 tablespoon vanilla essence. Mix until the ingredients resemble coarse breadcrumbs with some slightly larger oat clusters remaining.
STEP 4: Press all but 1 1/2 cups of the oat mixture firmly into the bottom of your prepared pan, creating an even layer. Spread the cooled fig filling over the base layer, leaving about 1/4 inch from the edges. Use an offset spatula to keep the filling uniform without disturbing the crust below. Crumble the reserved 1 1/2 cups of oat mixture over the top, distributing it unevenly for a rustic appearance and ensuring some spots have thicker clusters for textural contrast.
STEP 5: Bake at 350°F for 30 to 35 minutes, until the top crust is light golden brown and the filling is set but still slightly soft when gently pressed. Let the bars cool completely in the pan for at least 30 minutes so they set properly. Lift the entire sheet from the pan using the foil edges, carefully peel back the foil, and transfer to a cutting board. Slice into even bars with a sharp knife, wiping the blade between cuts for clean edges.
Serving Ideas & What to Enjoy with Fig Bars
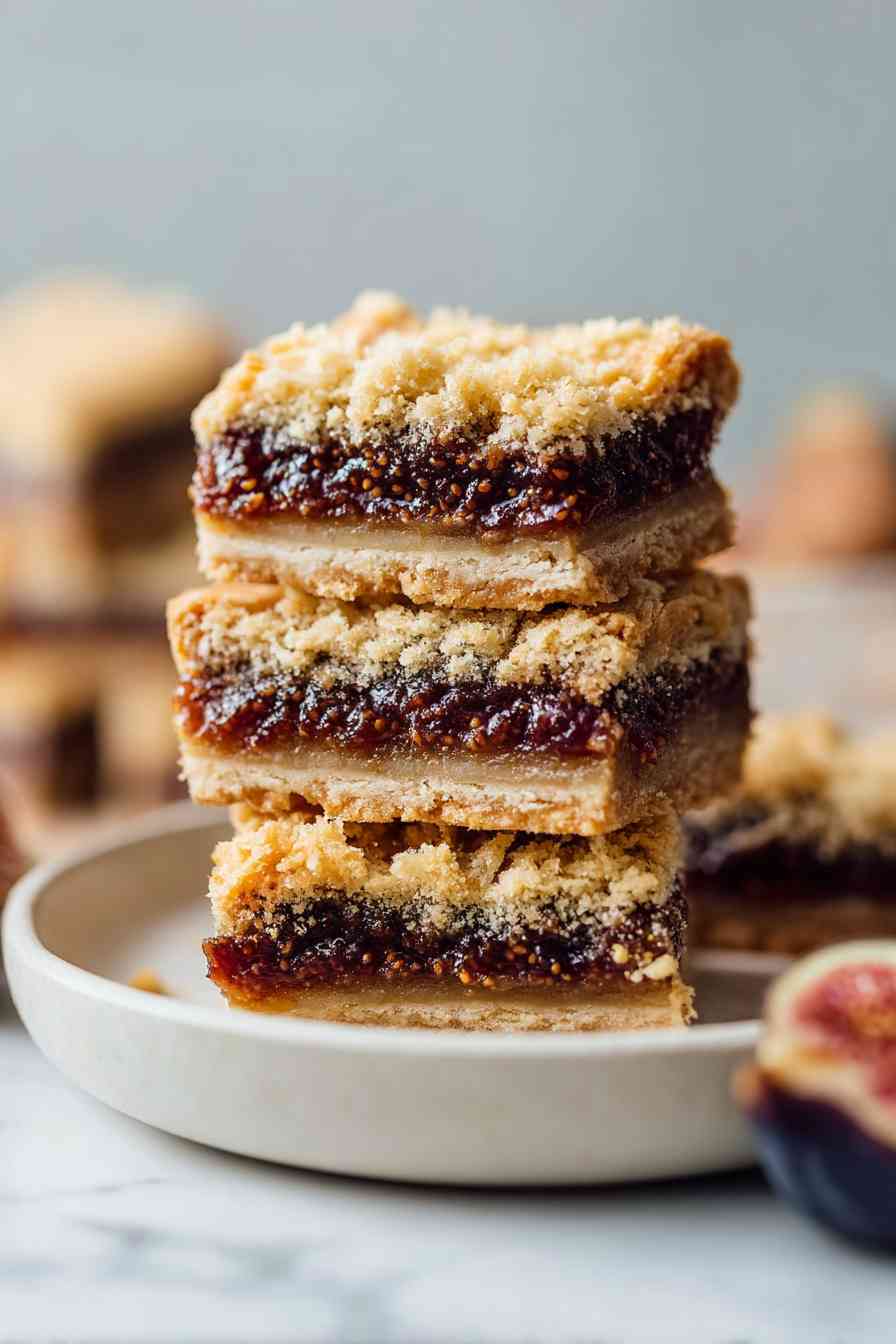
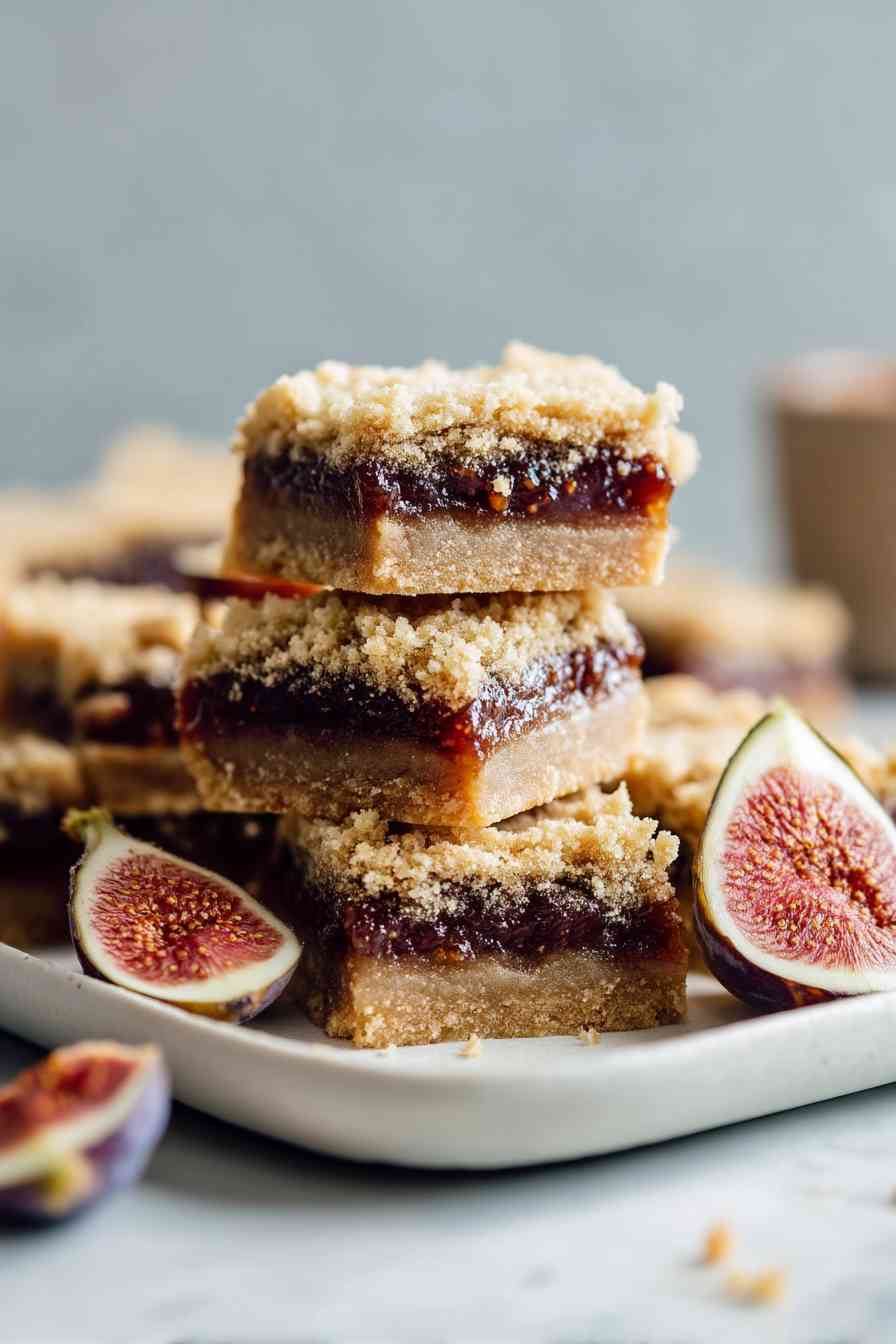
Fig bars work beautifully as a midday snack with coffee or tea, where their natural sweetness pairs well with a slightly bitter brew. They also make a solid addition to a dessert spread alongside fresh fruit and soft cheeses. For a more substantial pairing, serve them with vanilla ice cream or a dollop of lightly sweetened whipped cream to balance the dense, jammy filling.
These bars are equally at home in a lunchbox, on a cheese board, or wrapped as a gift. The combination of buttery oat crust and smooth fig filling makes them versatile enough for casual snacking or more formal entertaining.
Pro Tips for Perfect Fig Bars
- Press the base layer firmly and evenly into the pan, using the bottom of a measuring cup or your palm to compact it. A loose base will cause the bars to fall apart when sliced.
- Cool the filling completely before spreading it over the crust. Warm filling can soften the base and create a soggy bottom layer.
- Wait at least 30 minutes before slicing. Cooling allows the filling to set and the crust to firm up, which is critical for clean, stable slices.
- Wipe your knife blade between each cut to prevent the filling from smearing and creating messy edges.
Your Fig Bar Questions, Answered
Can I use dried figs instead of fresh for these bars?
Yes, but you’ll need to rehydrate them first. Simmer dried figs in water for about 15 minutes until softened, then drain well before proceeding with the recipe. The filling may be slightly less jammy and more concentrated in flavor, but it will still work.
What’s the best way to get clean slices?
Cool the bars completely in the pan for at least 30 minutes, then use a sharp knife and wipe the blade clean between each cut. Chilling the bars in the fridge for an hour before slicing can also help if you want extra-clean edges.
Are these fig bars gluten-free or can they be made so?
The recipe as written is not gluten-free, but you can substitute a 1-to-1 gluten-free flour blend for the all-purpose flour. Make sure your oats are certified gluten-free as well, since regular oats can be cross-contaminated during processing.
How long do homemade fig bars stay fresh?
Store them in an airtight container at room temperature for up to four days, or refrigerate them for up to a week. The bars may firm up slightly in the fridge, but they’ll soften again at room temperature within 10 to 15 minutes.
Can I freeze fig bars for later?
Absolutely. Wrap individual bars tightly in plastic wrap, then place them in a freezer-safe bag or container. They’ll keep for up to three months. Thaw at room temperature for about an hour before serving, or warm briefly in the oven if you prefer them slightly toasted.
Storing and Keeping Fig Bars Fresh
Store fig bars in an airtight container at room temperature for up to four days, layering parchment paper between the bars if you’re stacking them to prevent sticking. For longer storage, refrigerate them for up to a week, though the crust may become slightly firmer. To freeze, wrap each bar individually in plastic wrap and place them in a freezer-safe container or bag for up to three months. Thaw at room temperature for about an hour, or warm them in a 300°F oven for five to seven minutes if you want to refresh the crust.
These bars hold up remarkably well over time, making them a practical option for meal prep or gifting. The oat crust stays crumbly, the filling remains jammy, and the flavors actually deepen slightly after a day or two of rest. Freezing is an excellent way to extend their life without any loss of quality.
Easy Fig Bars
Ingredients
Equipment
Method
- In a medium pot, add the halved figs, 1/3 cup brown sugar, lemon zest, 1/4 tsp salt, 1 1/2 tsp vanilla essence, and ground cinnamon. Heat over medium until the mixture reaches a boil, then lower the heat and let it simmer for approximately 45 minutes. Stir occasionally and press the figs against the pot's side to break them down into a chunky paste. When the mixture becomes thick and deeply jammy in texture, take it off the heat and allow it to cool for 10 minutes.
- Using an immersion blender or food processor, blend the cooled fig mixture until it's completely smooth. This creates a filling that spreads evenly and contrasts nicely with the crumbly crust. Set it aside to cool to room temperature while you work on the base.
- Heat your oven to 350°F. Line a baking pan with foil and apply a light coating of grease to prevent sticking. In a large mixing bowl, stir together the melted butter, flour, old fashioned oats, 1 cup brown sugar, 3/4 tsp salt, baking powder, and 1 tbsp vanilla essence. Combine until the mixture looks like coarse breadcrumbs with some larger oat pieces scattered throughout.
- Reserve 1 1/2 cups of the oat mixture and set it aside. Take the remaining mixture and press it firmly and evenly into the bottom of your prepared pan to form the base layer. Spread the completely cooled fig filling over this base, keeping about 1/4 inch away from the edges. An offset spatula works well for spreading the filling uniformly without disrupting the crust underneath. Take the reserved 1 1/2 cups of oat mixture and crumble it over the filling in an uneven, rustic pattern, making sure some areas have thicker clusters for varied texture.
- Place in the preheated 350°F oven and bake for 30 to 35 minutes, until the top turns light golden brown and the filling feels set but remains slightly soft when pressed gently. Allow the bars to cool completely in the pan for a minimum of 30 minutes to ensure they set properly. Use the foil edges to lift the entire sheet out of the pan, peel the foil away carefully, and transfer to a cutting board. Cut into even bars using a sharp knife, cleaning the blade between each cut for neat, clean edges.