
Easy Southern Ambrosia Salad is a nostalgic dessert-side with Cool Whip, marshmallows, and fruit.
There’s something wonderfully nostalgic about a big bowl of ambrosia salad sitting on a holiday table or at a summer potluck. The classic blend of Cool Whip, mini marshmallows, and sweetened coconut creates a dessert-meets-side-dish that feels both retro and timeless. Bright pops of maraschino cherries and mandarin oranges give it that signature pink-and-orange glow, while optional toasted pecans add a satisfying crunch. It’s the kind of dish that sparks memories, whether you grew up with it at every family gathering or you’re discovering it for the first time.
What makes this version so appealing is how straightforward it is to pull together. You’re working with mostly pantry-friendly ingredients, a creamy base with Greek yogurt, sour cream, or whipped cream cheese, and a simple folding technique that keeps everything light and fluffy. The real secret is chilling for at least 4 hours before serving, which allows the flavors to meld and the texture to set into something creamy and cohesive. It’s a dish that rewards a little patience, and it’s designed to be made ahead, which makes it ideal for busy holiday schedules or when you’re hosting a crowd.
How to Assemble Southern Ambrosia Salad
STEP 1: Preheat your oven to 350°F. Spread the chopped pecans on a baking sheet and toast them for about 10 minutes, until they’re lightly golden and fragrant. Let them cool completely, about 15 to 30 minutes, before adding them to the salad.
STEP 2: While the pecans cool, pour the crushed pineapple, mandarin oranges, and maraschino cherries into a mesh strainer set over the sink. Let the fruit drain for 15 to 20 minutes, tossing it occasionally to release as much liquid as possible. This step prevents a watery, soupy salad.
STEP 3: In a large mixing bowl, combine the drained fruit, sweetened shredded coconut, vanilla extract, cooled pecans, and mini marshmallows. Add the softened Cool Whip and Greek yogurt.
STEP 4: Use a spatula to gently fold everything together until the mixture is combined and creamy. Avoid stirring too vigorously, as this can deflate the Cool Whip and leave you with a denser texture.
STEP 5: Cover the bowl with plastic wrap and refrigerate for at least 4 hours. This chilling time allows the flavors to blend and the salad to firm up into a scoopable, fluffy consistency.
STEP 6: Serve chilled, using an ice cream scoop for a clean, appealing presentation.
Gather Your Ambrosia Salad Ingredients
This salad relies on a handful of sweet, tangy, and creamy components that come together into something greater than the sum of their parts.
- Chopped pecans – add a toasted, buttery crunch that balances the sweetness.
- Crushed pineapple – brings tropical sweetness and a juicy texture once drained.
- Mandarin oranges – contribute bright citrus flavor and soft, tender segments.
- Maraschino cherries – provide pops of color and a sweet, slightly tart contrast.
- Sweetened shredded coconut – delivers chewy texture and a hint of tropical richness.
- Vanilla extract – rounds out the flavors with a subtle warmth.
- Mini marshmallows – create pillowy pockets of sweetness and a classic retro vibe.
- Cool Whip – forms the creamy, airy base that holds everything together.
- Greek yogurt, sour cream, or whipped cream cheese – adds tang and body to the creamy mixture.
Secrets for Creamy, Fluffy Ambrosia
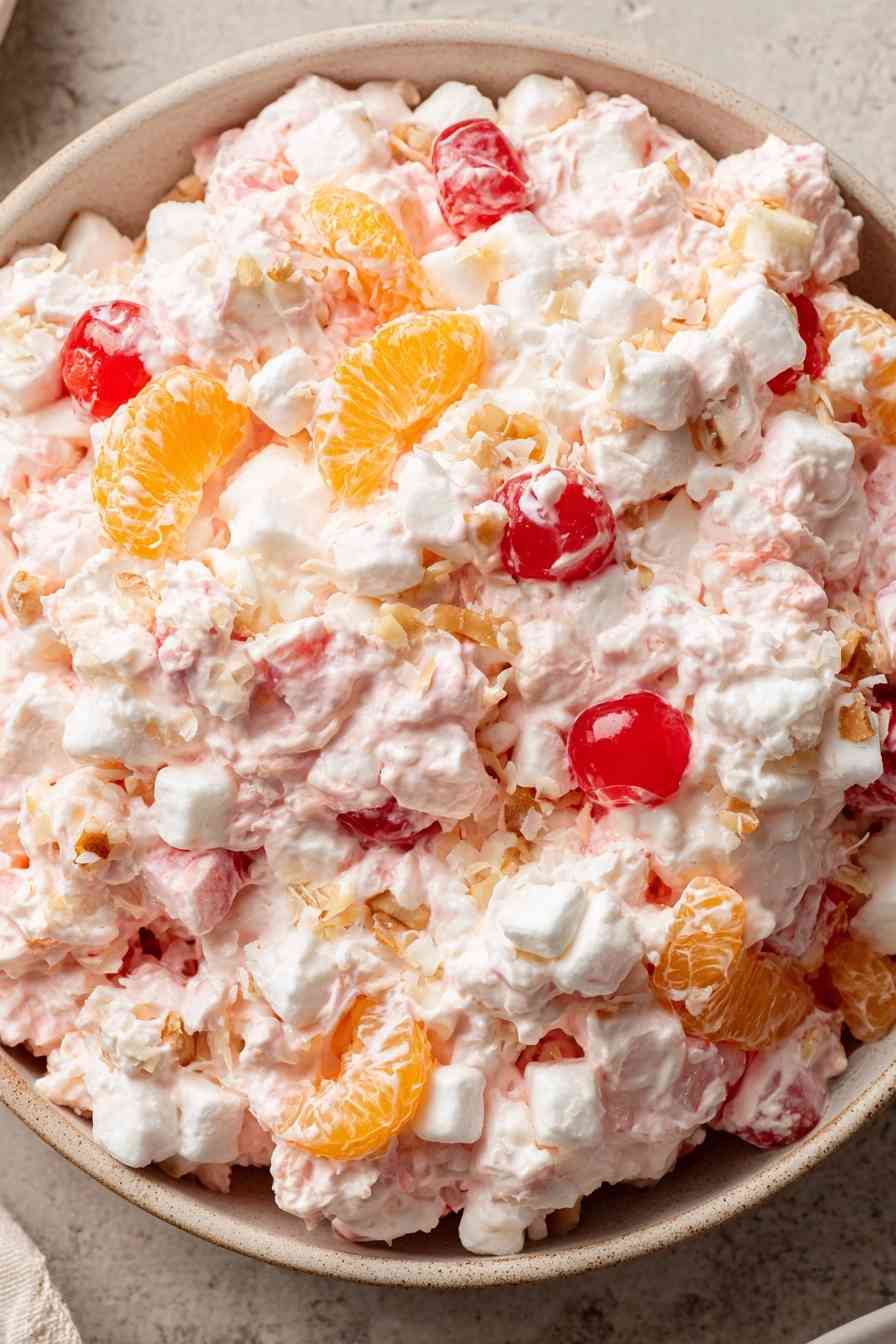
- Drain the canned fruit thoroughly in a mesh strainer for at least 15 minutes, tossing occasionally. Skipping this step or rushing it will leave you with a watery, soupy salad that won’t hold its shape.
- Let the toasted pecans cool completely before folding them in. Adding warm nuts can melt the Cool Whip and create an uneven, greasy texture.
- Use a gentle folding motion with a spatula rather than stirring aggressively. This keeps the Cool Whip light and airy instead of deflated and dense.
- If you want the signature pink hue, stir in a few drops of red or pink food coloring, or reserve a tablespoon of the maraschino cherry juice and fold it in at the end.
What to Serve with Ambrosia Salad
Ambrosia salad works beautifully as a side dish at holiday dinners, especially alongside roasted ham, turkey, or fried chicken. It also shines as a light dessert after a heavy meal, offering a refreshing contrast to richer dishes. For casual gatherings, serve it alongside barbecue, coleslaw, and baked beans for a classic Southern spread.
The cool, creamy texture makes it a natural pairing with warm, savory mains. At potlucks and family reunions, it holds its own next to traditional sides like mac and cheese, cornbread, and green bean casserole. Its sweetness and airiness also make it a welcome finish to a hearty meal.
Ambrosia Salad: Answers to Popular Questions
Can I make ambrosia salad ahead of time for a party?
Yes, and it’s actually better that way. This salad needs at least 4 hours of chilling time to set properly, so making it the day before works well. Store it covered in the refrigerator for up to 24 hours before serving for the best texture and presentation.
Is there a substitute for Cool Whip in ambrosia salad?
You can use freshly whipped heavy cream if you prefer a homemade option. Whip it to stiff peaks and fold it in gently. The texture will be slightly less stable, so plan to serve it within a day or two.
How long can ambrosia salad safely sit out at room temperature?
Because it contains dairy-based ingredients, ambrosia salad should not sit out for more than 2 hours. If you’re serving it at a party, keep it chilled in a cooler or on ice to maintain food safety and texture.
Can I leave out the nuts or use a different type?
Absolutely. If you don’t like pecans, swap them for walnuts or sliced almonds. You can also leave the nuts out entirely if you have an allergy or prefer a smoother texture without the crunch.
Keeping Ambrosia Salad Fresh
Refrigerator: Store leftover ambrosia salad in an airtight container in the refrigerator for up to 3 to 5 days. The texture may soften slightly as the marshmallows and fruit release moisture over time, but it will still taste good. Give it a gentle stir before serving if any liquid has separated.
Freezing: Freezing is not recommended, as the Cool Whip and fruit will break down and become watery when thawed.
Make-Ahead: This salad is designed to be made ahead. You can prepare it up to 24 hours in advance and store it covered in the refrigerator. The extra chilling time actually improves the texture and allows flavors to meld.
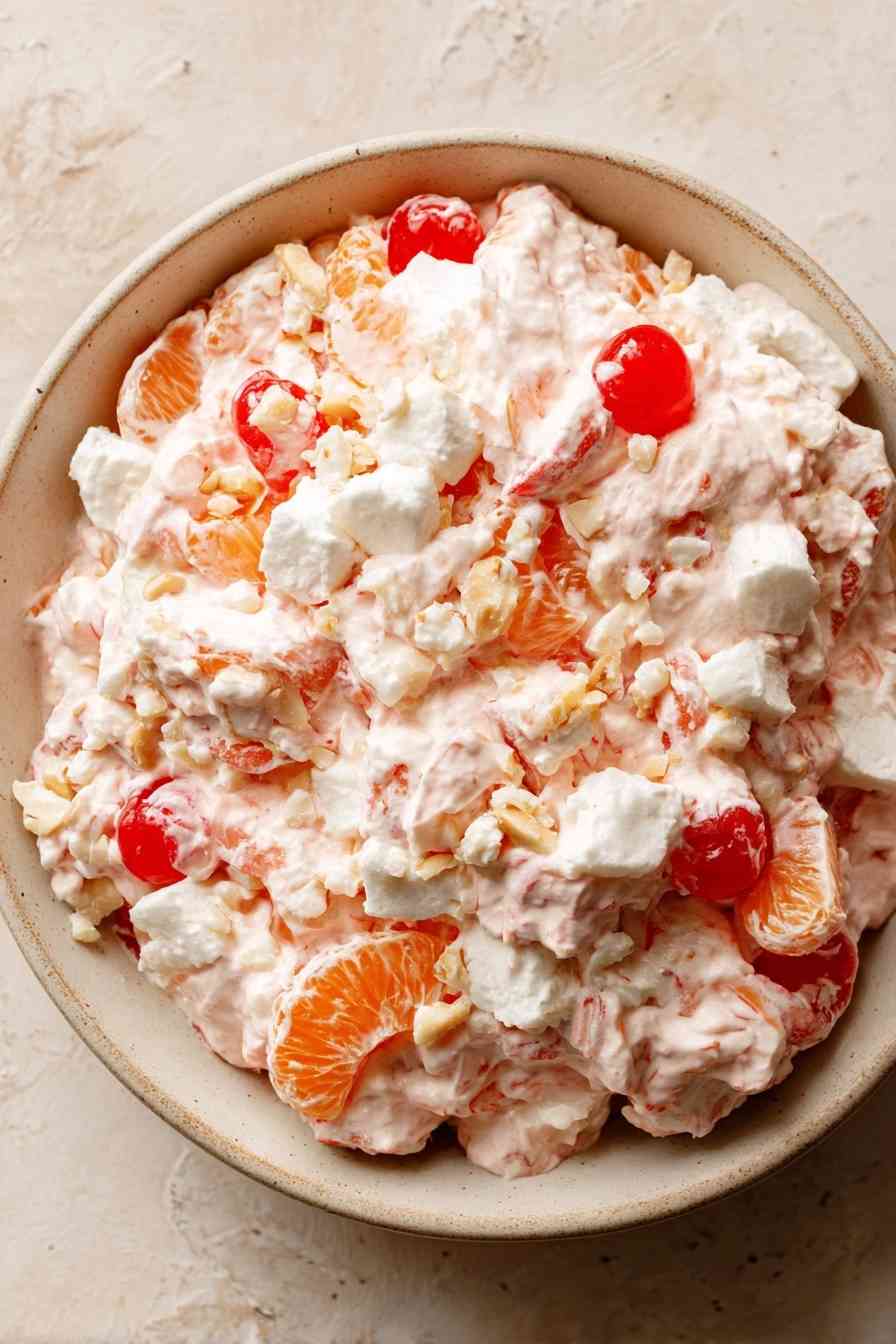
Easy Southern Ambrosia Salad
Ingredients
Equipment
Method
- Preheat your oven to 350°F (175°C).
- For additional flavor, arrange the chopped pecans on a baking sheet and toast in the oven for 10 minutes, or until the nuts are lightly browned. Let the pecans cool completely before using, about 15–30 minutes.
- Place the crushed pineapple, mandarin oranges, and maraschino cherries in a mesh strainer set over the sink. Allow the fruit to drain for 15–20 minutes, tossing occasionally so all excess juice is removed.
- In a large bowl, combine the drained fruit, coconut, vanilla, cooled toasted pecans, mini marshmallows, Cool Whip, and Greek yogurt. Gently fold the mixture together with a spatula until fully combined and creamy, being careful not to deflate the Cool Whip.
- Cover the bowl with plastic wrap and refrigerate for 4 hours to allow the salad to firm up and the flavors to blend.
- Serve chilled as desired.