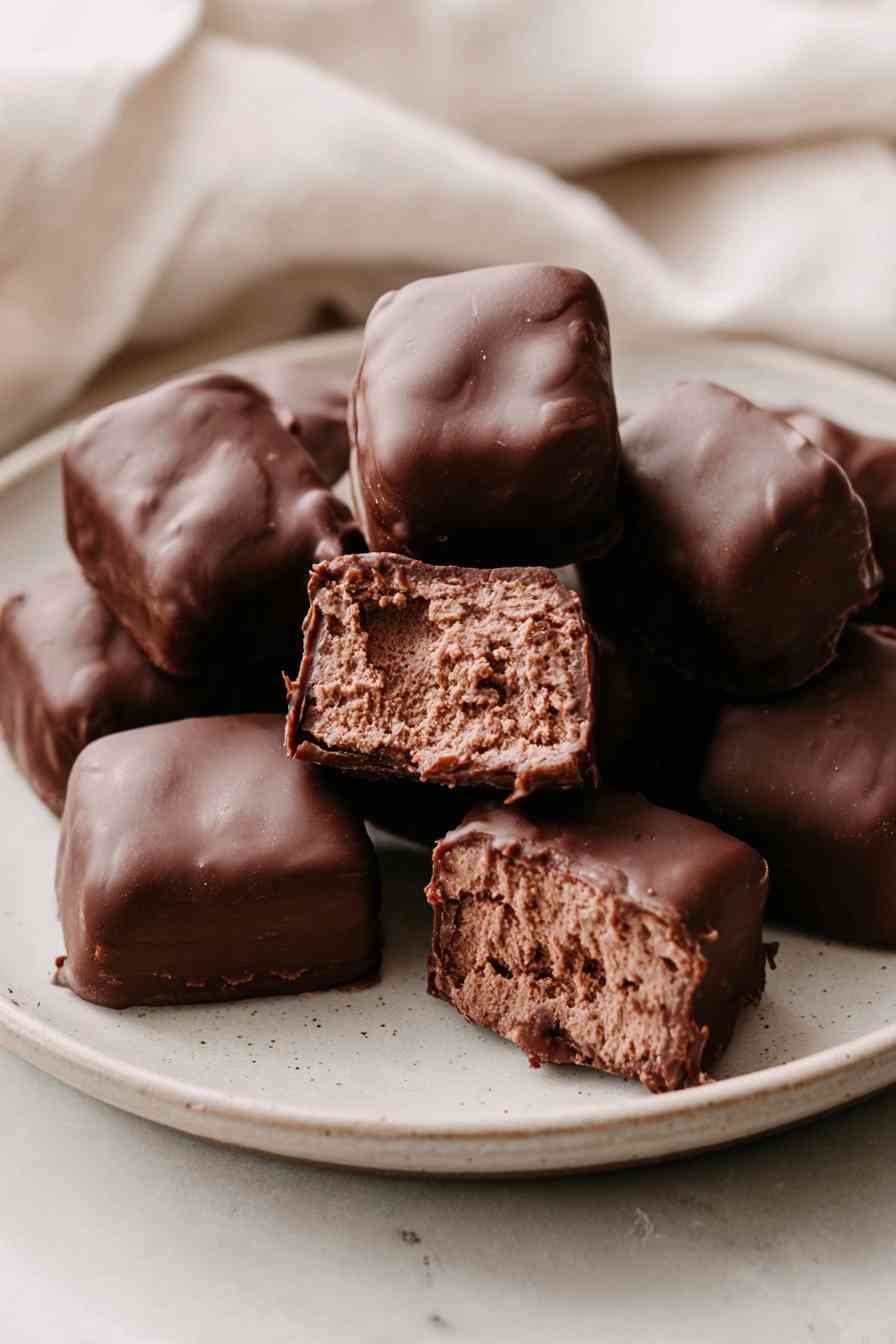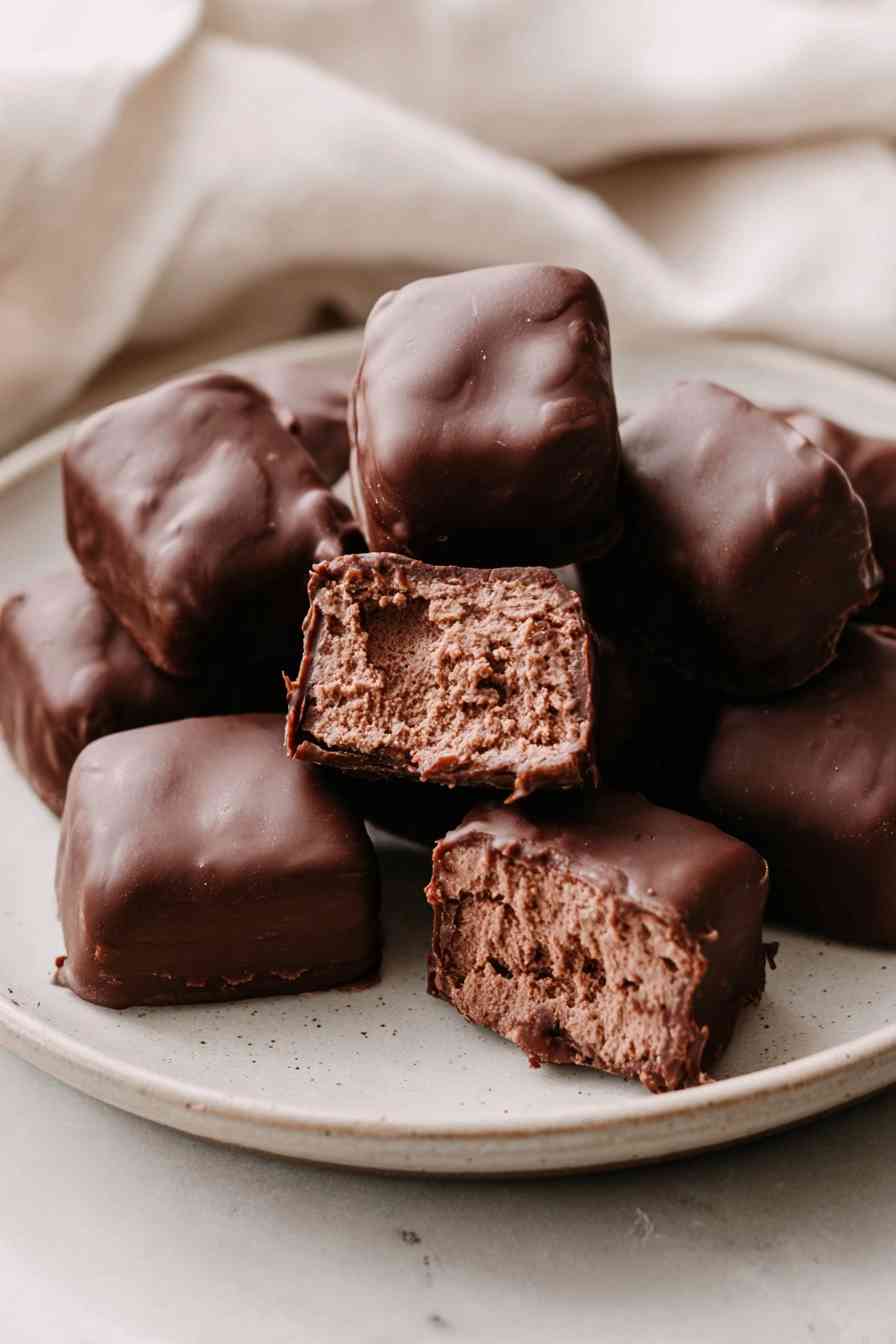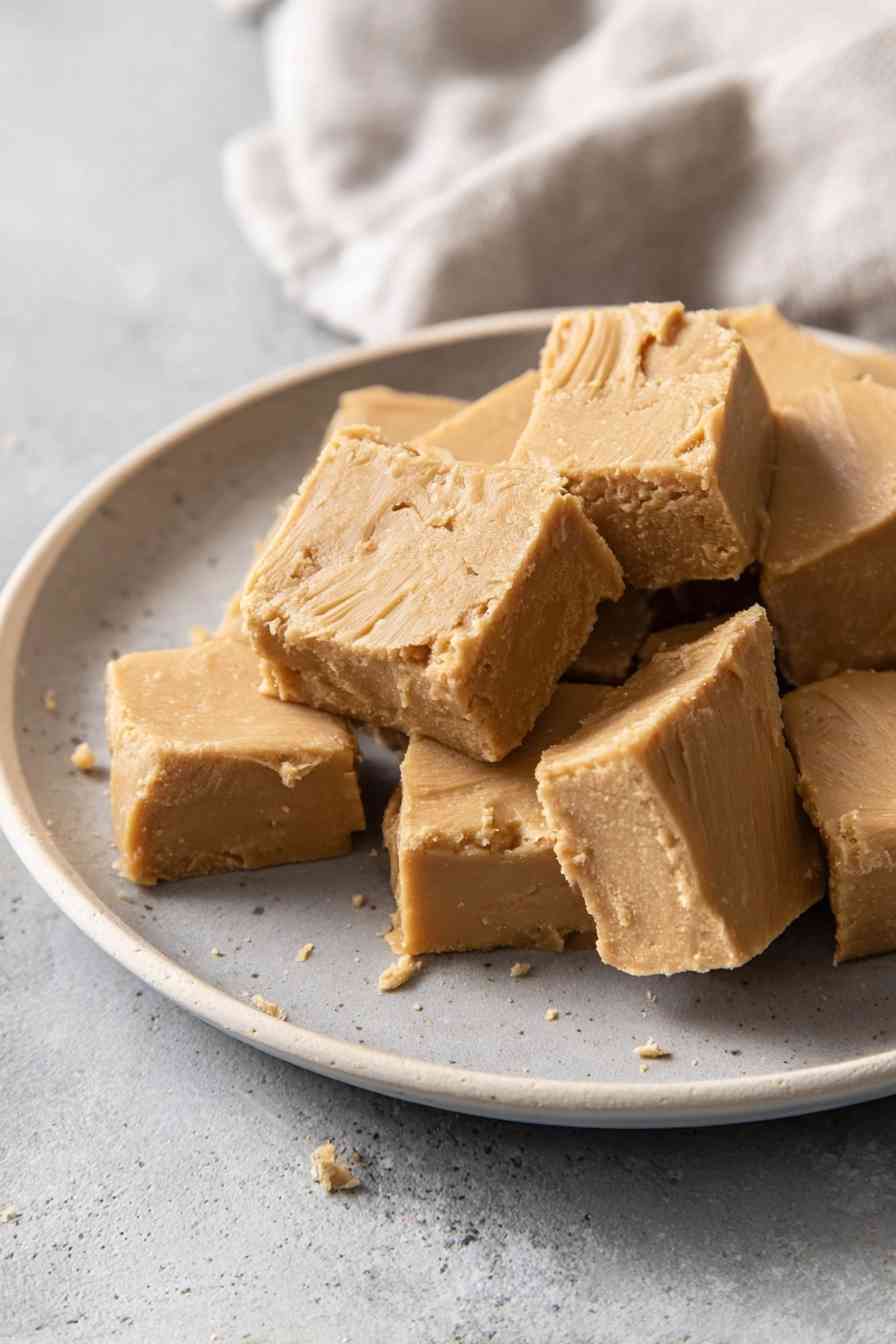

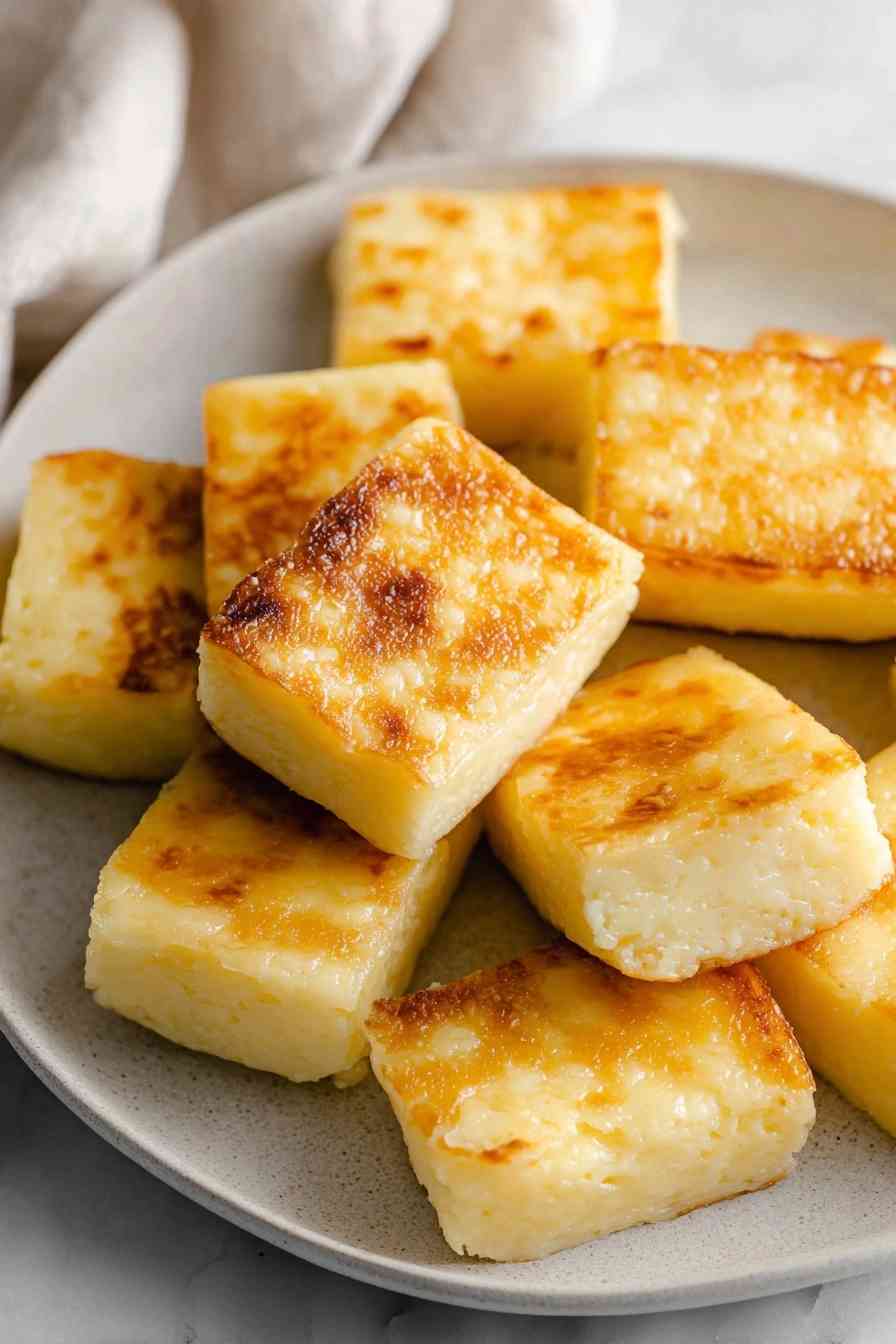
Hawaiian Butter Mochi is a chewy-centered dessert with a crispy golden top, made with sweet rice flour, coconut milk, and melted butter.
This fusion dessert brings together Polynesian and Asian influences in a simple baked square that delivers on both texture and flavor. The bouncy, chewy interior contrasts beautifully with a golden crust, while coconut milk and butter create rich, tropical notes in every bite. Unlike traditional Japanese mochi, which requires steaming or pounding, Hawaiian Butter Mochi comes together in one bowl and bakes in a standard 9×13 inch pan.
What makes this treat so appealing is how forgiving it is. You mix wet and dry ingredients, pour the batter into a greased pan, and let the oven do the work. The result is a dessert that works equally well at potlucks, family gatherings, or as a simple treat when you want something a little different. Serve it warm for a soft, almost pudding-like center, or let it cool to room temperature for firmer, cleaner squares.
Gathering Ingredients for Hawaiian Butter Mochi
The ingredient list is short, but each component plays a specific role in creating that signature chewy texture and buttery richness.
- Sweet rice flour (mochi flour) – provides the dense, chewy structure that defines butter mochi and separates it from regular cake.
- Granulated sugar – sweetens the batter and helps the top caramelize into a golden crust.
- Baking powder – adds just enough lift to keep the texture light without making it fluffy or cake-like.
- Coconut milk – brings tropical richness and moisture while reinforcing the chewy texture.
- Unsalted butter, melted – contributes deep, buttery flavor and helps create that crispy top layer.
- Large eggs – bind the batter and add structure, ensuring the mochi holds together when sliced.
- Vanilla extract – rounds out the flavor with subtle warmth.
- Milk – thins the batter to a pourable consistency and balances the richness of coconut milk and butter.
How to Bake Hawaiian Butter Mochi Squares
STEP 1: Preheat your oven to 350°F and grease a 9×13 inch baking dish thoroughly with butter or nonstick spray.
STEP 2: Combine the sweet rice flour, sugar, and baking powder in a large mixing bowl, stirring until evenly distributed.
STEP 3: In a separate bowl, whisk together the coconut milk, melted butter, eggs, and vanilla extract until smooth and fully blended.
STEP 4: Pour the wet mixture into the dry ingredients and stir well, making sure to break up any lumps until the batter is completely smooth.
STEP 5: Gradually mix in the milk, stirring until the batter reaches a thick but pourable consistency.
STEP 6: Pour the batter into the prepared baking dish and spread it evenly across the pan.
STEP 7: Bake for 30 to 40 minutes, until the top turns golden brown and a toothpick inserted into the center comes out clean or with just a few moist crumbs.
STEP 8: Let the mochi cool in the pan for at least 10 minutes before cutting into squares, which helps the texture set and makes slicing easier.
Butter Mochi Success Tips & Topping Ideas
- Mix the batter until completely smooth with no visible lumps, as sweet rice flour can clump easily and create uneven pockets in the finished mochi.
- Watch the baking time closely during the final 10 minutes, since overbaking can dry out the interior and underbaking leaves it too soft to slice cleanly.
- Allow the mochi to cool for the full 10 minutes before cutting, which lets the structure firm up enough to hold its shape without falling apart.
- Try topping warm squares with toasted coconut flakes, a drizzle of honey, or a light dusting of powdered sugar for added flavor and visual appeal.
What to Serve with Butter Mochi
Butter mochi works beautifully on its own, but pairing it with a few simple accompaniments can elevate the experience. Serve it alongside a scoop of vanilla or coconut ice cream to balance the chewy texture with something cold and creamy. A hot cup of green tea or black coffee also complements the sweetness and cuts through the richness. For a more tropical presentation, arrange fresh mango or pineapple slices on the side to echo the coconut notes in the mochi.
Hawaiian Butter Mochi: Your Top Questions Answered
Can I use regular rice flour instead of sweet rice flour?
No, regular rice flour will not work here. Sweet rice flour, also called mochiko or glutinous rice flour, contains more starch and creates the dense, chewy texture that defines butter mochi. Regular rice flour produces a dry, crumbly result instead.
Is it possible to make butter mochi dairy-free?
Yes, you can substitute the butter with coconut oil and use a non-dairy milk like almond or oat milk in place of regular milk. The coconut milk is already dairy-free, so those swaps will give you a fully plant-based version.
How do I know when butter mochi is fully baked?
The top should be golden brown and slightly firm to the touch, and a toothpick inserted into the center should come out clean or with just a few moist crumbs. The edges may pull away slightly from the pan.
What toppings go well with butter mochi?
Toasted coconut flakes, honey, powdered sugar, or a drizzle of condensed milk all work beautifully. You can also try a sprinkle of sea salt for contrast or fresh fruit like mango or passion fruit for brightness.
Can I make Hawaiian Butter Mochi in advance?
Yes, butter mochi actually improves after sitting for a few hours or overnight, as the texture becomes more uniform and easier to slice. Store it covered at room temperature for up to two days or refrigerate for longer storage.
Storing and Enjoying Leftover Butter Mochi
Store leftover butter mochi in an airtight container at room temperature for up to two days, or refrigerate it for up to five days. The texture will firm up in the fridge, so let it sit at room temperature for 10 to 15 minutes before serving if you prefer a softer bite. You can also reheat individual squares in the microwave for 10 to 15 seconds to bring back that warm, slightly gooey center. Butter mochi does not freeze particularly well, as the texture can become rubbery and lose its signature chewiness upon thawing.
Whether you serve it warm with a scoop of ice cream or enjoy it straight from the pan at room temperature, Hawaiian Butter Mochi delivers a satisfying mix of textures and flavors that feels both comforting and a little special. It’s the kind of dessert that invites experimentation with toppings and pairings, so feel free to make it your own.
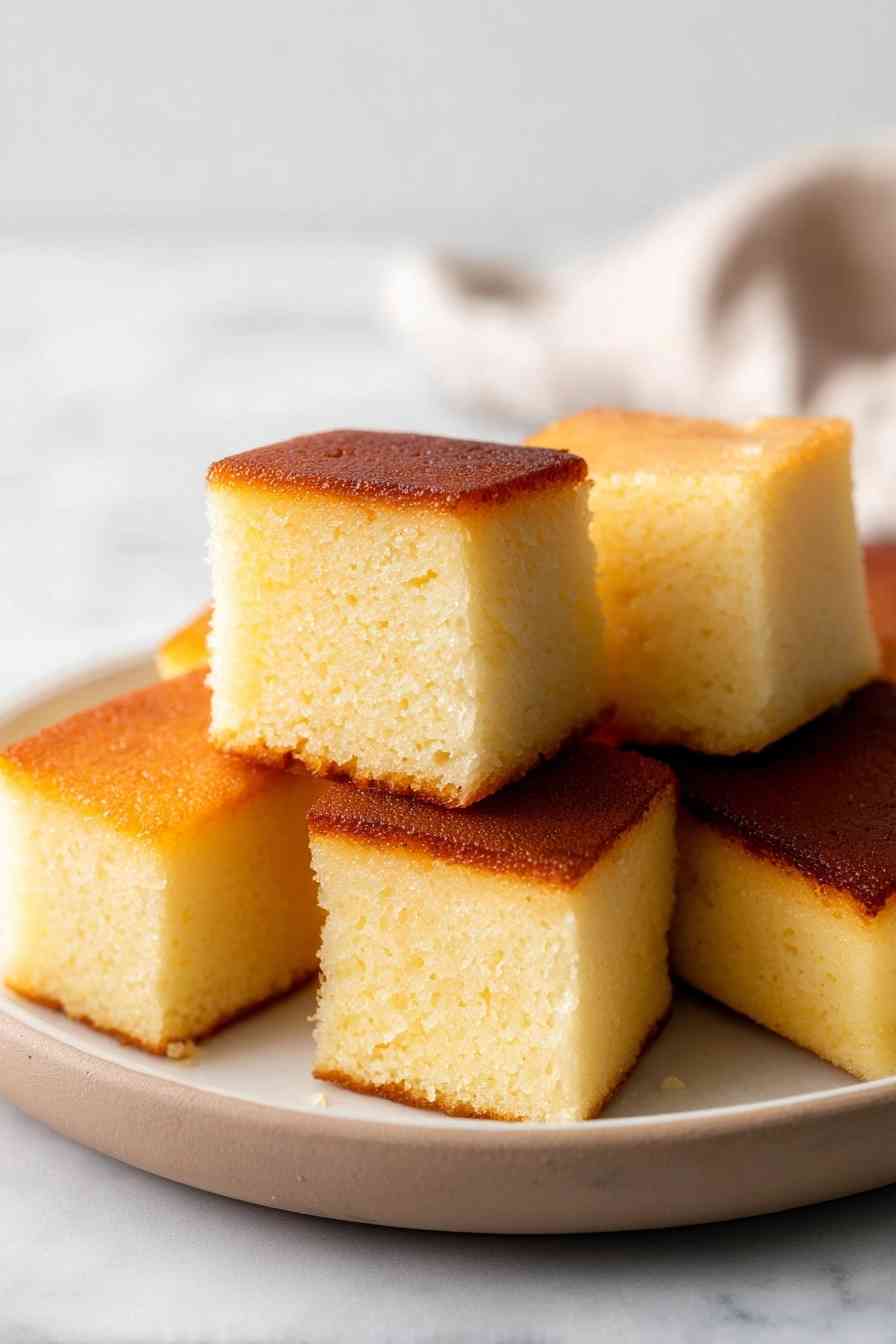
Hawaiian Butter Mochi
Ingredients
Equipment
Method
- Set your oven to preheat at 350°F (175°C).
- Stir together the sweet rice flour, granulated sugar, and baking powder in a large mixing bowl until evenly combined.
- Whisk the coconut milk, melted butter, eggs, and vanilla extract together in a separate bowl until smooth.
- Add the wet mixture to the dry ingredients and stir well until the batter is completely free of lumps.
- Slowly pour in the milk, mixing until the batter has a thick but pourable texture.
- Generously grease a 9x13 inch baking dish. Pour in all of the batter and spread it out evenly.
- Bake for 30 to 40 minutes, until the surface is golden brown and a toothpick inserted into the center comes out clean.
- Let the mochi rest in the pan for at least 10 minutes to cool before slicing into squares. Enjoy warm or at room temperature.