Why You’ll Love these Monster Eyeball Cake Pops
Why wouldn’t you fall in love with these adorable monster eyeball cake pops?
They’re the perfect spooky-yet-cute treat for Halloween parties, and kids go absolutely wild for them. I make these every October, and they’re always the first thing to disappear from my dessert table.
The best part? They’re surprisingly simple to create.
With just cake crumbs, a bit of frosting, and colorful candy melts, you can transform basic ingredients into something magical. The single eyeball gives them that perfect monster vibe without being too scary for little ones.
Plus, they’re portable, portion-controlled, and can be made days ahead.
What Ingredients are in Monster Eyeball Cake Pops?
These colorful, spooky cake pops require just a handful of ingredients to create their monstrous charm. What I love about this recipe is how it transforms simple ingredients into something that looks professional and impressive, even if you’re not particularly crafty in the kitchen.
The base is fundamentally cake and frosting formed into balls, then coated with bright candy melts and topped with an eyeball for that perfect Halloween touch.
- 1 baked cake (9×13 inch or two 8-inch layers), completely cooled
- ⅓ cup frosting (buttercream or canned)
- 2 cups candy melts or colored melting wafers (assorted colors)
- Food coloring (only if using white melts)
- 24 large candy eyeballs
- 24 lollipop sticks
- Optional: 1-2 teaspoons coconut oil or vegetable shortening (to thin coating if needed)
For the best results, I recommend using chocolate cake with chocolate frosting, as this combination makes the easiest “dough” to work with.
The moisture content of your cake matters too—if you’re using a particularly moist cake, you might need less frosting than the recipe calls for. Conversely, if your mixture seems too dry and crumbly, add just a tiny bit more frosting until it holds together when squeezed.
How to Make these Monster Eyeball Cake Pops

Making these adorable little monsters is surprisingly straightforward, though there’s a bit of a technique to it. Start by crumbling your cooled cake (one 9×13 inch or two 8-inch layers) into fine crumbs in a large bowl—and I mean really fine, no chunky pieces allowed. The finer your crumbs, the smoother your cake pops will be.
Then add ⅓ cup of frosting and mix it all together with clean hands. This is the messy, fun part where you’ll feel like a kid playing with edible clay. The mixture should hold together when squeezed but not be sticky. Trust your instincts here; if it feels too dry, add just 1-2 teaspoons more frosting, and if it’s sticking to your fingers, sprinkle in a few more cake crumbs.
Next comes the rolling phase, where you’ll scoop about 1 tablespoon portions of your cake mixture and roll them into smooth balls about 1¼ inches in diameter. Place these little soon-to-be monsters on a parchment-lined tray and chill them for 20-30 minutes to firm up.
While they’re chilling, melt 2-3 tablespoons of your candy melts to create an “adhesive” for the sticks. Dip the tip of each lollipop stick about ¼ inch into the melted candy, then insert it halfway into a cake ball. This creates an anchor that prevents the cake pop from sliding off the stick later—a small step that makes a huge difference. Pop them back in the fridge or freezer for 10 minutes to set that candy anchor.
For the final transformation, melt your remaining candy melts in a deep cup or measuring glass, working in 20-second microwave bursts and stirring between each until smooth. If your melted candy seems too thick, stir in ½-1 teaspoon of coconut oil or vegetable shortening to achieve a dippable consistency.
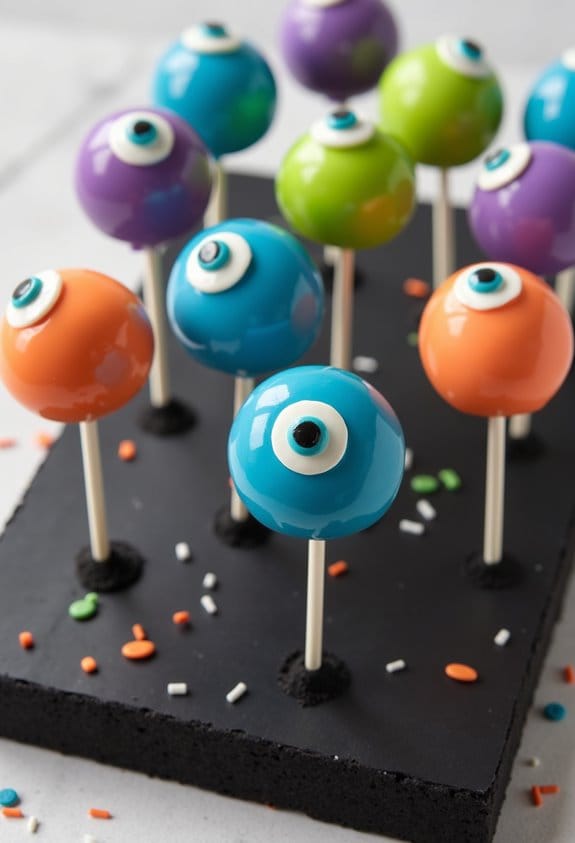
Now for the magic moment: dip each cake pop straight down into the melted candy until fully coated, then lift and gently tap the stick against the cup’s rim while rotating to create that perfect smooth finish. While the coating is still wet, press one candy eyeball onto the center of each pop, then stand them upright in a foam block or a jar filled with sugar or sprinkles to set.
Let them stand until firm (about 10-15 minutes) before admiring your colorful monster eyeball army.
Monster Eyeball Cake Pops Substitutions and Variations
Versatility shines when creating these monster eyeball cake pops, as you can easily adapt the recipe to suit your taste preferences or pantry inventory.
Don’t have chocolate cake? I’ve made these with vanilla, red velvet, even lemon—they all work beautifully. The frosting can switch between cream cheese, vanilla, or chocolate depending on your mood.
For dietary needs, try gluten-free cake mix or dairy-free frosting.
No candy melts? White chocolate with food coloring works in a pinch.
And those eyeballs? Make your own with white chocolate discs and mini chocolate chips if store-bought ones are nowhere to be found.
What to Serve with Monster Eyeball Cake Pops
Monster eyeball cake pops create a spooky centerpiece for any gathering, but they’re even more impressive when served alongside complementary treats and beverages.
I love pairing these creepy-cute treats with a dark punch (think blackberry or grape) that mimics a witch’s brew.
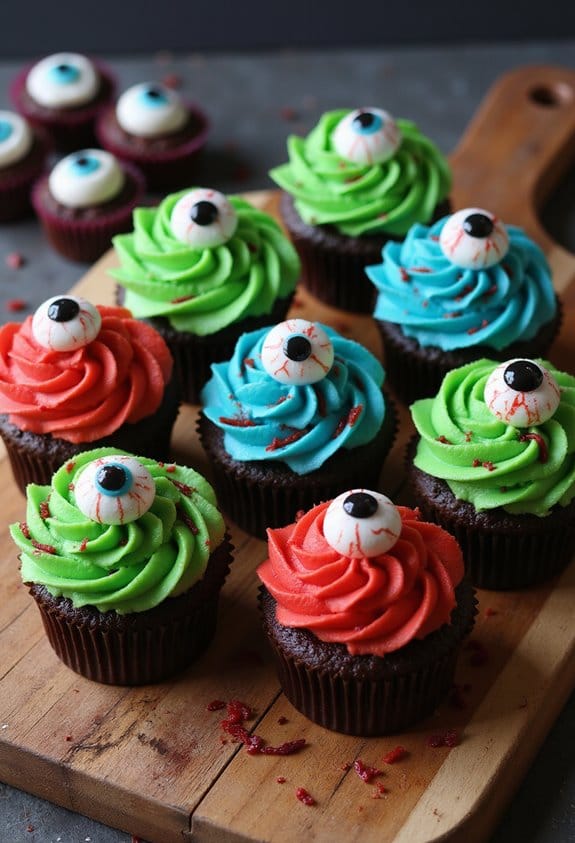
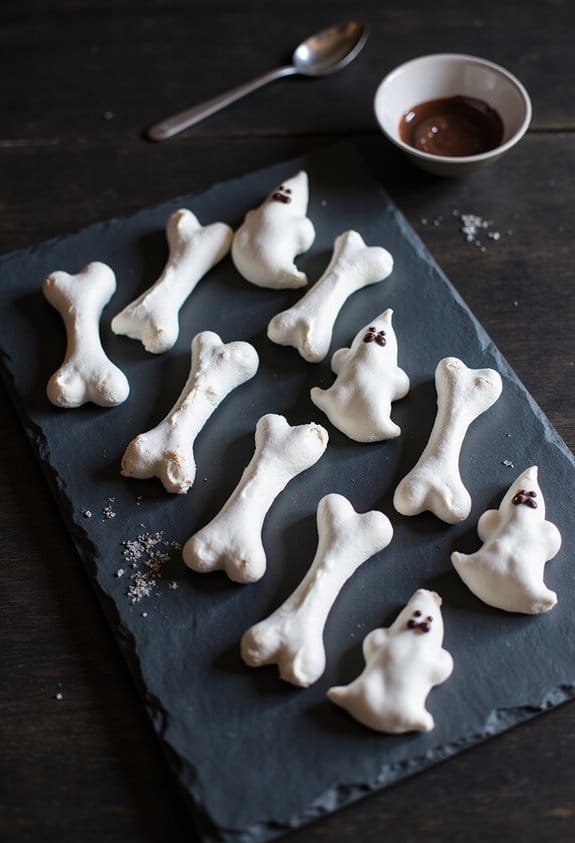
Add some finger-shaped cookies, pretzel stick “bones,” or chocolate-dipped strawberry “bloody hearts” to round out your monster menu.
For beverages, why not serve warm apple cider for chilly October nights? The sweet-tart flavor balances the richness of the cake pops perfectly.
Arrange everything on a black tablecloth with artificial spider webs—instant ambiance without much effort.
Final Thoughts
Although these monster eyeball cake pops require a bit of patience, I’ve found they’re absolutely worth the effort when you see the delighted (and slightly horrified) expressions on everyone’s faces.
There’s something magical about transforming simple cake crumbs into these cute little monsters on sticks.
Don’t stress if your first batch isn’t perfect—mine certainly weren’t. Remember, these are monsters after all—a little imperfection adds character.
The beauty of this recipe is its flexibility with colors and designs. Why not make this a family activity? Kids love the messy rolling part, and trust me, these treats disappear faster than you can say “eyeball.”
Monster Eyeball Cake Pops
Ingredients
Equipment
Method
- Crumble the cooled cake into very fine crumbs in a large bowl. Make sure there are no chunky pieces remaining.
- Add ⅓ cup of frosting to the cake crumbs and mix thoroughly with clean hands until the mixture holds together when squeezed but isn’t sticky. Add 1-2 teaspoons more frosting if too dry, or more cake crumbs if too sticky.
- Scoop about 1 tablespoon portions of the cake mixture and roll into smooth balls approximately 1¼ inches in diameter.
- Place the cake balls on a parchment-lined tray and chill in the refrigerator for 20-30 minutes to firm up.
- While the cake balls are chilling, melt 2-3 tablespoons of candy melts to use as an adhesive for the sticks.
- Remove the chilled cake balls from the refrigerator. Dip the tip of each lollipop stick about ¼ inch into the melted candy, then insert it halfway into a cake ball.
- Return the cake pops to the refrigerator or freezer for 10 minutes to set the candy anchor.
- Melt the remaining candy melts in a deep cup or measuring glass, working in 20-second microwave intervals and stirring between each until smooth. If the melted candy is too thick, stir in ½-1 teaspoon of coconut oil or vegetable shortening to achieve a dippable consistency.
- Dip each cake pop straight down into the melted candy until fully coated. Lift and gently tap the stick against the cup’s rim while rotating to remove excess coating and create a smooth finish.
- While the coating is still wet, press one candy eyeball onto the center of each pop.
- Stand the cake pops upright in a foam block or a jar filled with sugar or sprinkles to set completely, about 10-15 minutes.