
Why You’ll Love this Self Rising Flour
While store-bought self-rising flour is convenient, making your own at home gives you complete control over the ingredients and freshness.
I love knowing exactly what’s in my pantry staples—no mystery additives or aluminum-based baking powders if that’s not your thing.
It’s incredibly cost-effective too.
Why buy another specialty flour when you can whip this up in seconds with ingredients you already have?
Plus, the big-batch option saves precious time on baking days.
Ever run out mid-recipe? Not anymore.
This simple mix has rescued my pancake mornings and last-minute biscuit cravings more times than I can count.
What Ingredients are in Self Rising Flour?
Self-rising flour is one of those kitchen basics that can transform your baking routine from complicated to carefree.
It’s fundamentally a pre-mixed blend that combines flour with leavening agents, allowing you to skip several measuring steps when making biscuits, pancakes, and other quick breads.
Making your own means you’ll always have fresh self-rising flour ready when inspiration strikes, without the worry of store-bought mixes that might’ve been sitting on shelves for months.
- 1 cup (120g) all-purpose flour
- 1½ teaspoons baking powder (aluminum-free if preferred)
- ¼ teaspoon fine sea salt
When selecting ingredients for your homemade self-rising flour, quality matters.
I recommend using unbleached all-purpose flour for the best flavor, though bleached works fine too.
The type of baking powder you choose affects both performance and taste—aluminum-free varieties won’t leave that slightly metallic aftertaste some people detect in baked goods.
As for salt, fine sea salt distributes more evenly throughout the mixture than coarser varieties, though regular table salt can work in a pinch.
How to Make this Self Rising Flour

Making your own self-rising flour couldn’t be simpler—it’s basically a three-ingredient wonder that takes about 30 seconds to prepare.
Start by measuring 1 cup (120g) of all-purpose flour into a bowl. Add 1½ teaspoons of baking powder (I prefer aluminum-free for a cleaner taste) and ¼ teaspoon of fine sea salt.
Now comes the essential part: whisk everything thoroughly to guarantee the leavening agents are evenly distributed throughout the flour. Those tiny pockets of baking powder need to be broken up and mixed uniformly, otherwise you might bite into a biscuit with one part that rises beautifully and another that stays flat as a pancake.
For those who like to batch-prep (smart move, by the way), you can easily scale this recipe up. The big-batch pantry version combines 6 cups (720g) of all-purpose flour with 3 tablespoons of baking powder and 1½ teaspoons of fine sea salt.
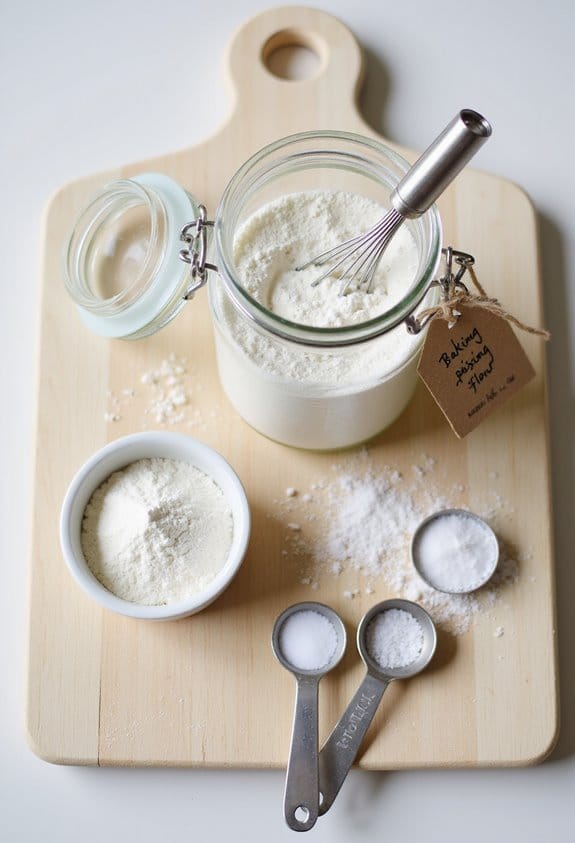
After mixing, store your homemade self-rising flour in an airtight container—a mason jar with a tight-fitting lid works perfectly.
Don’t forget to label it clearly, perhaps with a note that says “Self-Rising Flour — For every 1 cup needed, use 1 cup of this mix and omit the baking powder + salt in your recipe.”
This mix stays fresh for up to 3 months in your pantry, but for the absolute best results in your baking, I recommend remaking it every few months since baking powder gradually loses its strength over time.
Self Rising Flour Substitutions and Variations
Several creative variations of self-rising flour can transform your baking depending on your dietary needs or flavor preferences.
I love making a whole-wheat version by replacing half the all-purpose flour with white whole-wheat, bumping up the baking powder to 1¾ teaspoons per cup to maintain that perfect rise.
For those watching sodium, simply reduce the salt to a pinch per cup.
Need gluten-free? Use a cup-for-cup GF blend with xanthan gum already mixed in. The texture might vary between brands, but I’ve found it works beautifully for pancakes and quick breads.
Just remember, whatever variation you choose, freshness matters.
What to Serve with Self Rising Flour
The most delicious dishes to serve with your homemade self-rising flour creations are those that complement their light, fluffy texture.
I love pairing fresh biscuits with honey butter and strawberry jam, or serving them alongside hearty stews where they can soak up all that savory goodness.
For pancakes made with self-rising flour, try fresh berries and real maple syrup—none of that artificial stuff. Trust me, it makes a difference.
Muffins? A side of creamy yogurt balances their sweetness perfectly.
Final Thoughts
Now that you’ve mastered this simple DIY pantry staple, your baking will never be the same.
I’ve lost count of how many times this homemade self-rising flour has saved me from emergency grocery runs when I’m elbow-deep in biscuit dough.
Remember to label your jar clearly—trust me, confusing this with regular flour leads to some interesting kitchen experiments.
Not all happy accidents, mind you.
Store it properly, refresh it regularly, and you’ll always be ready for impromptu pancakes or that berry cobbler you suddenly crave at midnight.
Isn’t that what good baking is about? Preparation meeting inspiration.

Homemade Self-Rising Flour
Ingredients
Equipment
Method
- Measure the all-purpose flour into a mixing bowl.
- Add the baking powder and fine sea salt to the flour.
- Whisk all ingredients thoroughly to ensure the leavening agents are evenly distributed throughout the flour.
- Transfer the mixture to an airtight container and label clearly.


