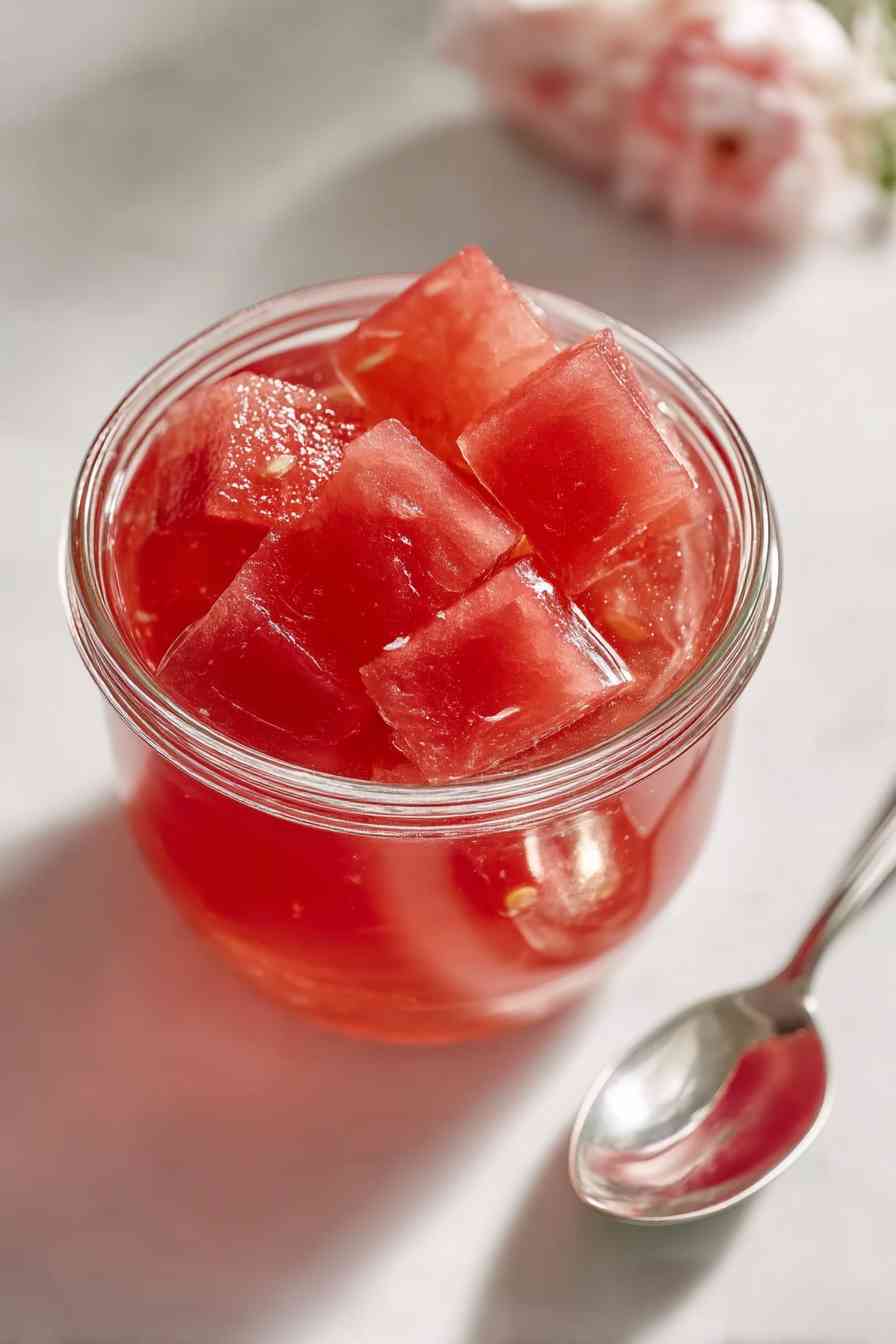
Ingredients
Equipment
Method
- Prepare five half-pint jars and their lids for sterilization by running them through a hot dishwasher cycle or boiling them in water for 10 minutes to prevent contamination. While jars sterilize, gather and measure all ingredients including sugar, pectin, watermelon juice, lemon juice, salt, and butter so everything is ready when needed.
- Combine the sugar and pectin in a small bowl, whisking thoroughly until evenly mixed. This prevents clumping when added to hot liquid by allowing the sugar to distribute the pectin uniformly throughout the mixture for consistent gelling.
- Add watermelon juice and lemon juice to a large heavy-bottomed pot with at least 8-quart capacity. Stir in the salt and butter, then add the sugar-pectin mixture while stirring constantly until completely dissolved. Place over high heat and bring to a rolling boil, stirring occasionally.
- Keep the mixture at a vigorous rolling boil while monitoring temperature with a candy or instant-read thermometer. Continue cooking for 15 to 30 minutes until the jelly reaches exactly 220°F (104°C). Test readiness by spooning a small amount onto a chilled plate; if it wrinkles when pushed and holds its shape rather than flowing back together, it's done. If still liquid, cook another 2 to 3 minutes and test again.
- Take the pot off the heat and use a clean spoon to skim away any foam from the surface. Work quickly while jelly is hot, ladling it into the sterilized jars with 1/4 inch headspace at the top. Clean each jar rim with a clean damp cloth, place lids on top, and tighten the bands until finger-tight without over-tightening. Transfer filled jars immediately to a boiling water canner and process for 10 minutes.
- Use jar tongs to carefully lift the jars from the water canner and set them upright on a clean towel or cooling rack with a few inches of space between each jar for air circulation. Listen for the pop sound as lids seal during cooling. Allow jars to sit undisturbed at room temperature for at least 12 hours, preferably overnight, before checking seals. Refrigerate any jars that fail to seal properly and use within 3 weeks.
Notes
Always whisk pectin with sugar before adding to hot liquid to prevent clumps. Trust your candy thermometer and aim for exactly 220°F for proper gelling. Don't skip the wrinkle test for visual confirmation of readiness. Skim foam thoroughly before jarring for clearer jelly. Properly sealed jars can be stored in a cool, dark pantry for up to one year with best flavor in the first six months. Once opened, refrigerate and use within three weeks. Any jars that don't seal properly should be refrigerated immediately and used within three weeks, or frozen for up to six months.