Why You’ll Love This 3 Ingredient Cool Whip Candy
If you’re looking for a sweet treat that requires minimal effort but delivers maximum satisfaction, this 3 Ingredient Cool Whip Candy is about to become your new go-to dessert.
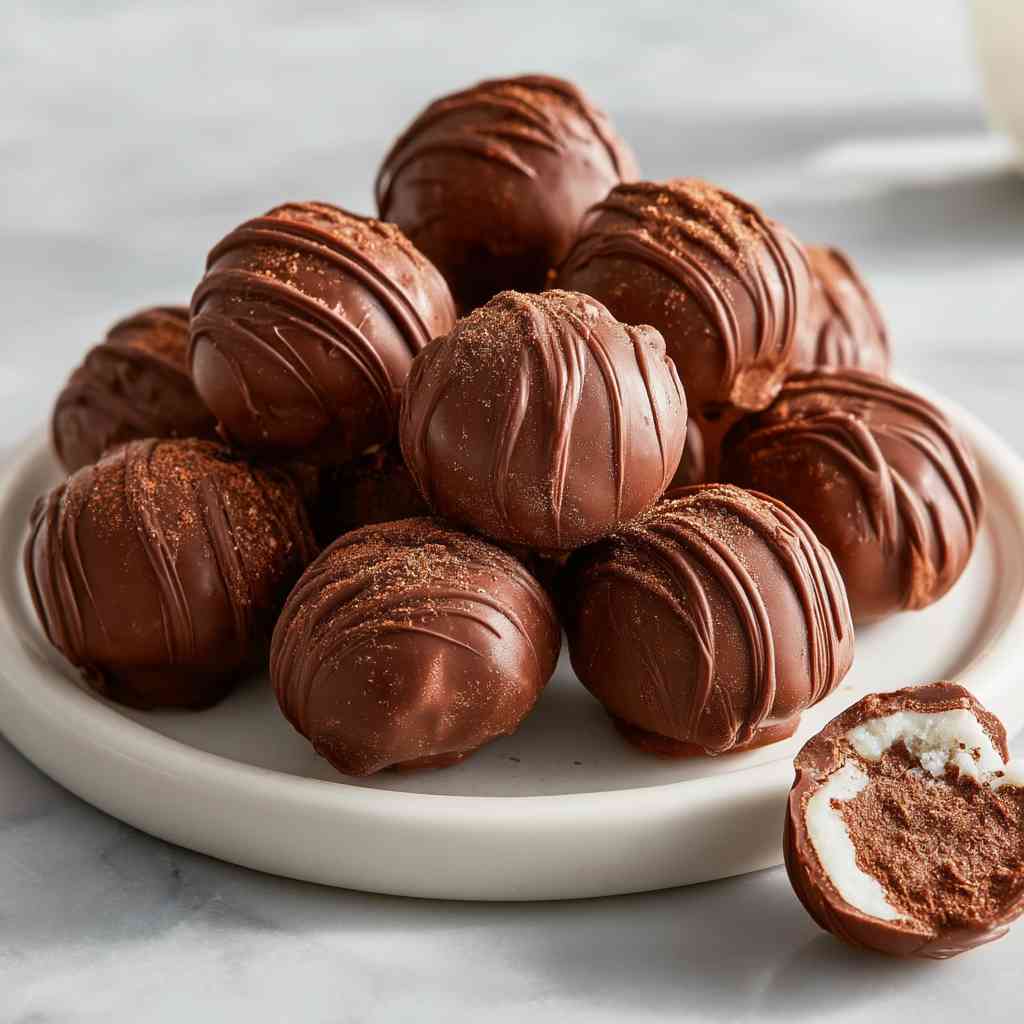
I’m obsessed with how incredibly simple yet decadent these chocolate squares turn out.
What’s not to love? They’re creamy, rich, and have that perfect melt-in-your-mouth texture that rivals fancy chocolate truffles.
Plus, with just Cool Whip, chocolate chips, and coconut oil, your pantry might already have everything you need.
No baking, no complicated techniques—just mix, chill, and slice. Perfect for last-minute guests or midnight cravings.
What Ingredients are in 3 Ingredient Cool Whip Candy?
This Cool Whip candy recipe really is as simple as the name suggests. Just three common ingredients transform into a luxurious, fudge-like treat that tastes like it took hours to make. The combination creates the perfect balance of creaminess and chocolate richness, with the coconut oil adding that subtle shine and helping with the texture.
You might already have these items in your kitchen right now!
- 8 oz tub frozen whipped topping (Cool Whip), thawed
- 12 oz semi-sweet chocolate chips (or milk chocolate, if preferred)
- 2 tablespoons coconut oil
While the recipe calls for semi-sweet chocolate chips, feel free to customize based on your chocolate preferences. Milk chocolate will give you a sweeter, creamier result, while dark chocolate creates a more intense, less sweet candy.
The coconut oil is essential for helping the mixture set properly and giving the candy that beautiful glossy finish. And make sure your Cool Whip is fully thawed before mixing—it’ll blend much more smoothly with the chocolate and create that perfect mousse-like consistency we’re looking for.
Can you believe something this good comes from just three ingredients?
How to Make This 3 Ingredient Cool Whip Candy

Making this dreamy chocolate treat couldn’t be easier—it’s practically foolproof. Start by preparing your workspace: line an 8×8-inch baking dish with parchment paper or foil, giving it a light greasing if needed. This step might seem small, but trust me, you’ll thank yourself later when you can effortlessly lift the entire candy block out for cutting.
Now for the chocolate magic. Combine 12 oz of semi-sweet chocolate chips with 2 tablespoons of coconut oil in a microwave-safe bowl. Heat them in short bursts of 20-30 seconds, stirring between each interval. This gentle melting method prevents the chocolate from scorching, which, we all know, is a kitchen tragedy of the highest order.
Once your mixture is smooth and gloriously glossy, let it cool slightly—not completely, just enough that it won’t melt your whipped topping on contact. Then comes the fun part: gently fold in your 8 oz of thawed Cool Whip until everything is beautifully combined into a mousse-like consistency. The mixture should look fluffy and light, with no white streaks remaining.
Pour this cloud-like chocolate mixture into your prepared pan, spreading it evenly with a spatula. Pop it in the freezer for 1-2 hours, or until it’s firm enough to cut into neat squares. Patience is key here—the texture develops as it chills.
Once firm, use the parchment paper edges to lift the entire block out, then slice into bite-sized pieces on a cutting board. Remember to store any leftovers in the freezer, as these delightful morsels will soften quickly at room temperature. And honestly, who could blame them? With a texture this silky and a flavor this rich, I’d melt too.
3 Ingredient Cool Whip Candy Substitutions and Variations
While the basic recipe for Cool Whip candy delivers pure chocolate bliss, countless delicious variations await your creative touch.
Try white chocolate chips instead of semi-sweet for a creamy, vanilla-forward treat. Or mix in crushed Oreos, mini M&Ms, or chopped nuts before freezing for delightful texture and flavor surprises.
I’ve found that adding a teaspoon of peppermint extract creates the most invigorating chocolate-mint squares, perfect for holiday gatherings.
Sometimes I swirl in peanut butter or caramel before freezing, creating beautiful marbled candy that never lasts long in my house.
The beauty of this simple recipe? It’s practically begging for your personal spin.
What to Serve with 3 Ingredient Cool Whip Candy
Since these cool, chocolatey treats practically melt in your mouth, I’ve found they pair beautifully with hot beverages that create a delightful temperature contrast.
Try serving them alongside a rich coffee, spiced chai, or even hot chocolate (yes, chocolate-on-chocolate is totally acceptable in my kitchen).
For something unexpected, add these squares to a dessert board with fresh berries and nuts.
The tartness of raspberries cuts through the sweetness perfectly.
I’ve served mine at book club with herbal tea, and my friends couldn’t stop reaching for seconds.
Who knew such simplicity could be so impressive?
Final Thoughts
After spending countless hours testing chocolate recipes, I’ve truly fallen in love with this 3 Ingredient Cool Whip Candy. It’s the perfect balance of simplicity and decadence, ready in minutes but tasting like you spent all day in the kitchen.
What I appreciate most is how versatile it’s – dress it up with sprinkles for holidays, add mint extract for a fresh twist, or keep it classic.
The texture is divine, somewhere between fudge and mousse.
And honestly, the minimal cleanup is a dream. No candy thermometers, no complicated techniques. Just melt, fold, and chill your way to chocolate bliss.
3 Ingredient Cool Whip Candy
Ingredients
Equipment
Method
- Line an 8×8-inch baking dish with parchment paper or foil, lightly greasing if needed.
- In a microwave-safe bowl, combine chocolate chips and coconut oil. Heat in 20-30 second intervals, stirring between each, until completely melted and smooth.
- Let the chocolate mixture cool slightly (but not completely).
- Gently fold in the thawed Cool Whip until well combined and no white streaks remain.
- Pour the mixture into the prepared pan, spreading evenly with a spatula.
- Freeze for 1-2 hours, or until firm enough to cut.
- Lift out using parchment paper and cut into bite-sized squares.