
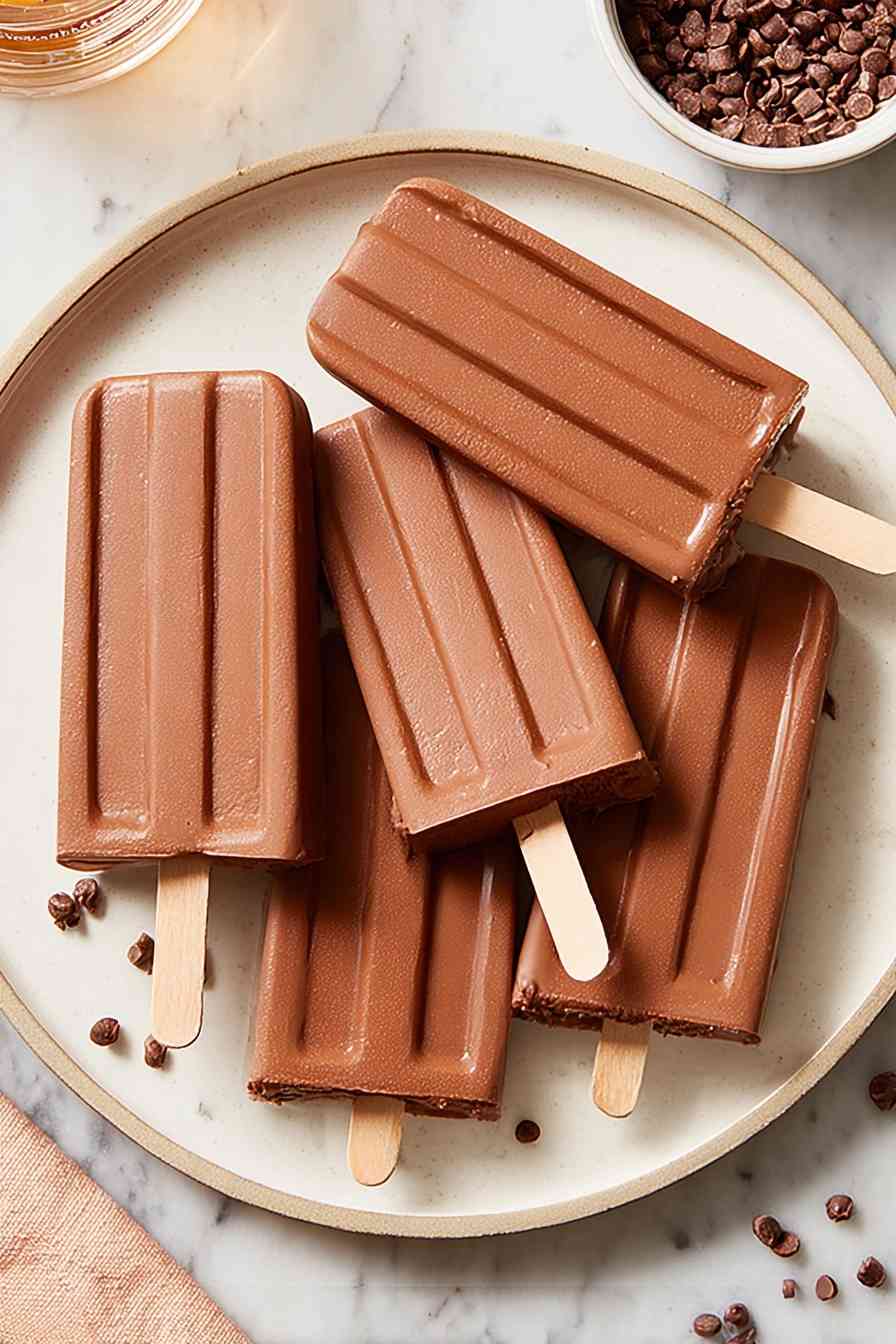
Greek Yogurt Fudgesicles are creamy, chocolatey frozen treats made with Greek yogurt, cocoa, and maple syrup.
These frozen pops rely on whole milk Greek yogurt and unsweetened cocoa to create a satisfying chocolate base that tastes indulgent but stays lighter than traditional fudgesicles. The blend of Greek yogurt, milk, maple syrup, and cocoa freezes into pops that are smooth, not icy, and genuinely satisfying on a hot afternoon.
What makes these fudgesicles work is the fat content in the yogurt. It keeps the texture creamy instead of crystalline, and the cocoa brings deep chocolate flavor without needing loads of sweetener. You blend everything together, pour it into molds, and freeze for at least four hours. Simple process, impressive results.
What Goes Into Greek Yogurt Fudgesicles
This recipe keeps the ingredient list short and straightforward, relying on pantry staples and one key dairy component.
- Plain Greek yogurt – provides the creamy base and protein structure that prevents the pops from turning into solid ice blocks.
- Low-fat milk – thins the mixture just enough to pour easily into molds while keeping the overall texture smooth.
- Unsweetened cocoa powder – delivers rich, deep chocolate flavor without added sugar or fillers.
- Maple syrup – sweetens naturally and blends smoothly without graininess or crystallization.
- Vanilla extract – rounds out the chocolate flavor and adds warmth.
- Pinch of salt – balances sweetness and enhances the cocoa’s depth.
Blending and Freezing Your Fudgesicles
STEP 1: Add the Greek yogurt, milk, cocoa powder, maple syrup, vanilla extract, and salt to a blender. Blend on medium-high speed until the mixture is completely smooth and no cocoa clumps remain, about 30 to 45 seconds.
STEP 2: Pour the blended mixture into popsicle molds, leaving about a quarter-inch of space at the top to allow for expansion during freezing. Insert the sticks according to your mold’s design.
STEP 3: Transfer the filled molds to the freezer and freeze for at least four hours, though overnight works even better for fully firm pops.
STEP 4: When ready to serve, let the fudgesicles sit at room temperature for five to ten minutes. This brief thaw makes releasing them from the molds much easier.
STEP 5: If the pops still resist, run the outside of the molds under hot water for a few seconds, being careful not to let water seep into the molds or melt the fudgesicles too much.
Getting the Creamiest, Dreamiest Pops
- Use whole milk Greek yogurt if you want the smoothest, creamiest texture. The fat content makes a noticeable difference in how the fudgesicles freeze, preventing that grainy, icy mouthfeel that happens with non-fat versions.
- Blend the mixture until it’s completely smooth, with no visible cocoa powder streaks or yogurt lumps. A high-speed blender works best, but a standard blender will do the job if you give it enough time.
- Don’t overfill the molds. Leave a little room at the top so the mixture can expand as it freezes without pushing the sticks out or causing overflow.
- If you’re using paper cups or a muffin tin instead of traditional popsicle molds, freeze the mixture for about an hour first, then insert the sticks. This keeps them upright and centered instead of tilting to one side.
Serving Ideas for Chocolate Greek Yogurt Pops
These fudgesicles work well on their own, but you can also get creative with toppings or pairings. Try dipping the frozen pops quickly in melted dark chocolate and rolling them in crushed nuts or shredded coconut for a bit of crunch. You can also serve them alongside fresh berries for a simple dessert platter, or break them into chunks and fold them into vanilla Greek yogurt for a fun twist on a parfait.
Homemade fudgesicles offer a real advantage over store-bought versions: no artificial ingredients, no high fructose corn syrup, and no mystery dyes or gums. You control exactly what goes into them, which means you get pure chocolate flavor and a genuinely creamy texture that holds up in the freezer.
Questions About Greek Yogurt Fudgesicles
Can I use non-fat Greek yogurt, or does it have to be full fat?
Non-fat Greek yogurt works, but the texture will be icier and less creamy. The fat in 2% or whole milk Greek yogurt is what gives these fudgesicles their smooth, almost custard-like consistency. If you only have non-fat on hand, the flavor will still be good, just expect a firmer, more crystalline bite.
What can I use if I don’t own popsicle molds?
Small paper cups, plastic cups, or a silicone muffin pan all work well. Pour the mixture into your chosen container, freeze for about an hour, then insert popsicle sticks or wooden craft sticks. Ice cube trays also work if you want bite-sized fudgesicle pieces instead of full pops.
Is there a substitute for maple syrup?
Honey works as a direct swap and blends just as smoothly. Agave nectar is another option if you prefer a milder sweetness. Avoid granulated sugar, as it doesn’t dissolve well in cold mixtures and can leave a gritty texture even after blending.
How do I prevent ice crystals from forming in my fudgesicles?
Use yogurt with a higher fat content, blend the mixture thoroughly, and freeze the pops quickly in a very cold freezer. Ice crystals form when water separates from the fat and protein, so the more fat you have in the base, the smoother the final texture will be.
Keeping Fudgesicles Fresh and Frost-Free
Store the fudgesicles in their molds in the freezer for up to two months. If you’ve already removed them from the molds, wrap each pop individually in parchment paper or plastic wrap, then place them in a freezer-safe bag or container. This prevents freezer burn and keeps them from picking up odd flavors from other frozen foods.
If frost starts to form on the surface of the pops, it usually means they’ve been exposed to air or temperature fluctuations. Wrapping them tightly helps, as does keeping your freezer at a consistent temperature. When you’re ready to eat one, let it sit out for a few minutes so it softens just enough to release cleanly and taste its best.
These fudgesicles are freezer-friendly and make-ahead friendly, so you can prepare a full batch whenever you have time and pull them out whenever you want something cold and chocolatey. They deliver real chocolate flavor with a creamy texture that holds up surprisingly well, and they’re a reliable treat ready whenever the temperature climbs or the chocolate craving hits.
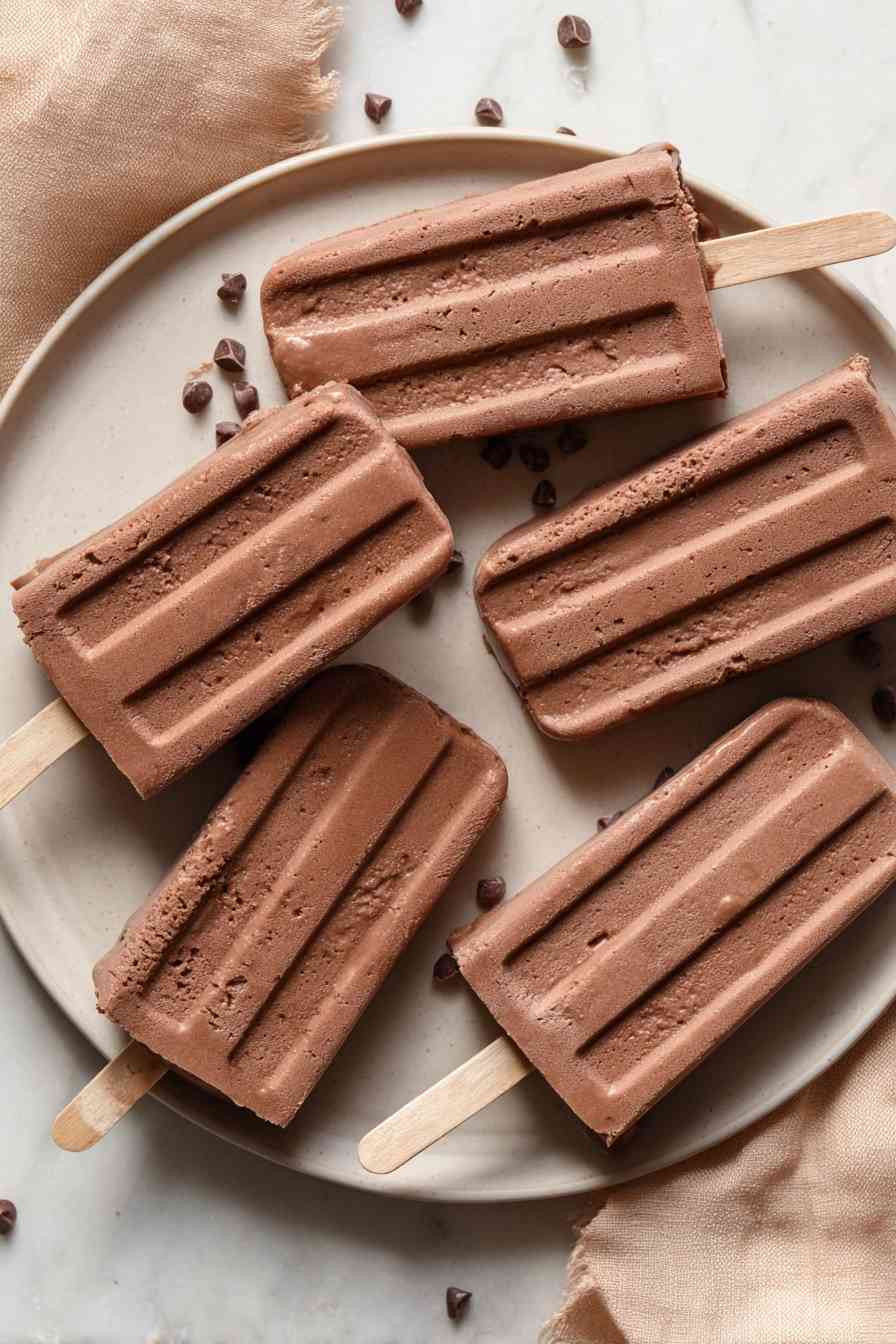
Greek Yogurt Fudgesicles
Ingredients
Equipment
Method
- Place the Greek yogurt, milk, unsweetened cocoa, maple syrup, vanilla extract, and a pinch of salt into a blender.
- Blend the mixture until it is completely smooth.
- Pour the blended mixture evenly into popsicle molds.
- Freeze the filled molds for at least 4 hours, or until the fudgesicles are solid.
- To release, let the fudgesicles sit at room temperature for 5 to 10 minutes, or briefly run the molds under hot water before removing.