Why You’ll Love these Witch Hat Cookies
Whether you’re hosting a Halloween gathering or simply looking for a festive treat, these witch hat cookies are about to become your new October obsession. I love that they require zero baking—just melt, dip, and decorate.
These adorable witchy toppers come together in under 30 minutes, making them perfect for last-minute party prep (been there, frantically assembling treats while still in my bathrobe).
The combination of crisp cookies, smooth chocolate, and that kiss-shaped peak creates the perfect textural magic. Plus, they’re endlessly customizable with different colored “hat bands.”
My niece insists the purple ones taste better, though I’m pretty sure that’s just her imagination running wild.
What Ingredients are in Witch Hat Cookies?
These no-bake witch hat cookies are the perfect Halloween treat when you’re short on time but big on festive spirit. I love how they transform simple store-bought ingredients into something magical with just a bit of assembly. The contrast between the crisp cookie base, smooth chocolate coating, and the iconic kiss-shaped point creates an irresistible treat that looks way more complicated than it actually is.
- 12 oz semisweet chocolate chips (or melting wafers)
- 24 round cookies (shortbread, fudge stripes, or chocolate wafers)
- 1½ cups powdered sugar
- 1½ tablespoons water (plus ½–1 teaspoon more as needed)
- Gel food coloring (orange, green, purple)
- 24 chocolate kisses, unwrapped
- Optional: 1 teaspoon neutral oil or coconut oil (for shinier melted chocolate)
- Parchment paper (for lining sheet pans)
The beauty of this recipe lies in its flexibility. Got dietary restrictions? No problem. You can easily swap in dairy-free chocolate and cookies for allergy-friendly versions.
The thin mint variation adds a delightful flavor twist, while sanding sugar creates a sparkly hat band that catches the light beautifully. Remember that gel food coloring (rather than liquid) gives you those vibrant Halloween hues without thinning out your icing.
And while the recipe suggests orange, green, and purple as classic witch colors, don’t let that limit your creativity—black, red, or even metallic food coloring can make these hats truly your own.
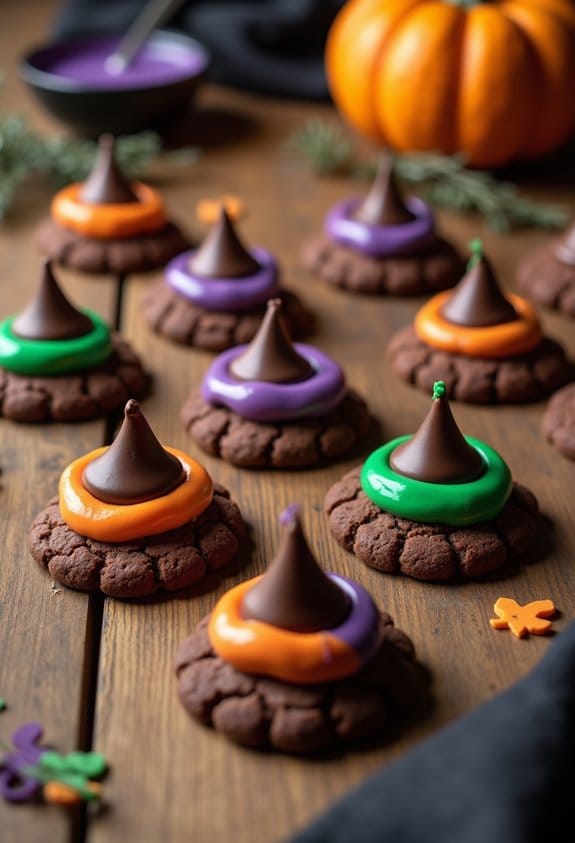
How to Make these Witch Hat Cookies

These adorable witch hat cookies come together in a snap with no baking required. To start, prep your workspace by lining 2 sheet pans with parchment paper. Then unwrap all 24 chocolate kisses so they’re ready to go—trust me, having everything prepped makes the assembly process so much smoother. If you’re using plain cookies rather than chocolate-coated ones, keep them nearby for the dipping stage.
Next, melt your 12 oz of semisweet chocolate chips in a microwave-safe bowl. For the smoothest results, heat at 50% power in 30-second intervals, stirring between each burst until the chocolate is about 90% melted. Then just stir to finish melting completely. Want extra-shiny chocolate? Add that optional 1 teaspoon of neutral oil or coconut oil before melting.
Now for the fun part—dipping! If your cookies aren’t already chocolate-coated, dip the top of each cookie into the melted chocolate, covering the surface and outer edge to create the wide brim of the witch hat. Place them chocolate-side-up on your lined pan, then refrigerate for about 10 minutes until the chocolate firms up.
While the chocolate sets, whisk together 1½ cups powdered sugar and 1½ tablespoons water to make a thick, toothpaste-consistency icing. Divide this mixture between 2-3 small bowls and tint with gel food coloring in witchy hues of orange, green, or purple.
Transfer your colored icing to piping bags (or zip-top bags with a tiny corner snipped off) and pipe a neat ring about 1 inch across in the center of each cookie. This creates the decorative band around the witch hat. Immediately press a chocolate kiss into the icing ring, holding it for 3-5 seconds to secure. For perfectly even bands, try gently spinning the cookie as you press down the kiss.
Allow the cookies to stand at room temperature for 15-20 minutes until the icing firms up, and voilà—spellbinding witch hat cookies ready to enchant at your Halloween gathering!
Witch Hat Cookies Substitutions and Variations
While the basic witch hat cookie recipe creates a spooktacular Halloween treat, I love how versatile these little confections can be with just a few simple swaps.
For mint lovers, try thin-mint style cookies with dark chocolate—the combo is absolutely divine.
I’ve found kids go crazy for a touch of sparkle, so consider adding sanding sugar to your icing band while it’s still wet.
Got guests with dietary restrictions? No problem. Choose dairy-free chocolate, sandwich cookies without milk ingredients, and swap in a vegan alternative for the chocolate kiss.
The witchy magic still works, and everyone gets to enjoy the fun.
What to Serve with Witch Hat Cookies
Now that you’ve mastered the perfect witch hat cookies, let’s talk about what to pair them with for a complete Halloween spread.
I love serving these adorable hats with warm apple cider—the spiced sweetness is perfect against the chocolate.
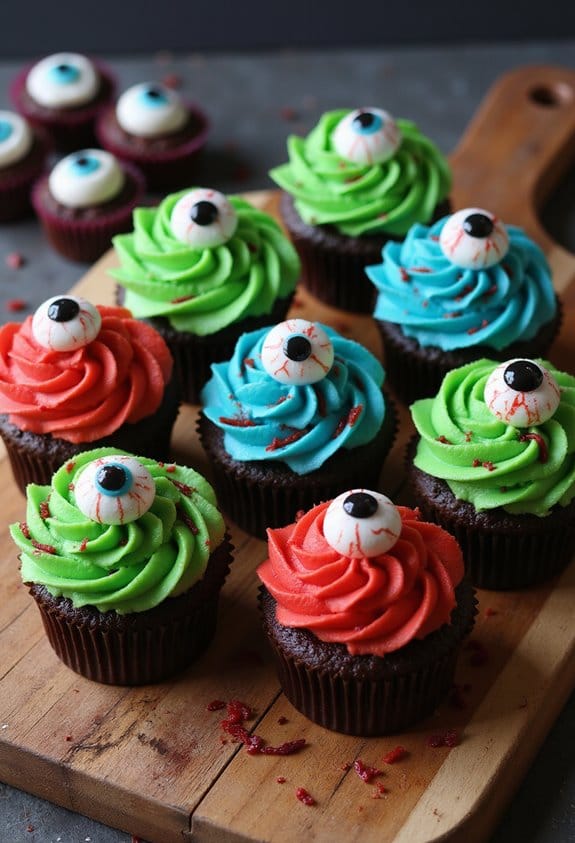
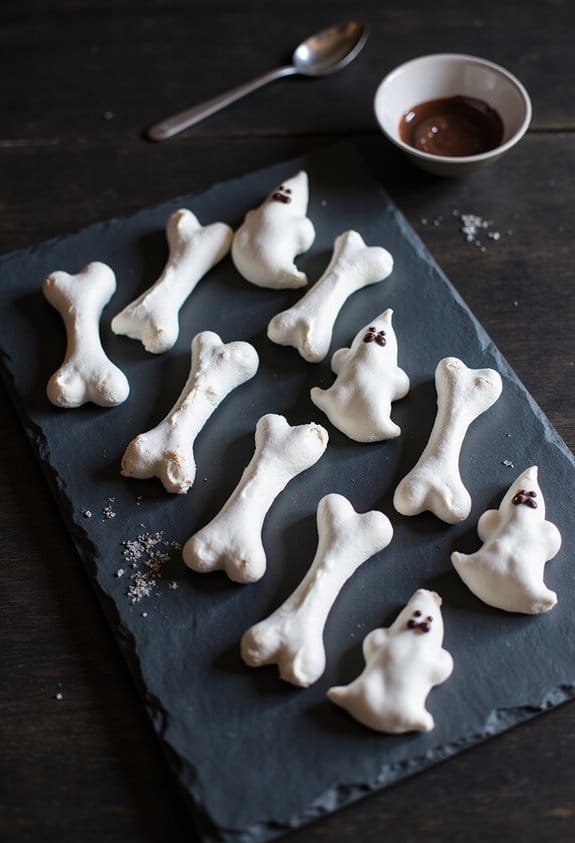
For a more substantial dessert table, add some pumpkin cupcakes or ghost-shaped rice krispie treats.
Need something savory first? Try mummy hot dogs or spider web pizza.
For the kids, a cup of green “witch’s brew” punch makes these even more magical.
Me, I prefer a grown-up spiked cider or pumpkin ale.
Whatever you choose, these little hats will be the stars of your Halloween gathering.
Final Thoughts
After making these adorable witch hat cookies several times, I’m convinced they’re one of the easiest, most impressive Halloween treats you can create. They require zero baking, come together in about 20 minutes, and the payoff is pure magic.
Kids go crazy for them, and adults can’t help but smile at their whimsical charm.
What I love most? The versatility. Swap colors for different holidays, try mint cookies for a fresh twist, or add sparkly sugar to the bands for extra pizzazz.
Perfect for parties, classroom treats, or simply brightening a fall afternoon. Sometimes the simplest ideas create the sweetest memories.
No-Bake Witch Hat Cookies
Ingredients
Equipment
Method
- Line 2 sheet pans with parchment paper and unwrap all 24 chocolate kisses.
- Melt the chocolate chips in a microwave-safe bowl at 50% power in 30-second intervals, stirring between each burst until about 90% melted. Stir to finish melting completely. Add optional oil for shinier chocolate if desired.
- If using plain cookies, dip the top of each cookie into the melted chocolate, covering the surface and outer edge to create the wide brim of the witch hat. Place chocolate-side-up on the lined pan.
- Refrigerate the chocolate-dipped cookies for about 10 minutes until the chocolate firms up.
- Meanwhile, whisk together the powdered sugar and water to make a thick icing with toothpaste consistency. Divide this mixture between 2-3 small bowls and tint with gel food coloring in orange, green, or purple.
- Transfer the colored icing to piping bags (or zip-top bags with a tiny corner snipped off) and pipe a neat ring about 1 inch across in the center of each cookie to create the decorative band around the witch hat.
- Immediately press a chocolate kiss into the icing ring on each cookie, holding it for 3-5 seconds to secure. For even bands, try gently spinning the cookie as you press down the kiss.
- Allow the cookies to stand at room temperature for 15-20 minutes until the icing firms up before serving.