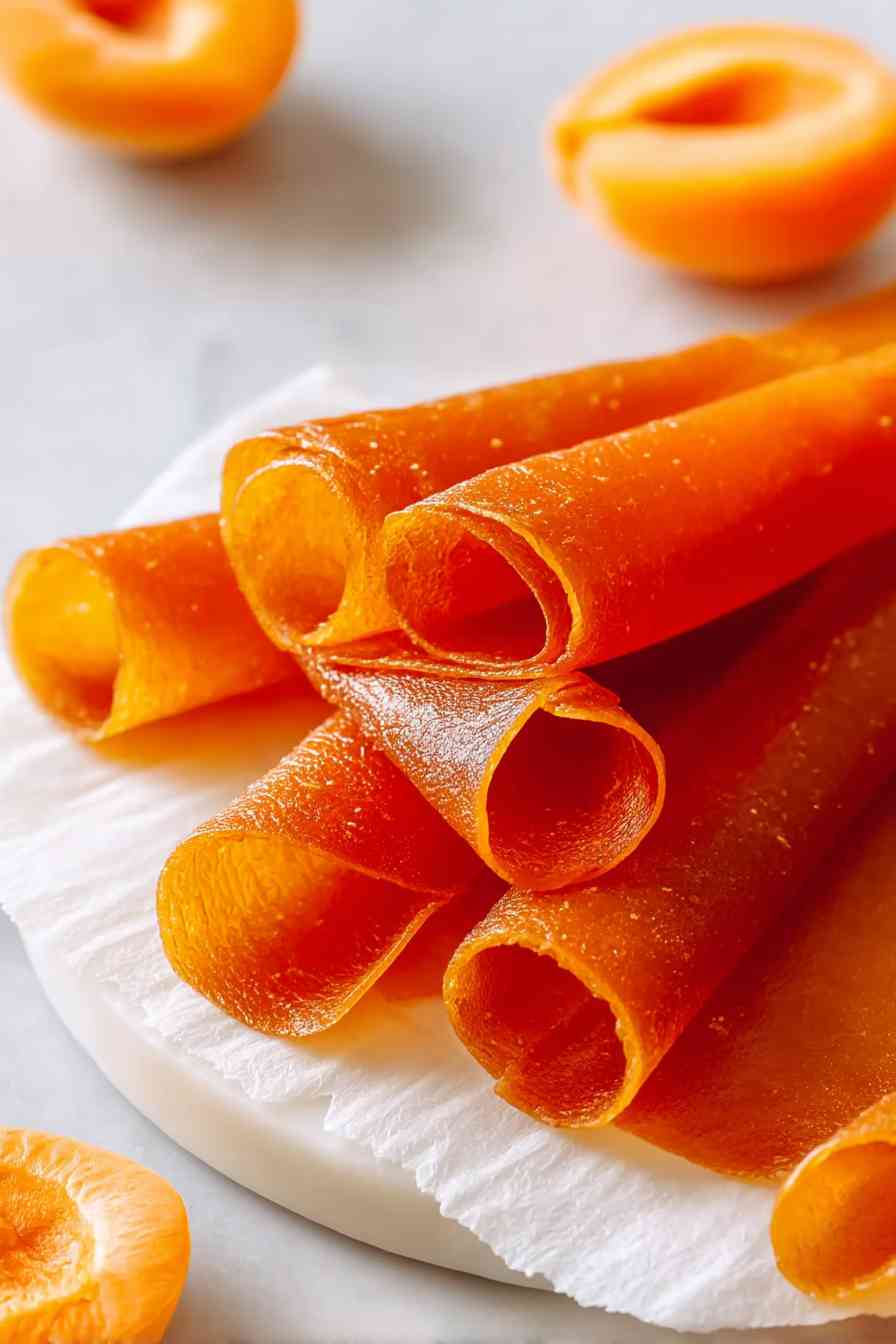

Easy Apricot Jam comes together in 25 minutes with five simple ingredients.
This small-batch recipe captures peak summer apricots in a jar without commercial pectin, relying instead on the fruit’s natural thickening power and a careful boil. You’ll pit and halve the apricots, simmer them with sugar and lemon juice until they reach the proper gel stage, then water-bath can the jars for shelf-stable storage. The result is a bright, tangy preserve with a hint of vanilla that tastes unmistakably like fresh fruit.
If you’ve never tried canning before, this recipe is a gentle introduction. The yield is manageable—about two jars—so you won’t feel overwhelmed by equipment or timing. You’ll learn to test for doneness with a frozen plate and a candy thermometer, and you’ll hear that satisfying pop when the lids seal. Once you’ve made your first batch, you’ll understand why homemade jam feels like a small summer victory worth repeating.
Step-by-Step: Making and Canning Apricot Jam
STEP 1: Add the pitted and halved apricots, sugar, lemon juice, vanilla extract, and salt to a large heavy-bottomed pot or jam pan. Stir well to combine, breaking down some of the apricots slightly as you mix. This helps the sugar dissolve evenly and start extracting the apricot juices. Place the pot over high heat and bring the mixture to a rolling boil, stirring occasionally to prevent sticking on the bottom.
STEP 2: Once boiling, maintain a vigorous rolling boil and stir frequently for 8 to 10 minutes. The jam will foam and bubble as water evaporates. Use a wooden spoon and scrape the bottom of the pot often to prevent scorching, which can give the jam a bitter flavor. Watch for the mixture to thicken noticeably and darken slightly in color, which indicates pectin development and proper gel formation.
STEP 3: Remove the pot from heat and place a drop of jam on a frozen plate. Let it cool for 30 seconds, then push the jam gently with your finger. It should wrinkle and hold its shape rather than run back together. If it’s still too runny, return to heat for another 1 to 2 minutes and test again. The jam should reach approximately 105°C (220°F) on a candy thermometer for proper setting.
STEP 4: While the jam is still hot, carefully pour it into sterilized glass jars, leaving about 2 cm (3/4 inch) of headspace at the top. Wipe the rims clean with a damp cloth to remove any jam residue, then place sterilized lids on top and screw the bands on finger-tight. Working quickly while the jam is hot helps the lids seal better, so don’t delay between cooking and jarring.
STEP 5: Place a rack or folded towel in the bottom of a large pot and fill it with enough water to cover the jars by about 1 to 2 inches. Gently place the filled jars on the rack, ensuring they don’t touch each other. Bring the water to a rolling boil and maintain the boil for 10 minutes to create a proper vacuum seal. This step kills any remaining bacteria and ensures your jam will keep safely for months.
STEP 6: Carefully remove the jars from the boiling water using a jar lifter and place them upright on a clean kitchen towel or wooden surface to cool completely. Do not move them for at least 12 hours. As they cool, you’ll hear a satisfying pop sound as the lids seal. Once fully cooled, press the center of each lid. It should be slightly concave and not flex. Store the sealed jars in a cool, dark place for up to one year.
What Goes Into Easy Apricot Jam
This recipe relies on a short list of ingredients that work together to create a balanced, naturally thickened preserve.
- Apricots – pitted and halved before cooking, they provide natural pectin and the bright, tangy fruit base that defines the jam’s flavor.
- Sugar – draws out moisture, balances acidity, and helps the jam reach the proper gel stage without added pectin.
- Lemon juice – sharpens the fruit flavor, lowers pH for safe canning, and encourages pectin activation during the boil.
- Vanilla extract – adds a subtle warmth and depth that rounds out the apricot’s natural tartness.
- Salt – enhances overall flavor and prevents the jam from tasting flat or one-dimensional.
Troubleshooting and Pro Tips for Apricot Jam
- Use a heavy-bottomed pot to prevent scorching. Thin pots distribute heat unevenly, and burnt jam tastes bitter and can’t be salvaged.
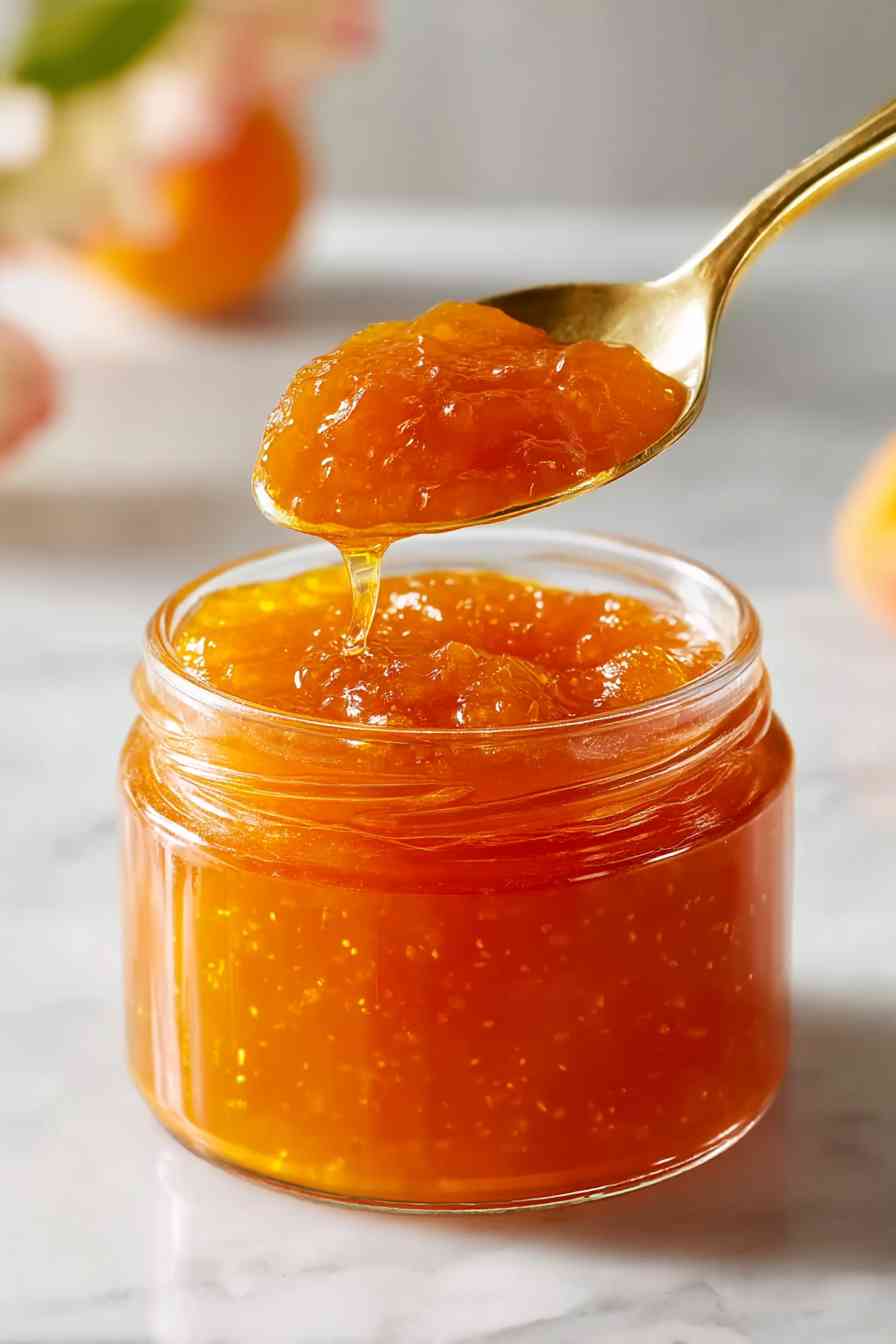
- Test for set early and often. The frozen plate test is more reliable than guessing by appearance alone, and it only takes 30 seconds to check.
- If your jam is too runny after cooling, pour it back into the pot, bring it to a boil again, and cook for another 1 to 2 minutes before retesting.
- Keep the heat high during the boil. A gentle simmer won’t evaporate enough water or activate the pectin properly, leaving you with syrup instead of jam.
- Stir frequently with a wooden spoon and scrape the bottom of the pot to prevent sticking and scorching, which ruins the flavor.
Creative Ways to Enjoy Apricot Jam
- Spread it on warm scones or buttered toast for a simple breakfast that highlights the jam’s tangy sweetness.
- Swirl a spoonful into plain yogurt or oatmeal to add natural fruit flavor without refined sugar.
- Use it as a glaze for roasted chicken or pork, thinning it slightly with a splash of water or vinegar for a savory-sweet finish.
Apricot Jam Questions & Common Issues
Can I use less sugar or substitute honey in this apricot jam?
Reducing sugar significantly will prevent the jam from setting properly, since sugar plays a structural role in gel formation. Honey can replace up to half the sugar, but it will darken the color and change the flavor profile. For best results, stick with the original sugar measurement.
How do I know when the jam has set?
Use the frozen plate test by placing a small drop of jam on a chilled plate and pushing it gently with your finger after 30 seconds. If it wrinkles and holds its shape, it’s ready. A candy thermometer reading of 105°C (220°F) also confirms proper set.
Do I really need to water-bath can the jars if I plan to eat them soon?
If you’ll finish the jam within two weeks and store it in the fridge, you can skip the water bath. However, water-bath canning creates a vacuum seal that allows the jam to stay shelf-stable for up to a year, which is worth the extra 10 minutes.
What should I do if my jam turns out too runny or too thick?
Runny jam can be reboiled with an extra minute or two of cooking time to evaporate more moisture. Overly thick jam can be loosened by stirring in a tablespoon of water or lemon juice while gently reheating it on the stove.
Is it possible to double or halve this recipe?
You can halve the recipe easily, but doubling it may require a longer cooking time and a larger pot. Jam sets best in smaller batches, so if you want more, consider making two separate batches instead of one large one.
How to Store Your Homemade Apricot Jam
Refrigerator: If you skip the water-bath canning step, store the jam in the fridge immediately and use it within two weeks. Once you open a canned jar, transfer it to the refrigerator and use it within three weeks. The jam will thicken slightly as it chills.
Pantry: Properly sealed jars from the water-bath canning process can be stored in a cool, dark pantry or cupboard for up to one year.
Freezer: Pour cooled jam into freezer-safe containers, leave about half an inch of headspace, and freeze for up to six months. Thaw overnight in the fridge before using.
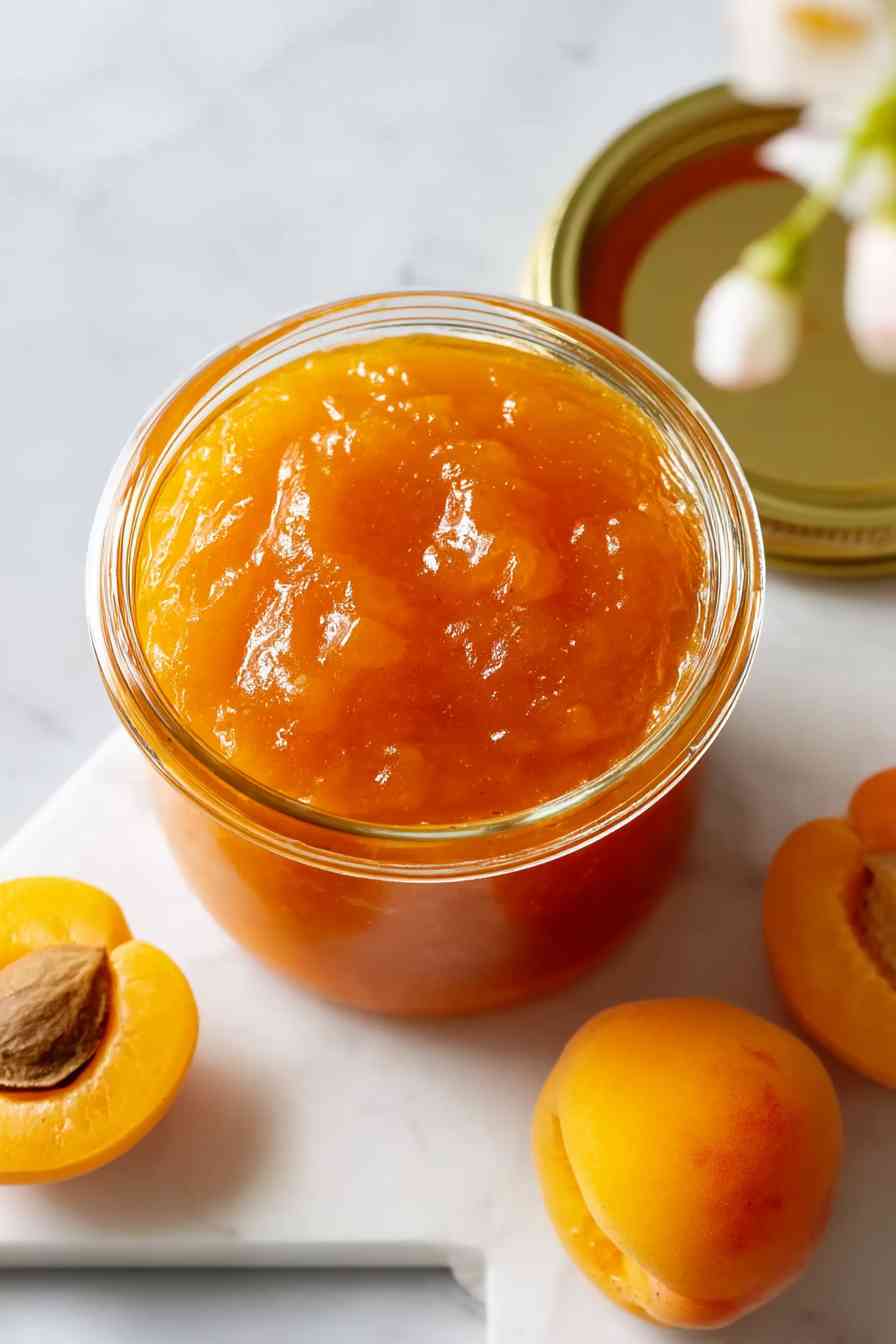
Easy Apricot Jam
Ingredients
Equipment
Method
- Combine the halved apricots, sugar, lemon juice, vanilla extract, and salt in a large heavy-bottomed pot or jam pan. Mix well, breaking down some fruit pieces as you stir to help the sugar dissolve and release the apricot juices. Set the pot over high heat and bring to a rolling boil, stirring occasionally to keep the mixture from sticking to the bottom.
- Keep the mixture at a vigorous rolling boil and stir frequently for 8 to 10 minutes. The jam will foam and bubble as moisture evaporates. Use a wooden spoon to scrape the pot bottom regularly to avoid scorching, which creates bitter flavors. Look for the mixture to noticeably thicken and darken in color, signaling pectin activation and gel formation.
- Take the pot off the heat and test the jam by placing a small drop on a frozen plate (freeze a plate beforehand). Wait 30 seconds, then gently push the jam with your finger—it should wrinkle and stay in place instead of running back together. If it's still too liquid, return the pot to heat for 1 to 2 more minutes and test again. The jam should register approximately 105°C (220°F) on a candy thermometer for the proper set.
- Pour the hot jam into sterilized glass jars, leaving about 2 cm (3/4 inch) of space at the top. Use a damp cloth to wipe any residue from the jar rims, then place sterilized lids on top and screw the bands on until finger-tight. Work quickly while the jam remains hot, as this promotes better sealing.
- Set a rack or folded towel in the bottom of a large pot and add enough water to cover the jars by 1 to 2 inches. Lower the filled jars onto the rack, making sure they don't touch one another. Bring the water to a rolling boil and maintain it for 10 minutes to create a vacuum seal that kills bacteria and ensures long-term storage safety.
- Use a jar lifter to carefully remove the jars from the boiling water and set them upright on a clean kitchen towel or wooden surface to cool completely—leave them undisturbed for at least 12 hours. You'll hear a pop sound as the lids seal during cooling. Once fully cooled, press the center of each lid to confirm it's slightly concave and doesn't flex. Store the sealed jars in a cool, dark location for up to one year.